Lydia: Painting a Comic Book Cute Character
1/30/2025

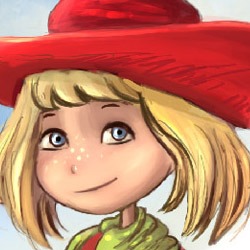
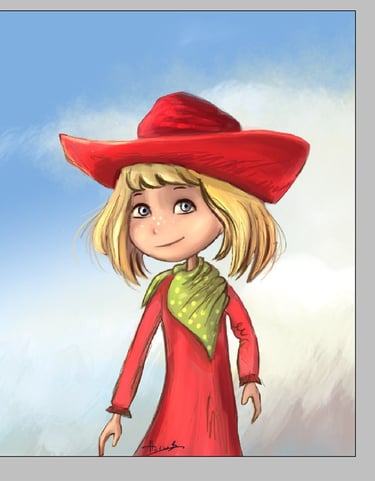
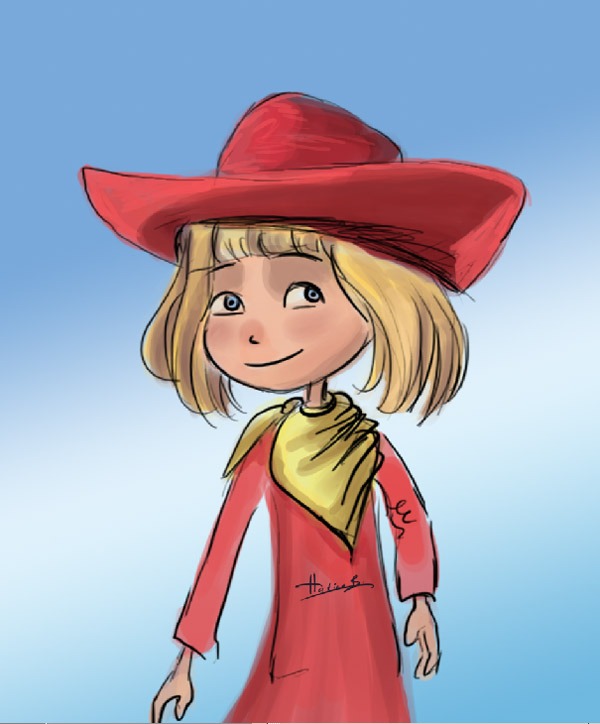
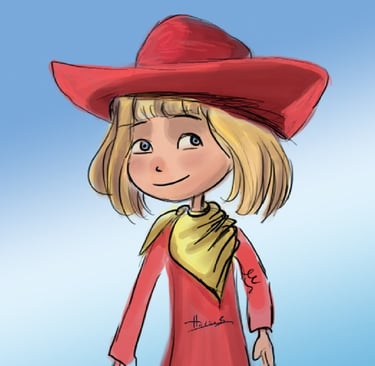
Preview of Final Results
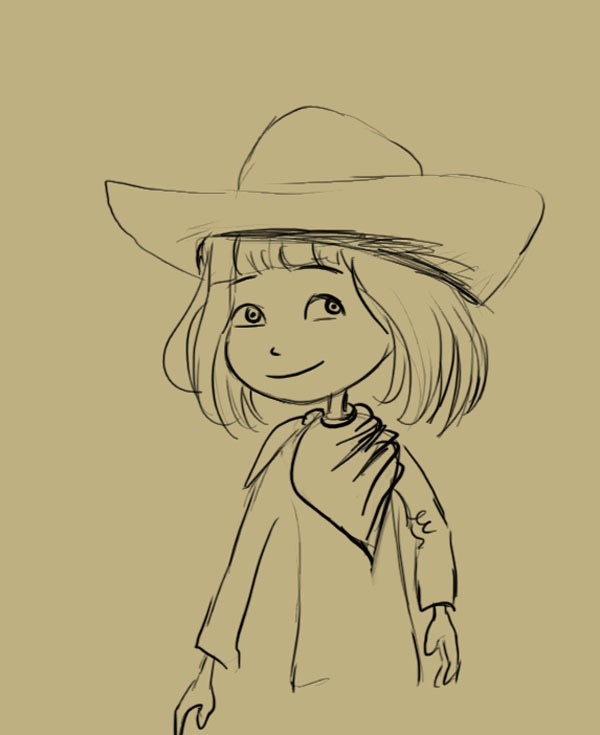
STEP 1 - Character Sketch
In this tutorial I will go into great detail about this character drawing so that you can have as clear an understanding of my process as possible. It's not hard to find sources of inspiration for your drawings, perhaps you have a favourite childhood character.. Here is the simple sketch of the cute cowboy girl:
STEP 3 - The Colour Palette
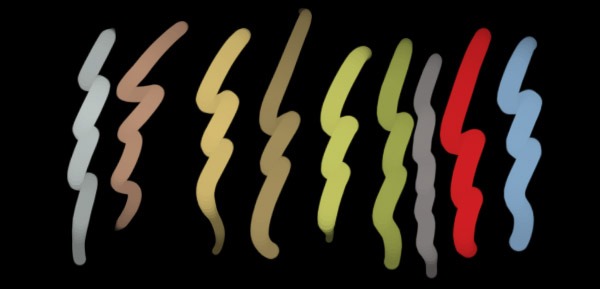
Here are the colours used for this artwork. If you don't like the colour scheme, you can always make some corrections to change it later. Well, actually I've noticed over the years that the type of colours I choose and the type of drawing I decide to do is very much influenced by my mood that day. On days when I am feeling a little grumpy, I tend to create dark, obscure environments and illustrations, whereas most of the time I love bright colours and whimsical atmospheres. I suggest you go with the flow and channel that mood into your work, as you'll find it inspires wonderful pieces.
STEP 2 - Setting Up The Canvas
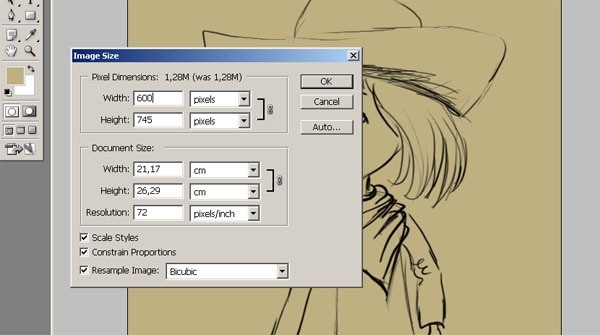
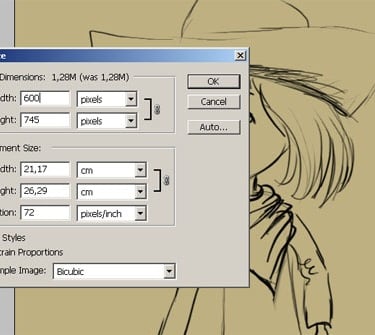
So let's start by creating a new document in Photoshop (Ctrl+N or File > New). It should be about 600x745 pixels. Right now it is in 72dpi, but after changing the resolution to 300dpi.
Width: 600px
Height: 745px
Resolution: 72.

Introduction
In this tutorial, I'll show you how to digitally paint a cute cartoon character using Photoshop CS3 and a Wacom tablet.

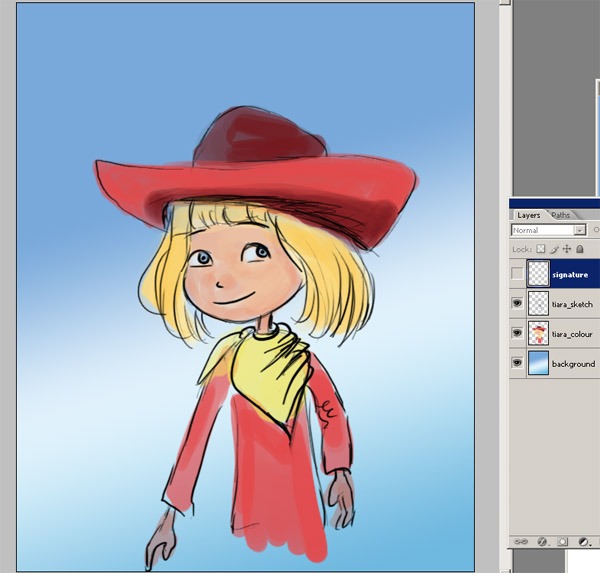
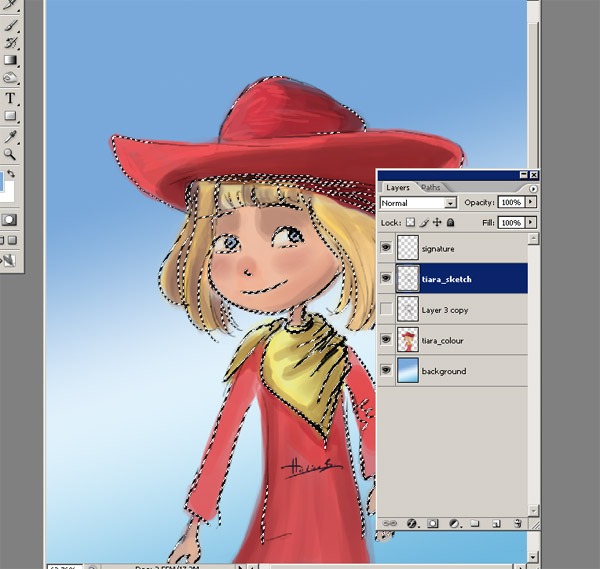
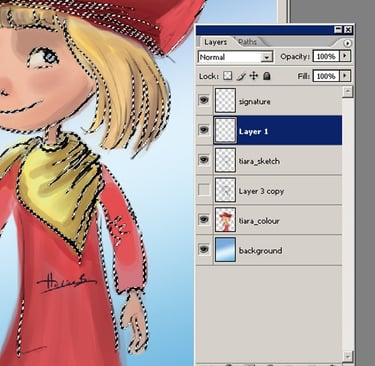
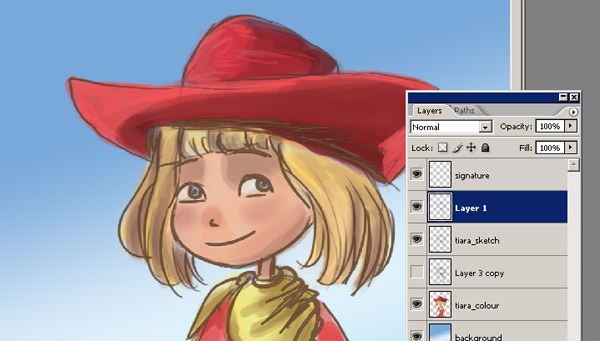
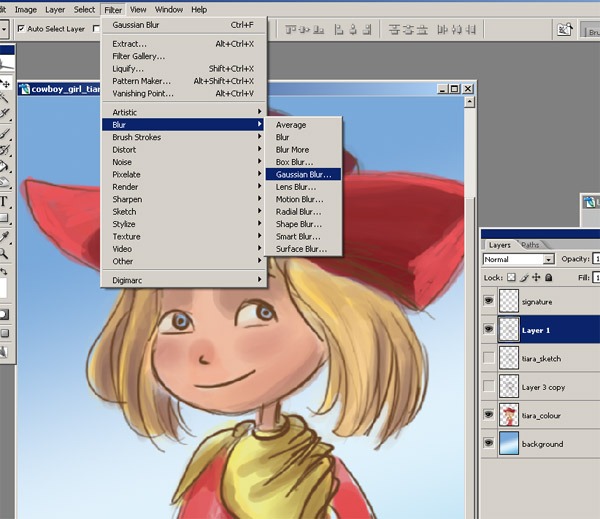
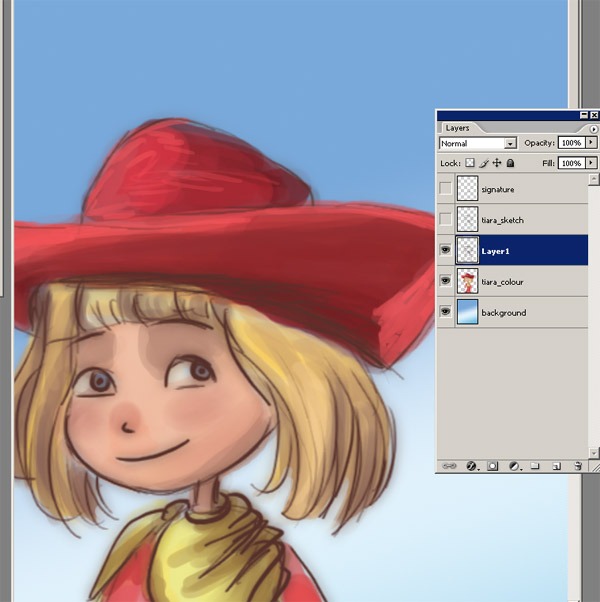
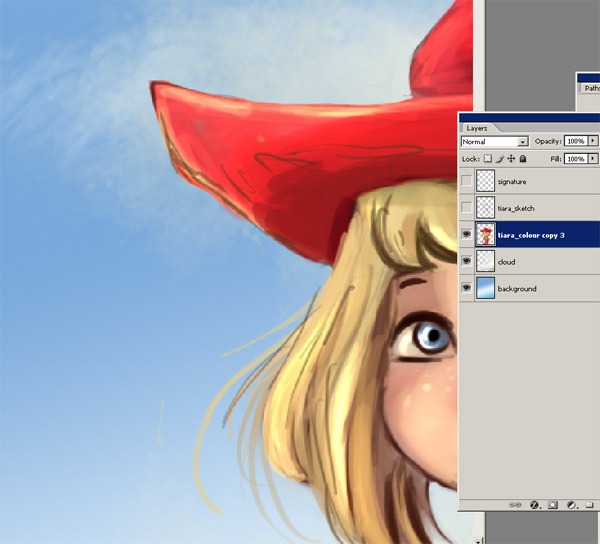
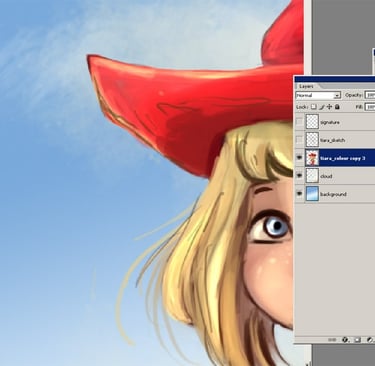
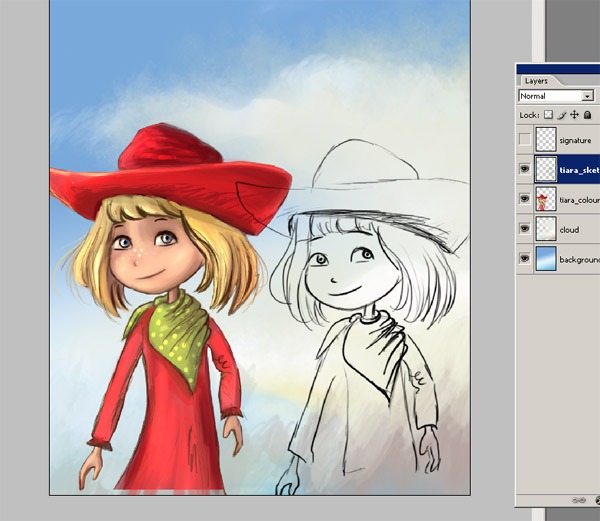
STEP 4 - Layers
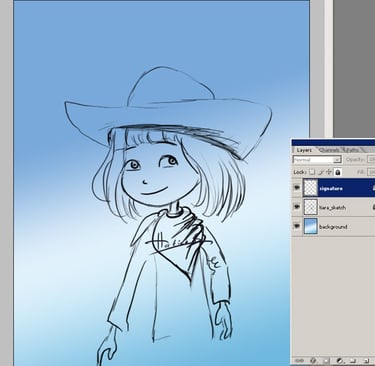
And here, let me show you my layer order. And my background colour. I want my background colour to be a nice blue with some clouds.
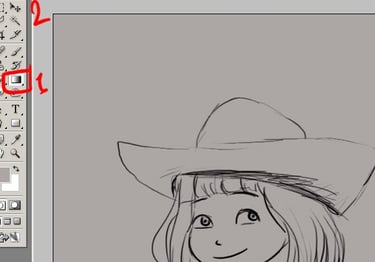
STEP 5
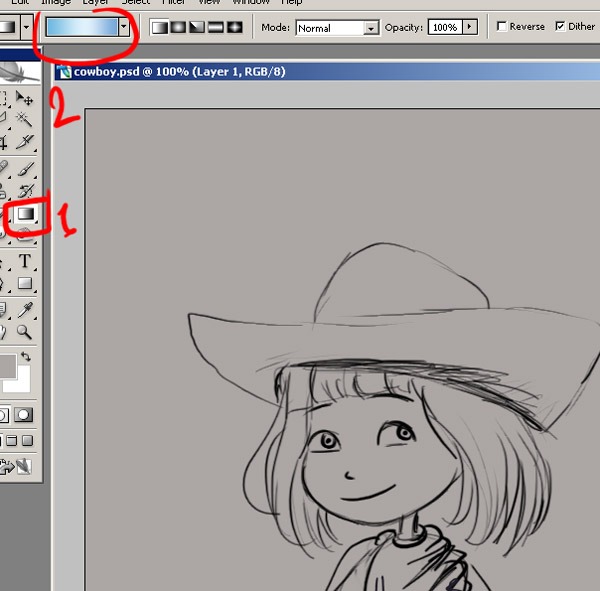
Select the Gradient tool. We are going to fill the background with some colours.
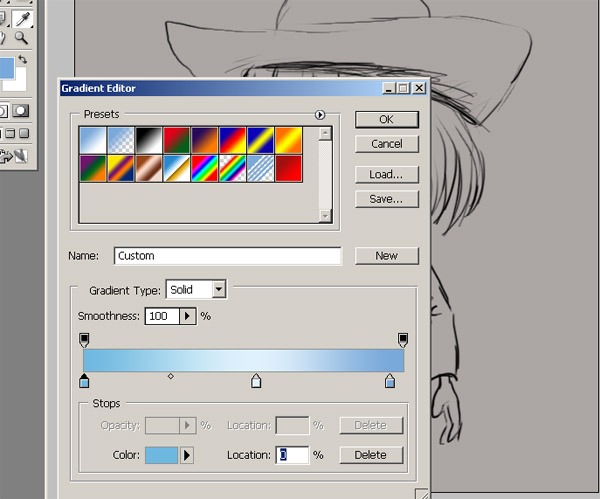
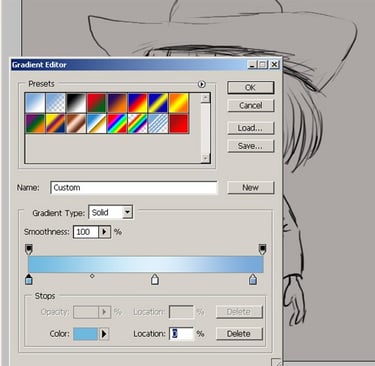
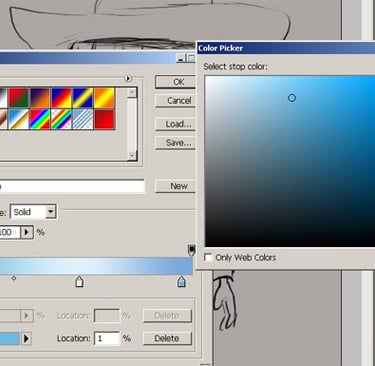
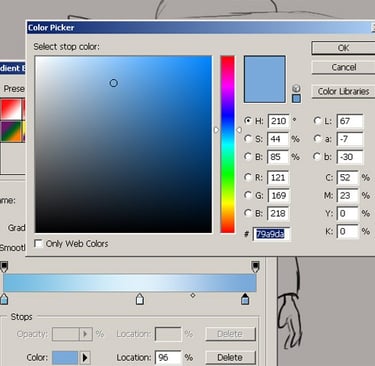
STEP 6
And here is the gradient editor. There are three colours in this little window. In the next step, I'll show you the numbers of the colours
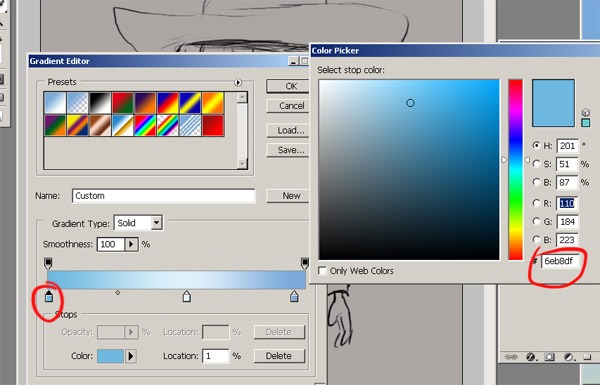
STEP 7
Clicking on the first colour will open another window. Select the (#6eb8df) for the first colour.
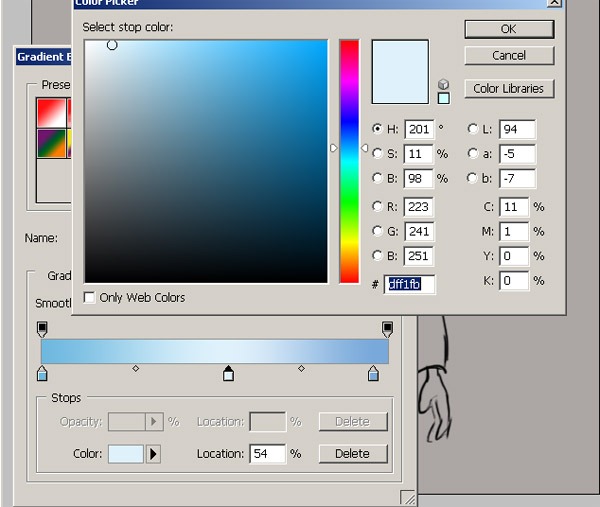
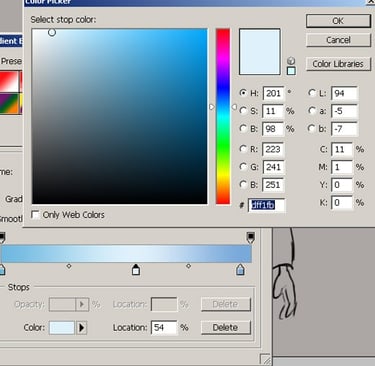
STEP 8
Now select the (#dff1fb) for the second colour.
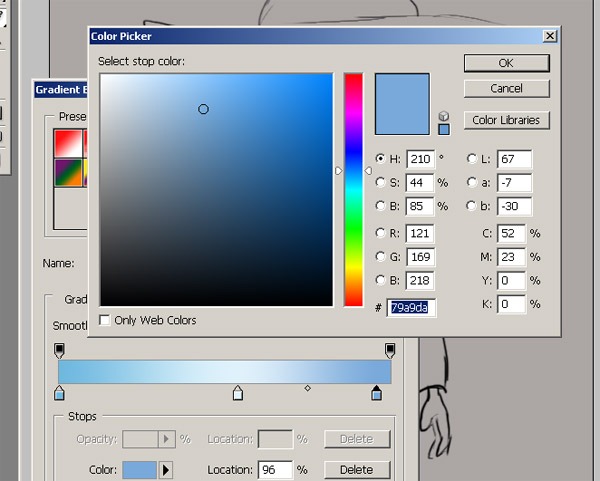
STEP 9
Then choose the (#79a9da) for the last colour
STEP 10
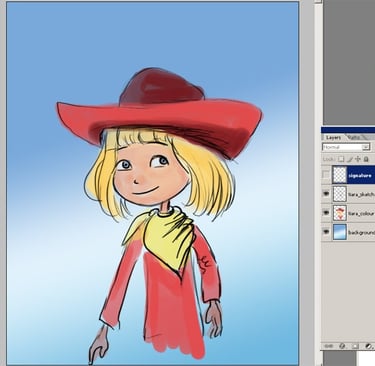
And now we will start to add colours and some details. Now change the file size to 1000x1242. The resolution should be 300. Now I will start to tone and give the sketch the basic tones.
STEP 11
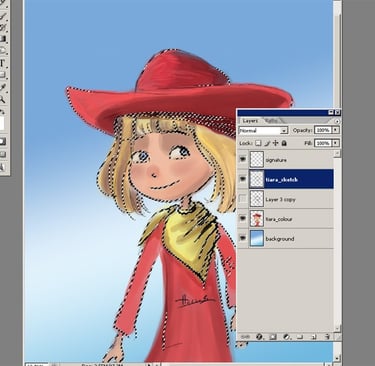
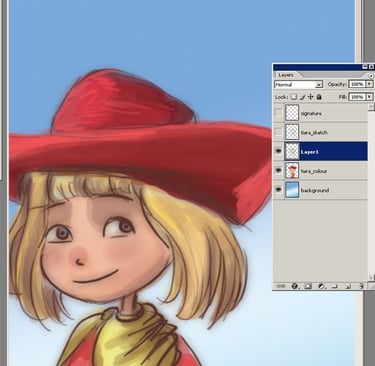
The light is coming from the right. I'm going to start detailing the character. You don't have to over-detail everything yet. I am just adding some basic details to my character at this stage.
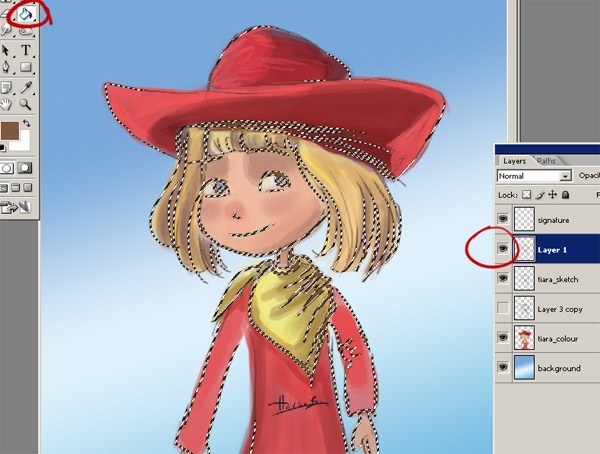
STEP 12
Now select the Sketch layer. When you select the Sketch layer, it will look like this.
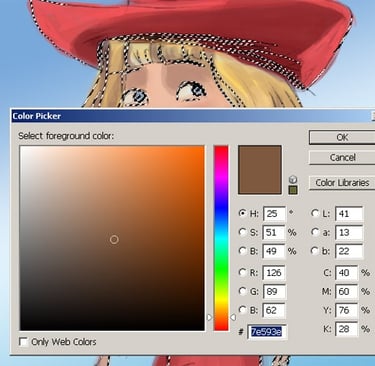
STEP 14
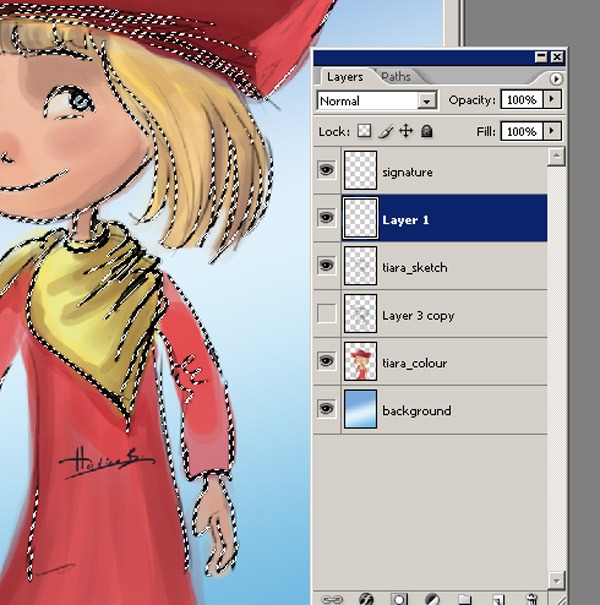
Now select the colour (#7e593e). This is a new colour for the character outline.

STEP 13
Then open a new layer.
STEP 16
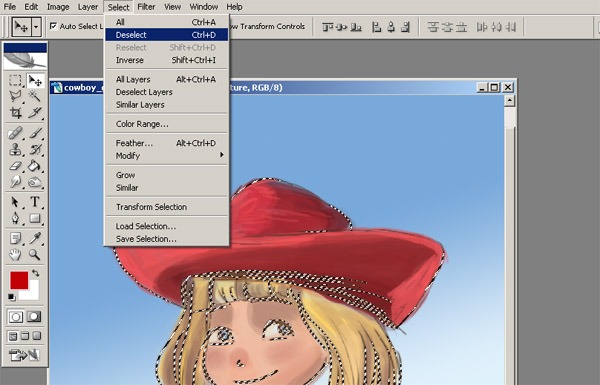
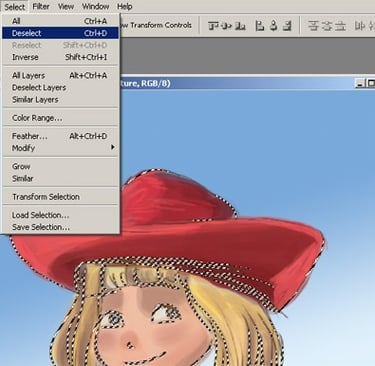
Now I need to deselect the selected area. To do this, click on Select and choose Deselect (Ctrl+D).
STEP 15
Now select the Paint Bucket tool (G) and fill the new layer with this new colour.
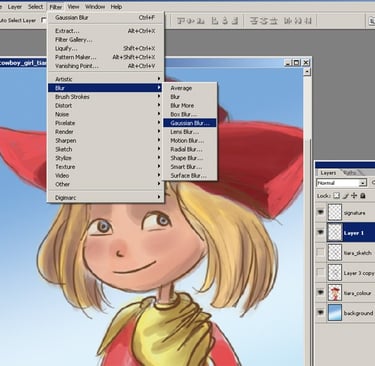
STEP 18
Now I'm going to blur this new layer. Select (Filter > Blur > Gaussian Blur.
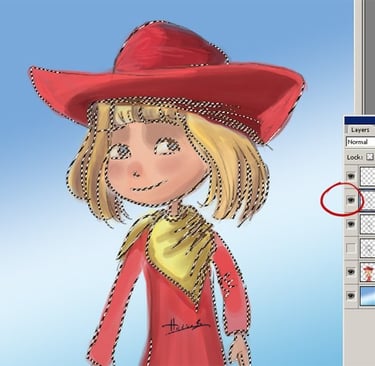
STEP 17
Look at the character drawing. After deselecting it should look like this. Now this new colour is on the sketch colour.
STEP 20
Now that the general details are almost done. I'm going to start a very detailed painting process and I'm going to use a standard brush, but I'm going to change some of the settings when I use the brush.
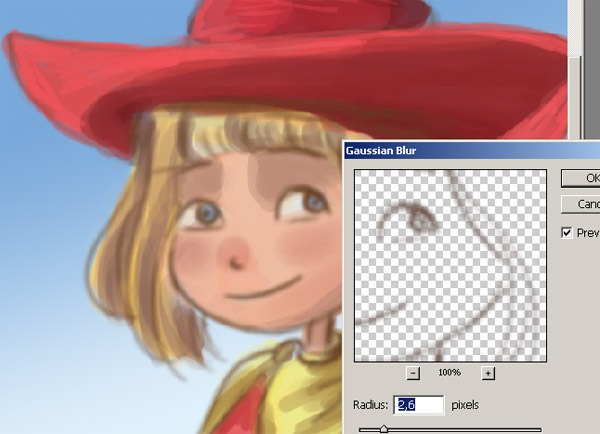
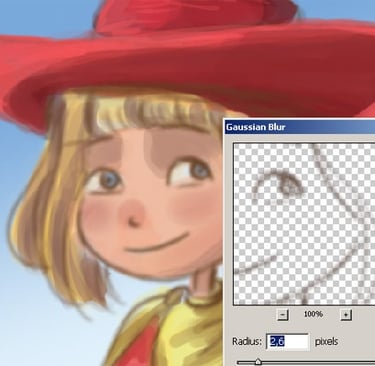
STEP 19
Change the radius number as shown in the screenshot below.
STEP 22
I add some more colour to her face and hair and try to make some shadowy areas on her face.
STEP 21
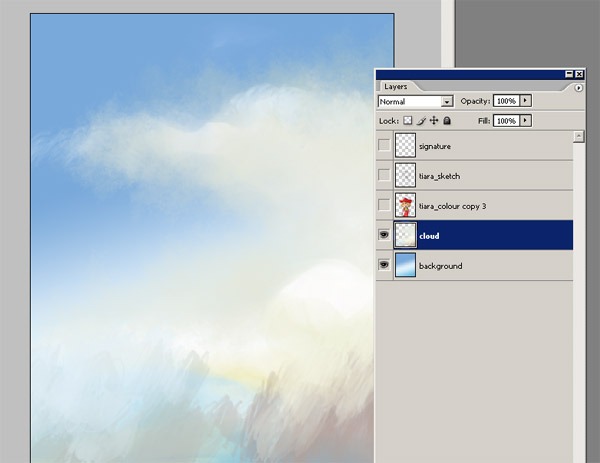
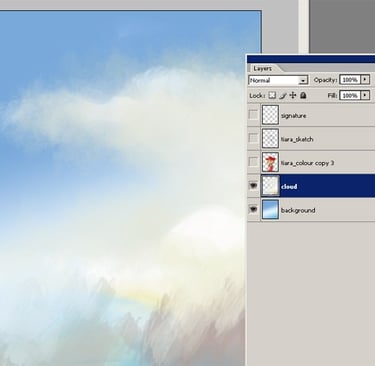
Now open a new layer on top of the background layer and draw some clouds.
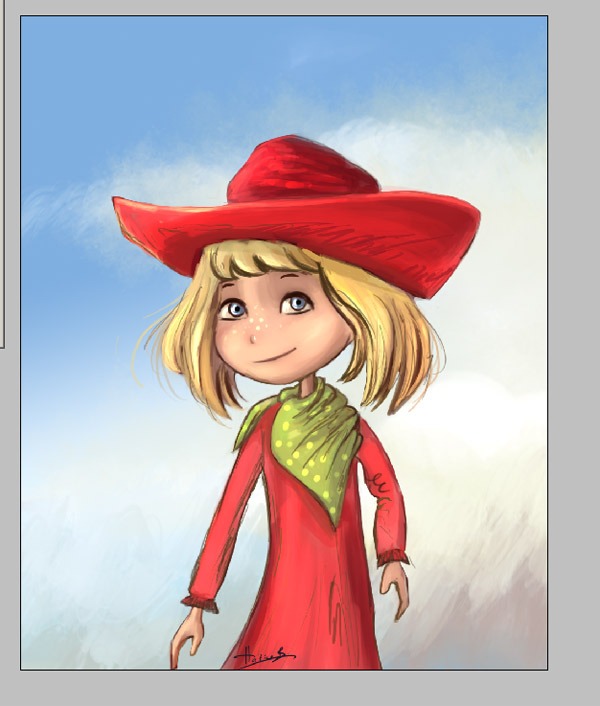
STEP 24
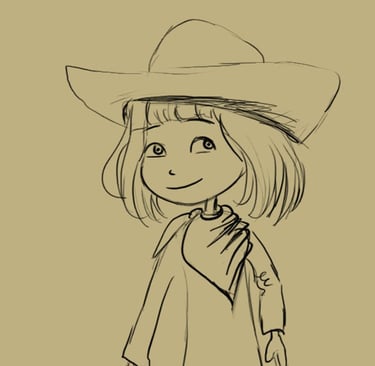
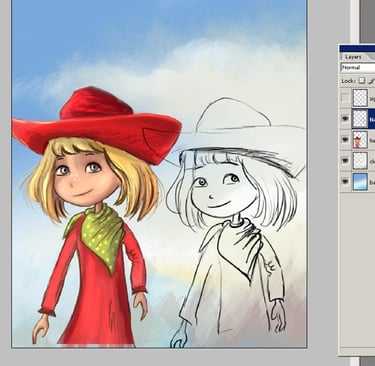
And let me show you the initial sketch work and the final character painting work so you can see the difference.
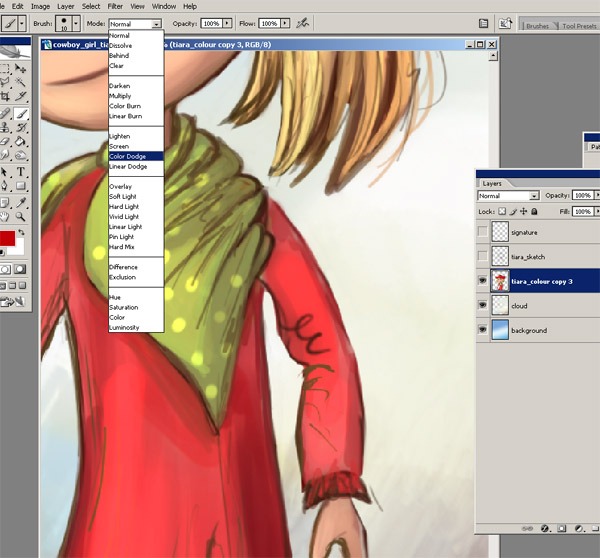
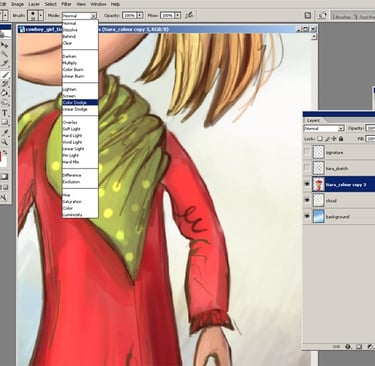
STEP 23
If I want to add a little more light to the image, I will select Colour Dodge from here.
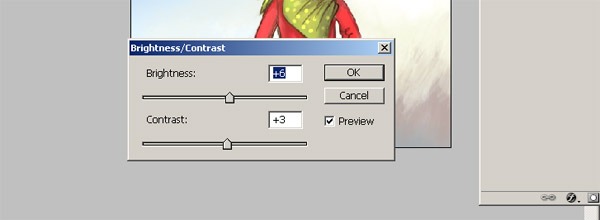
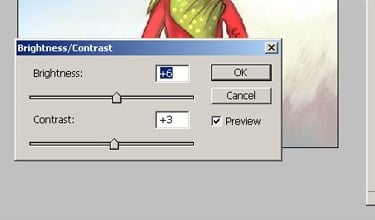
STEP 26
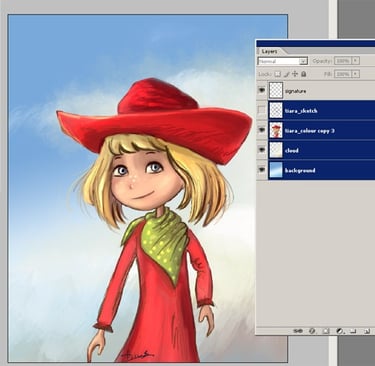
Now select Image/Adjustment/Brightness/Contrast. I want to change the brightness of the image.
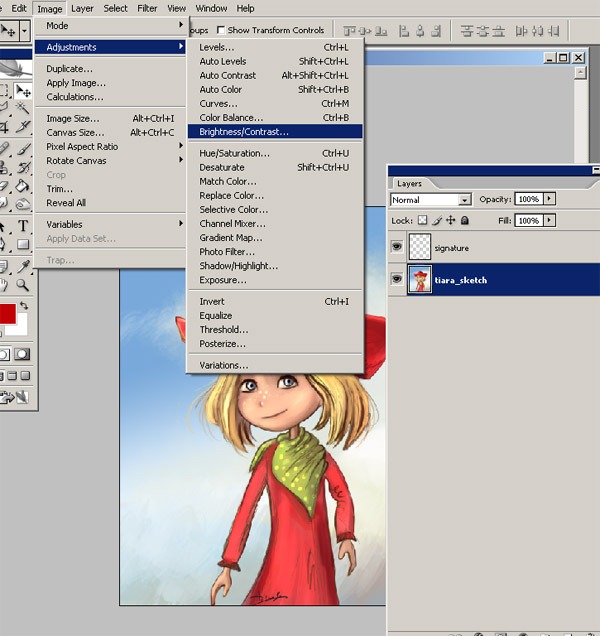
STEP 25
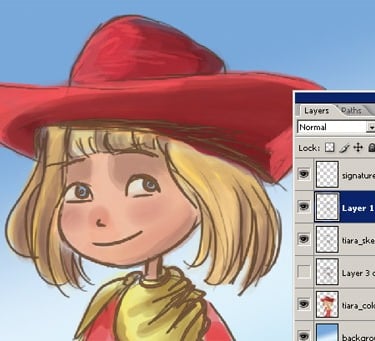
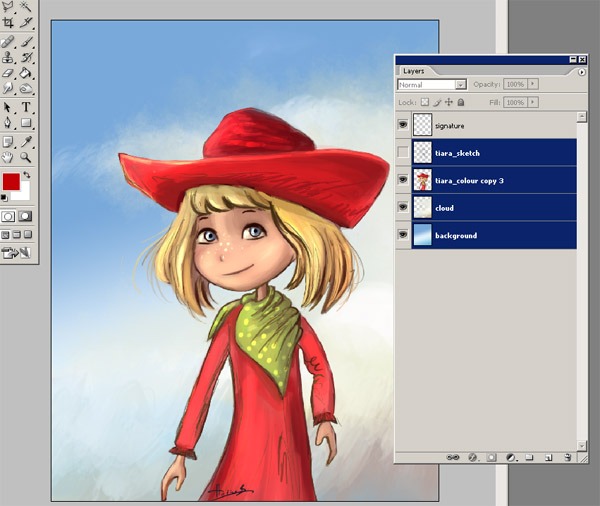
Now select all layers except the signature layer. And merge them all into one layer.
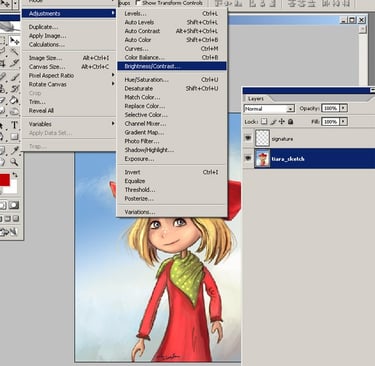
STEP 27
And adjust the Brightness/Contrast as I did.