Illustrating A Cute Children's Book Character
1/30/2025
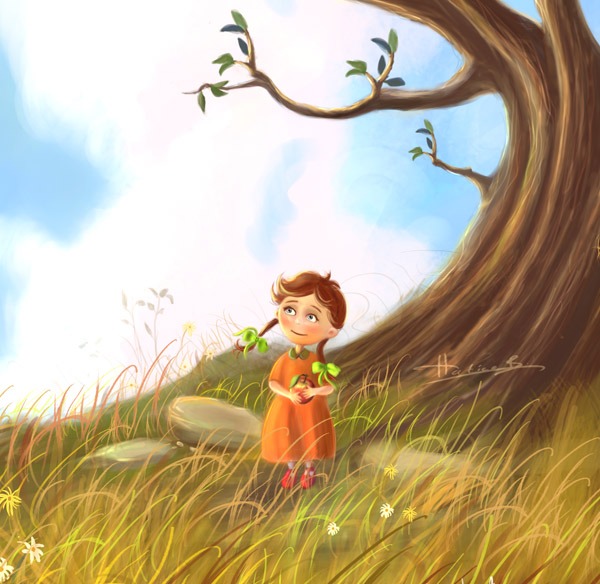
Preview of Final Results
I illustrated this character in 2011 and have always wanted to animate my paintings and see them come to life. Recently I had the opportunity to see this illustration animated.
Here is the youtube link, I hope you like it :)
Introduction
In this tutorial I will show you how to illustrate a cute girl character for a children's book, from a rough sketch to the final illustration. I believe that after following this tutorial you will find out what works best for you. In this tutorial. I will be using Adobe Photoshop and the Wacom tablet.


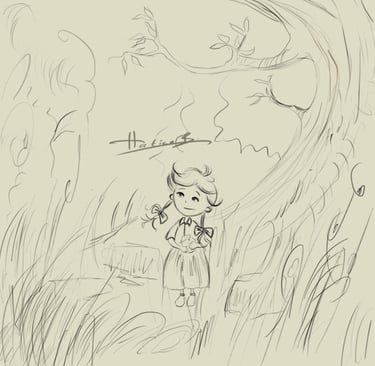
STEP 1 - Character Sketch
I start by creating a new document in Photoshop at 800x778 pixels. I started with some quick sketches of the main idea of the character and the environment. It will be a cute little girl character standing near an apple tree and holding an apple in her hand. And she is smiling because she is happy and maybe a little bit sad.
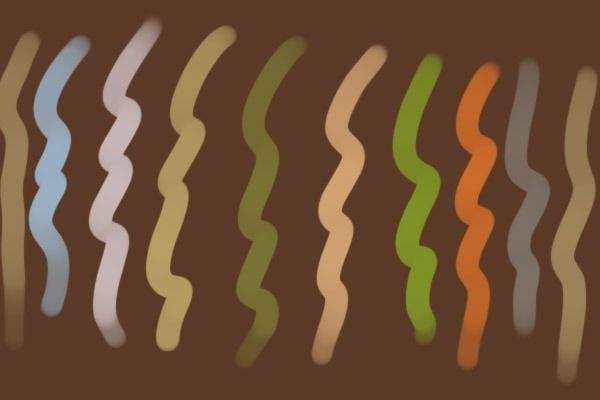
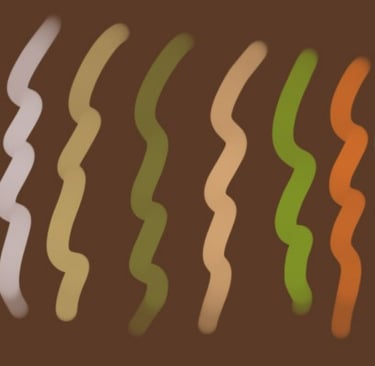
STEP 3 - The Colour Palette
Once you've adjusted the brush, you need to decide which colours to use. Here are the colours I used for this illustration.
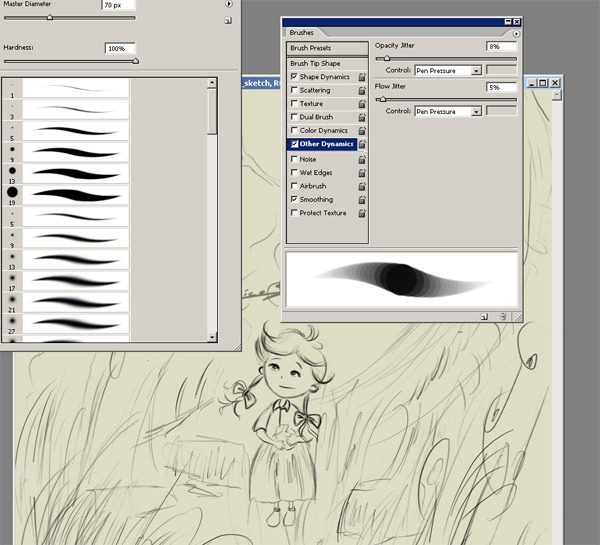
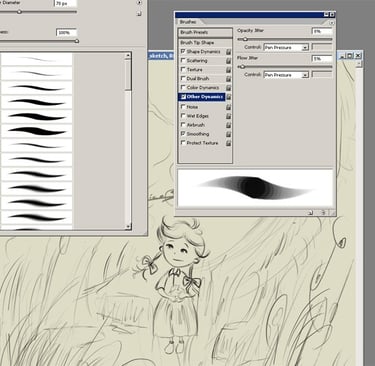
STEP 2 - Adjusting the Brush
Standard brushes are the only brushes I'll be using to colour my character. Before you start painting, you'll need to set up your brushes.
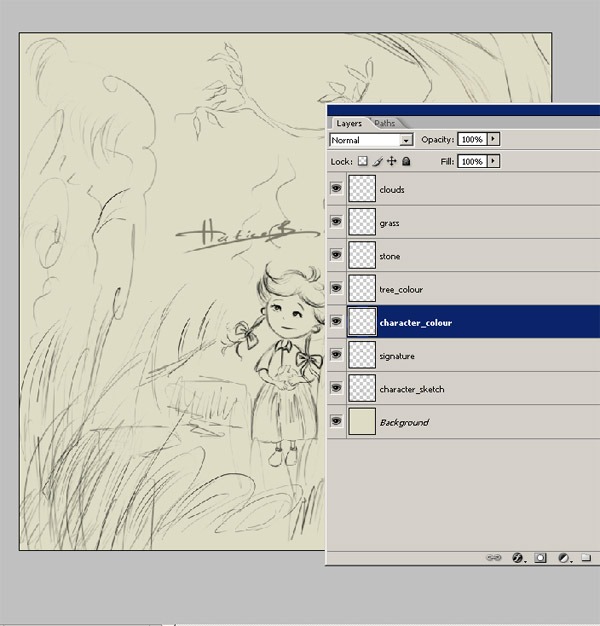
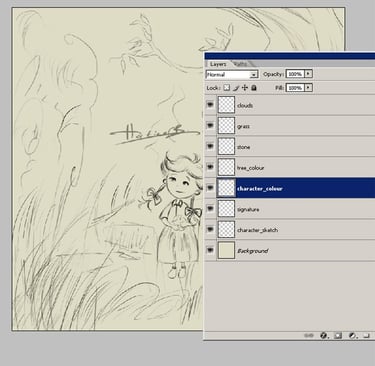
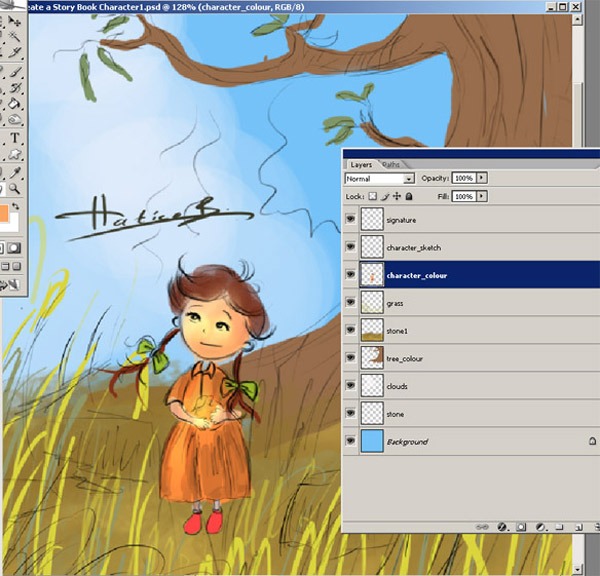
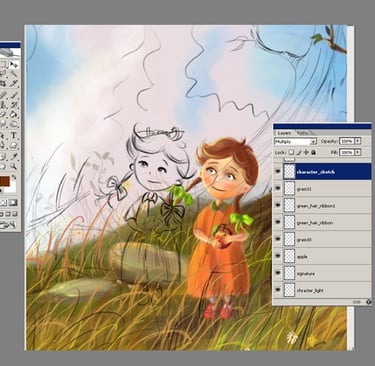
STEP 4 - Setting Up Layers
Create a new layer called Sketch and change the blend mode to Multiply and keep it as the top layer so you can see it as you paint. And look at all my layers. I have layers for all the objects in the sketch. Now I'm going to give you some important information about layers. The reason for painting on separate layers is that you will need to make corrections later in the painting. It is much easier to correct mistakes if the main elements of your painting are separate entities. This is a very, very important step.
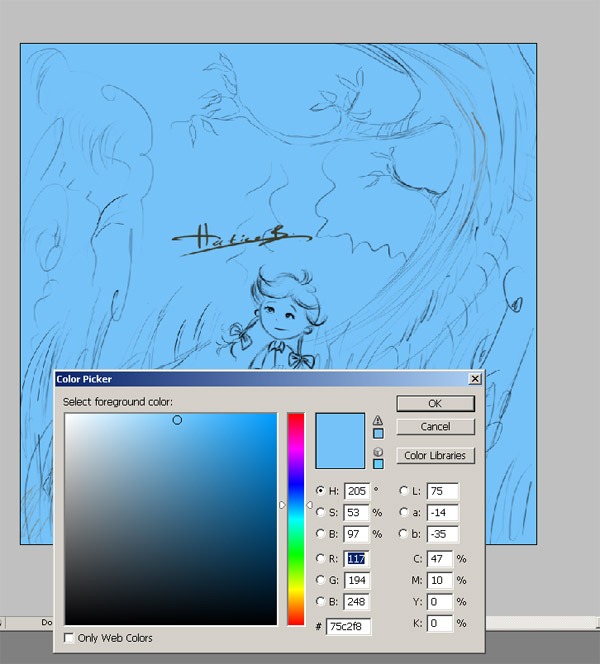
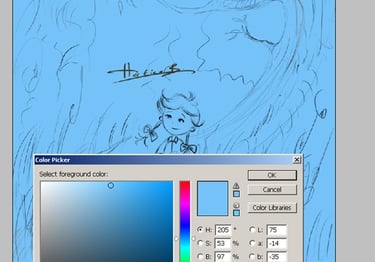
STEP 5 - Background Colour
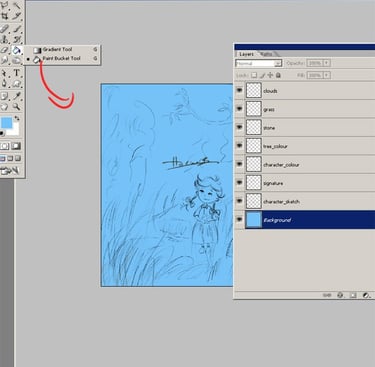
At this point we can start colouring the sketchwork. Here is my colour for the background. Select the Gradient tool (G) and do as shown in the picture. This is the colour for the background
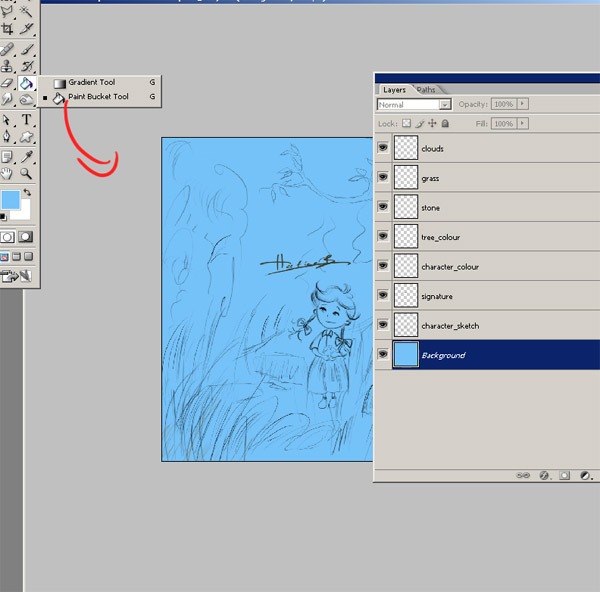
STEP 6
Now select the Paint Bucket tool (G). After you have filled the background, it should look like this. Make sure your layer setup looks like the picture below.
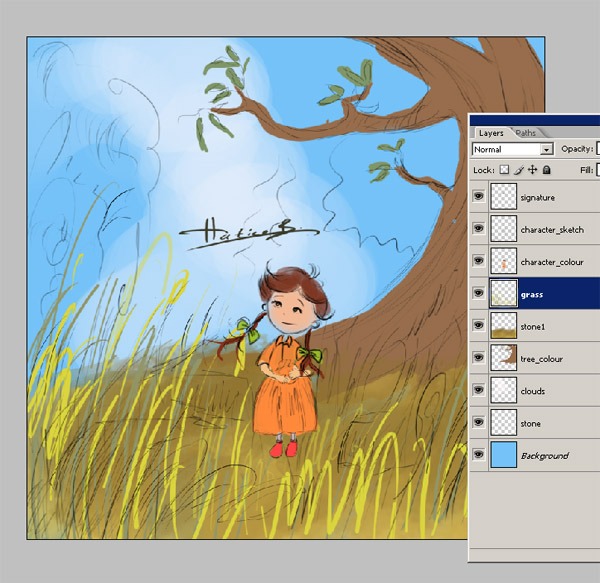
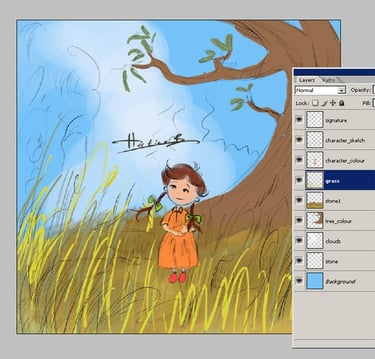
STEP 7
Before continuing with the painting process, let me show you my layer order again. I have only changed the order of the layers because the Sketch layer must be on top of all layers and its setting must be set to Multiply. At this point we can start to colour the sketch and you can define the main shapes. Using the Brush tool (B), start painting the character and the tree on separate layers. Make sure your brush has a hardness of 100%. A brush with a soft edge can give a blurred result.
STEP 8
And at this step Ichange the size of my file, because I'm going to start adding more detail, so I'll need a bigger file size. I want my file to be bigger because at this stage I don't think I'll be able to add so much detail. So I open Image/Image Size, and chage the settings to 1500x1459.
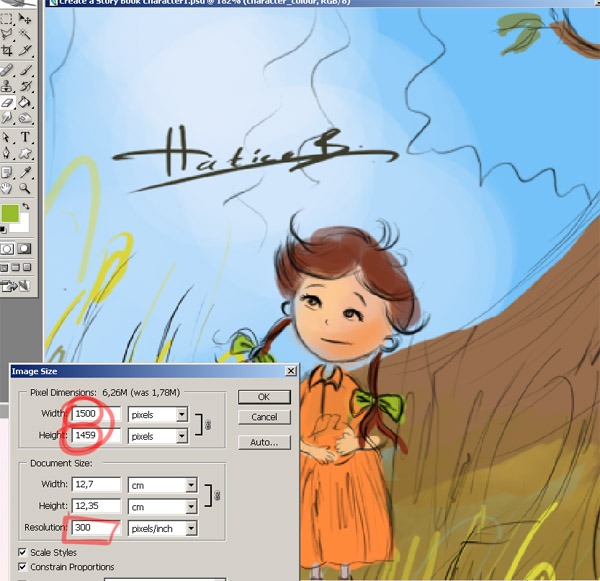

STEP 9
Now I can start adding detail. In this step I started by painting the character's face. Make sure you have the correct layer selected before you start painting.

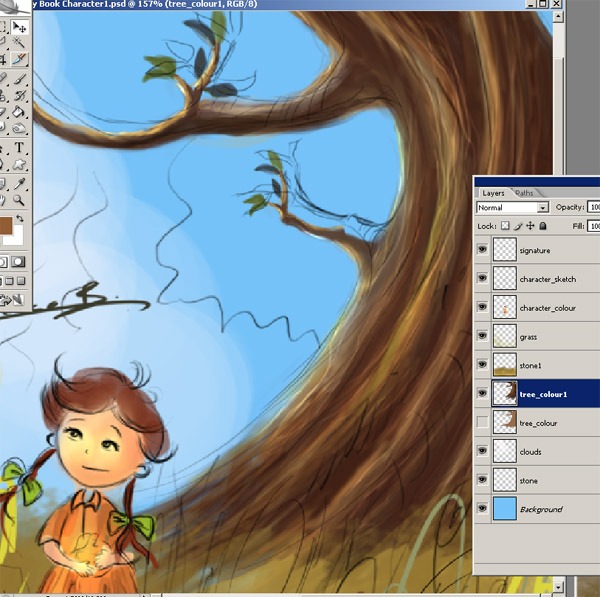

STEP 10
And here I made a new copy of the tree layer and then I added some details to the tree. I also closed the first tree layer.
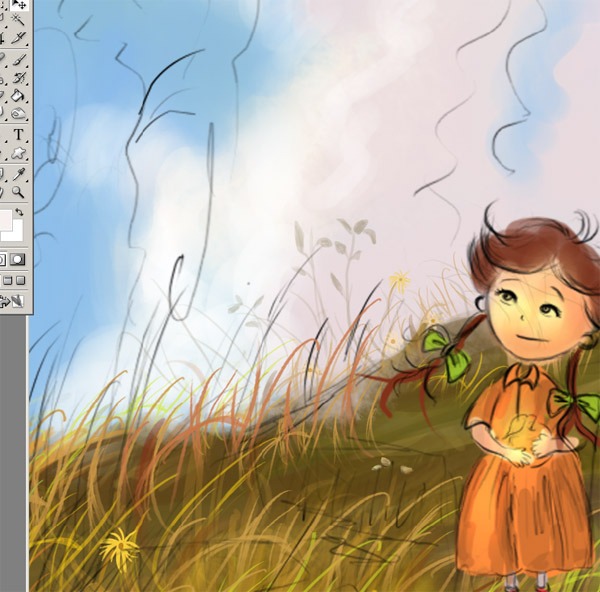
STEP 11
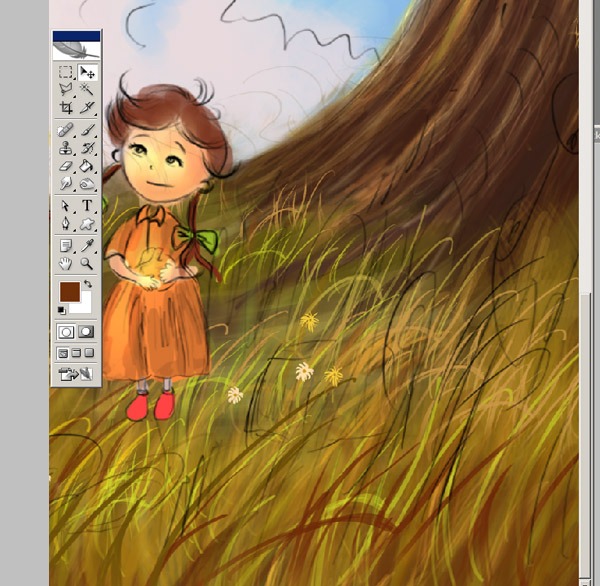
Here I started to add some more details to my illustration, like grass and some little flowers. For this step I added a new layer called "Flowers".

STEP 12
I'm adding some more colour and detail to the tree. I added some thin lines to the tree.

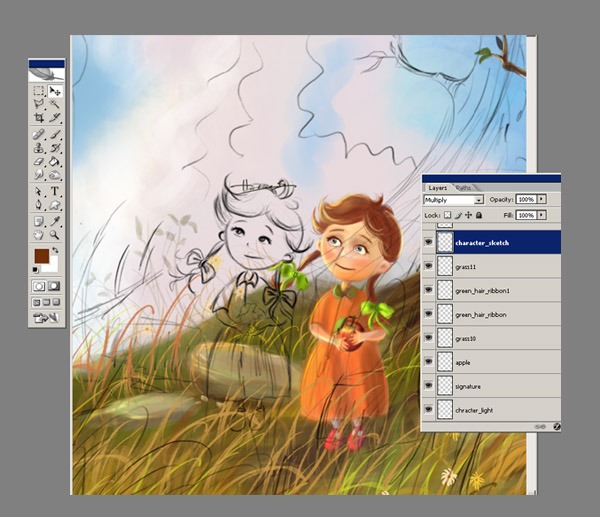
STEP 14
Once I'm happy with the details of the character and the tree, I add some detail to the cloth. At this point I realised that my character looked very simple, so I thought it was time to make some changes to the details. I try some different angles for her. And I keep adding more details. And also pay attention to my layer order. At this stage I have a few new layers as you can see. And each layer has a name.

STEP 13
I will continue to add more detail and open new layers as needed.
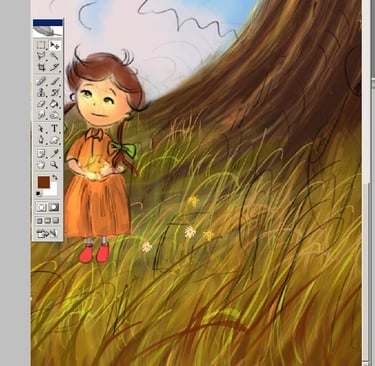
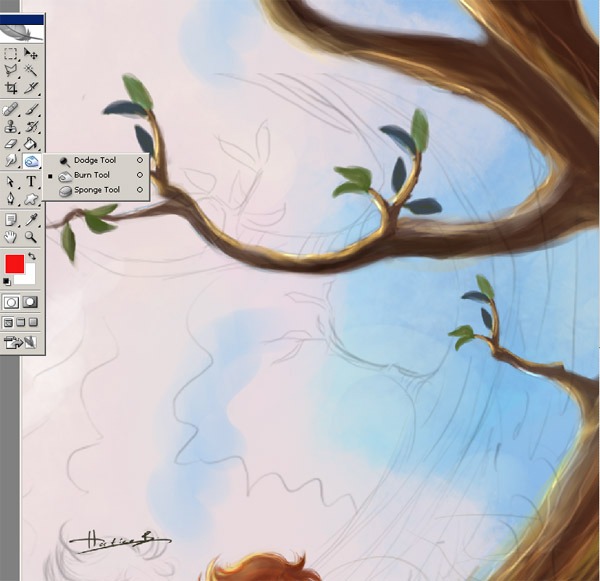
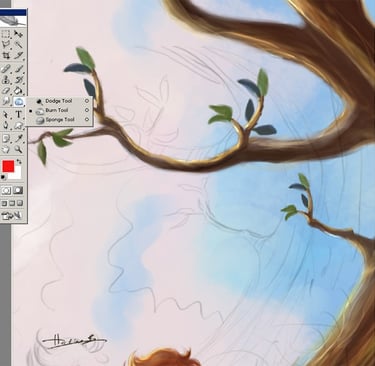
STEP 16
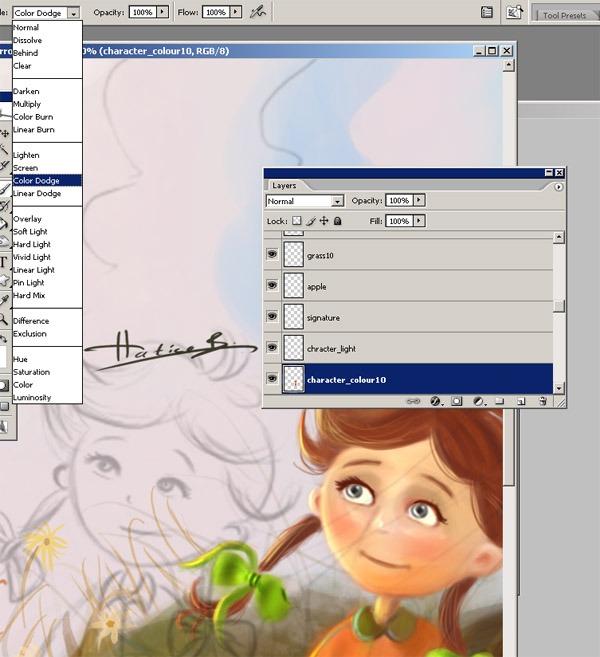
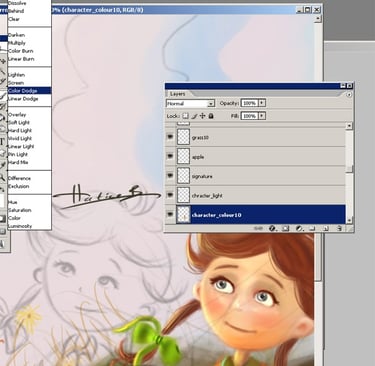
I used Colour Dodge on the light areas. This is what it looks like once all the adjustments have been made with the Colour Dodge and Burn tool. I continue to add detail to the tree using different brush sizes and colours. Once there is enough detail, I start smoothing it out with a soft-edged brush. I also use the Dodge and Burn tool to shade the branch.
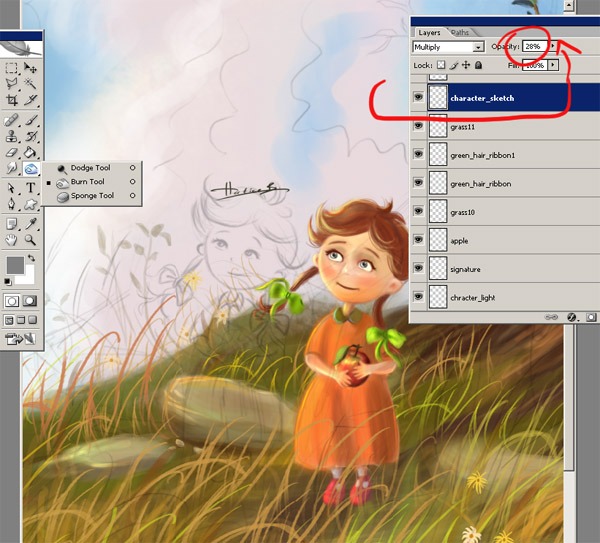
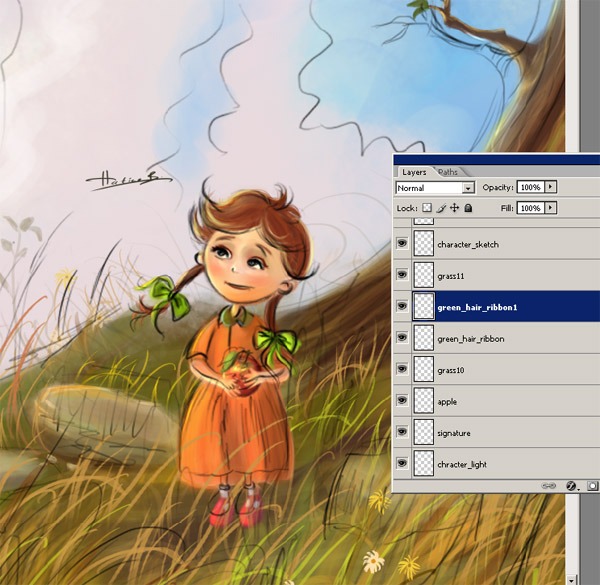
STEP 15
Now I'm going to start adding small details to the character, adding more yellow and green. Remember, you don't need to over-detail everything at this stage. Just keep working on the main details and lights until you get a nice contrast. I am pretty much done painting her clothing body. I also dragged the sketch layer to the side so you can see what the character looks like without the sketch.
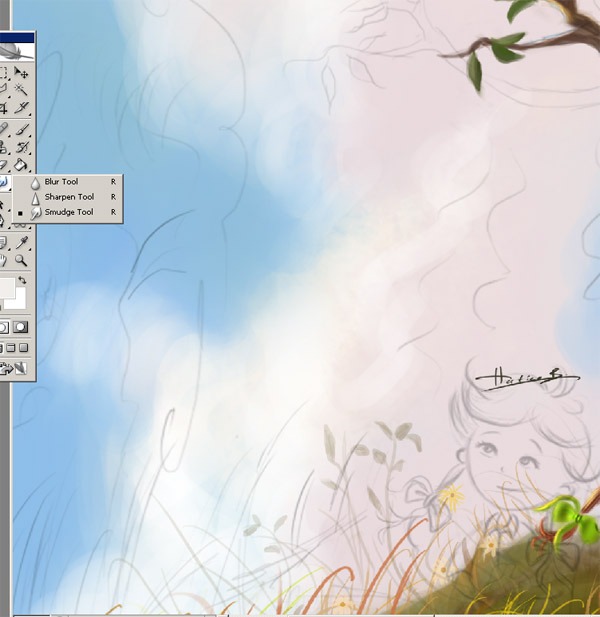
STEP 18
I also add a few strokes with the smudge tool. I use this because I want to add soft blurred areas to the cloud and background. At this stage I noticed that my cloud was not very detailed, so I created a new layer and added some cloud using both the smudge tool and the brush.
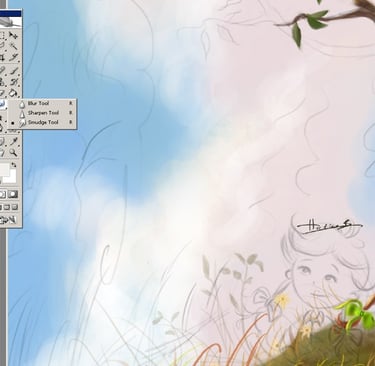
STEP 17
I also want to show you how I added these dark areas to my tree layer. I used the burn tool to achieve this effect. I always use this tool when I want to add some dark areas to my illustrations.

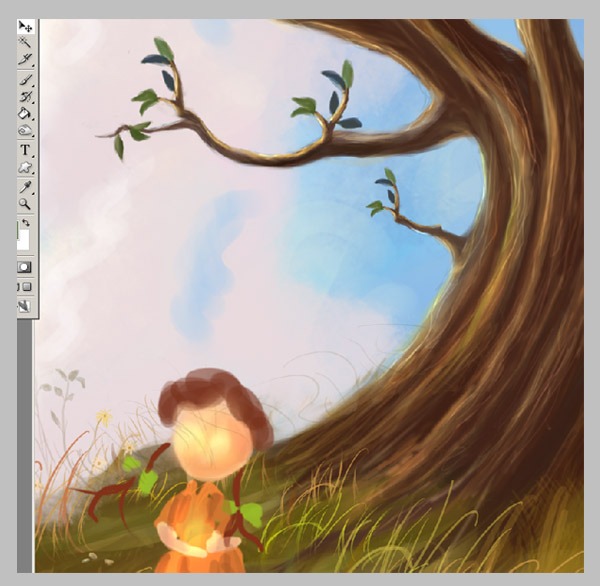
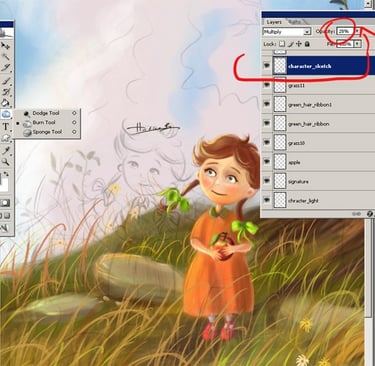
STEP 20
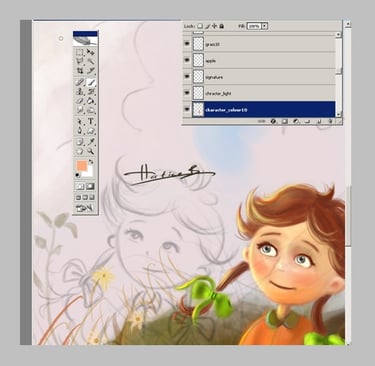
Now that I have finished with the grass and the background. I can start to add more detail to her hair and face. I choose the colour dodge and add some brush strokes to her face.
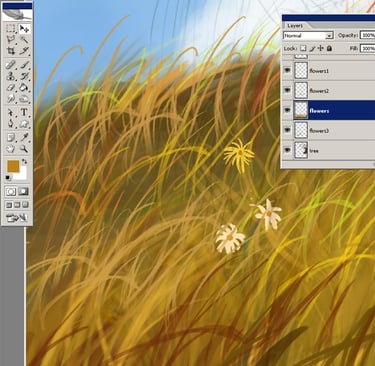
STEP 19
Then I add more flowers in the background. So I create a new layer and draw some small, nice, simple flowers. I add some strokes with the dodge tool, I use it because I want to add some light areas on the grass.

STEP 22
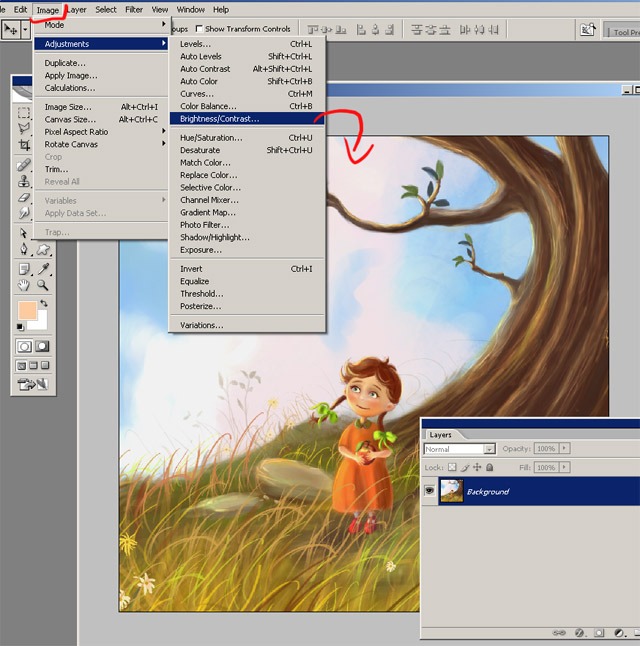
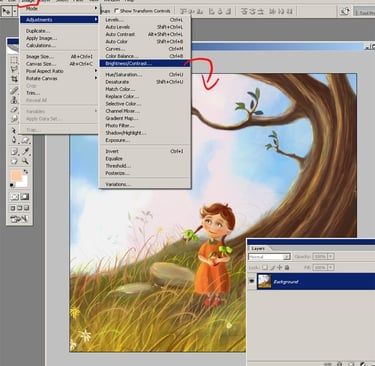
The illustration is almost finished, except for the colour correction. First, merge all the layers. I want a more sunny effect. So I changed the colours with Image/Adjustment/Brightness/Contrast.
STEP 21
Now look at the details I just added to the character using the colour dodge tool.
STEP 23
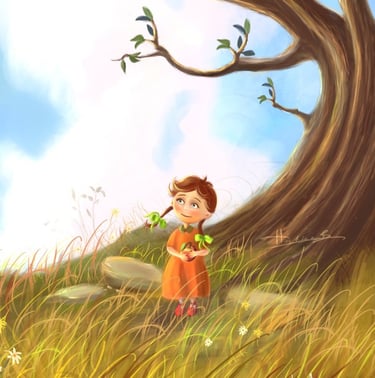
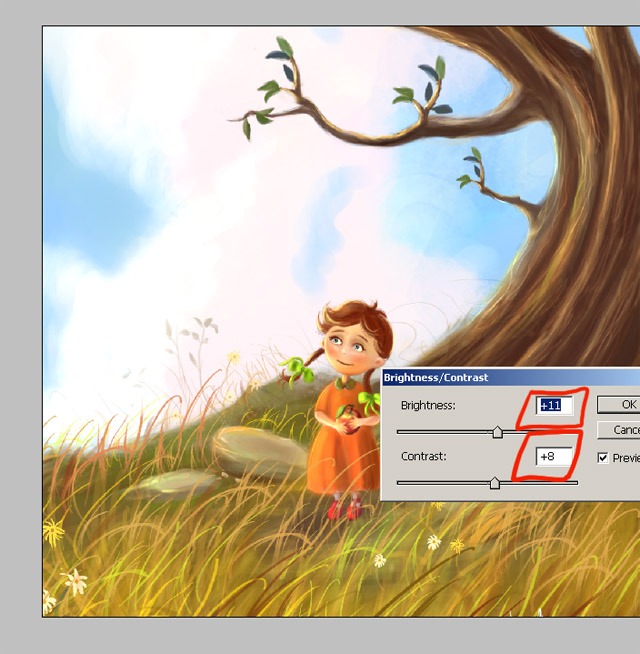
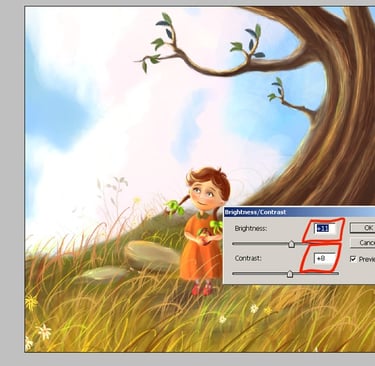
Go to Image/Adjustment/Brightness/Contrast and make the settings as I did. The image now looks more sunny and cheerful.

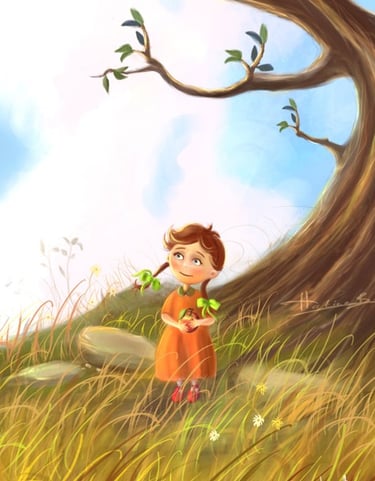
Conclusion
And here's the final illustration of the cute cartoon girl standing under an apple tree, holding an apple, surrounded by soft summer grass. And I share the Youtube vide link for you to see the animated version of this illustration.
I hope you enjoyed this tutorial.
Thanks for reading.