Making of "I Want a Sun (Not a star)"
1/30/2025
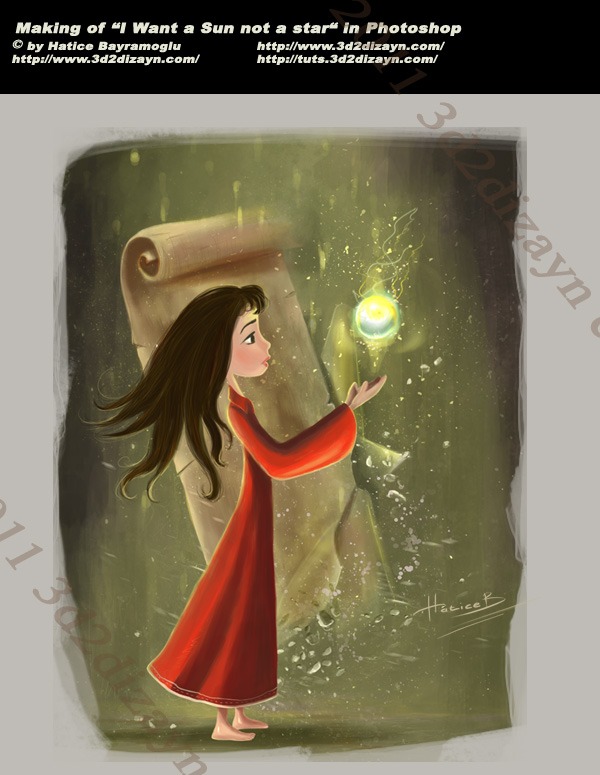
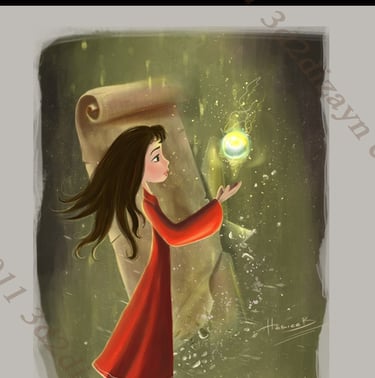
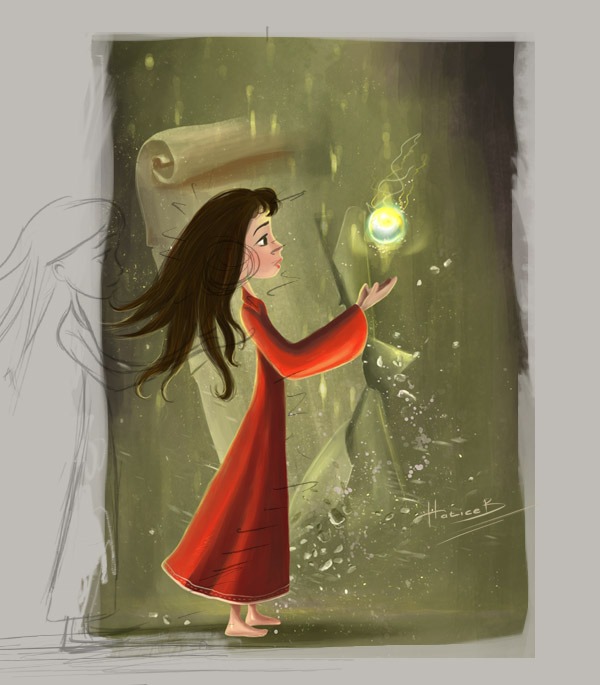
Preview of Final Results
Introduction
This tutorial has been created to show my illustration process for "I Want a Sun not a Star" and I hope it will be of some help to others. In 2011, the original idea for this piece came to me as I was sitting up late finishing one of my personal paintings.
Here is the Youtube animation link of this image, I hope you like it :)

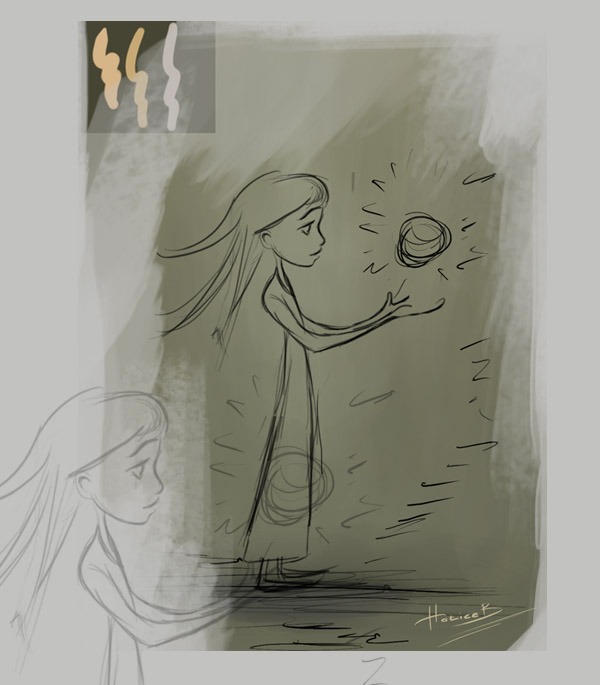
STEP 1 - The Sketch
This artwork actually started as a random sketch. I use Adobe Photoshop and Wacom Graphire4 4×5 USB (Blue). But when I first learning to illustrate on a PC, I was using the MOUSE itself:)))) Drawing with a mouse may sound strange in 2025, but I had that experience in the old days :) After having the first tablet, it was an amazing experience : Wacom makes the best tablets!
Back to the topic: The Photoshop file size of the first sketch is 700x839. The resolution needs to be 72 for now. You will need to increase it later to add the painting details. And my first draft is as bleow:
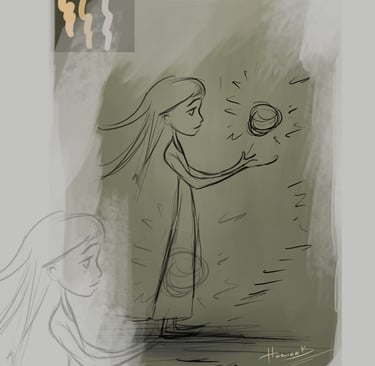
STEP 2 - Blocking Out the Shapes
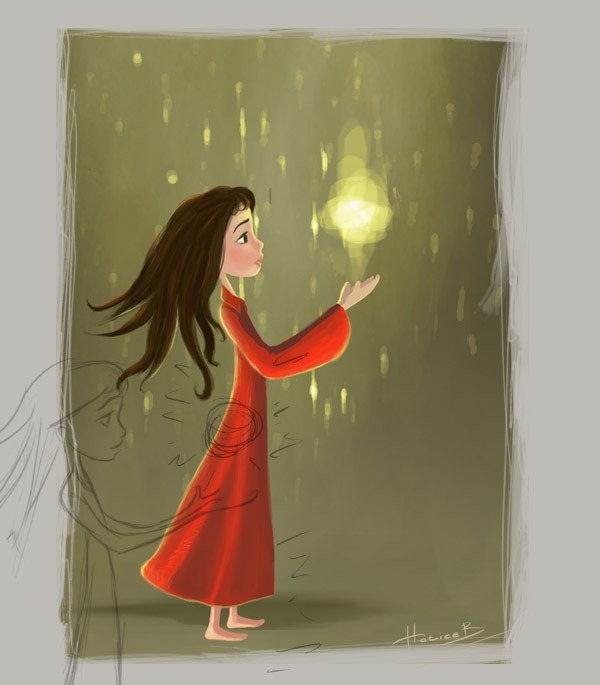
The idea was to draw a cute girl holding a sun. I decided to draw a fantastic illustration of a cartoon girl trying to hold the sun in her hand. As you can see in the final picture, there are lots of little stars around her. She wants a big sun in her hand, not a star. She is thinking: "I want a sun: A sun as bright as this one" Once I'd defined the shape of the girl, I spent some time on the colour palette. The main sketch is very important, because in the process of drawing you can fix things easily and painlessly and get a clear vision of the picture.
STEP 2 - The Colors
In the next steps I created a few more layers and used a large hard round brush to block in the colours and then a smaller size of the same brush to add some rough detail. I also created a new layer for the hair and roughly painted it in. At this point I decided to leave it alone and forget about it for a while.
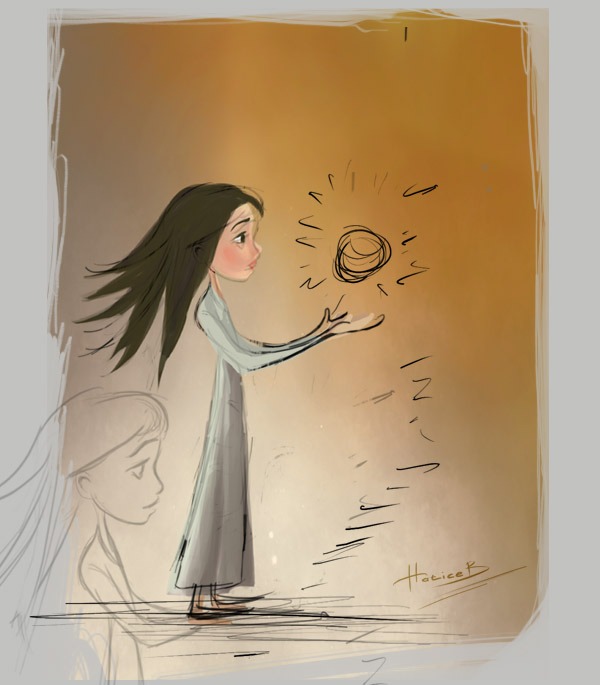

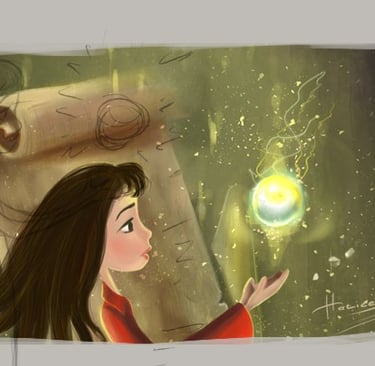
STEP 3 - Details
Then I worked on her face, the cloth and the sun, using a small hard round brush and a soft round brush to smooth it. I also worked a little more on her lips and eye, added some colour to her hair and decided that I wanted the background to have a little start, a yellow star or green. But I can change it later, maybe it could be white-blue or it could be green.
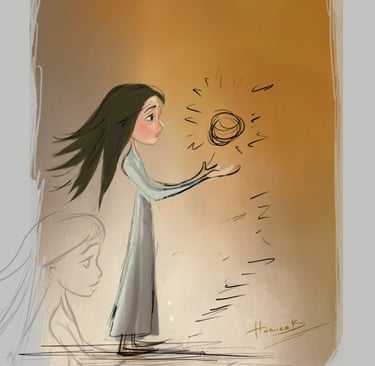
STEP 5
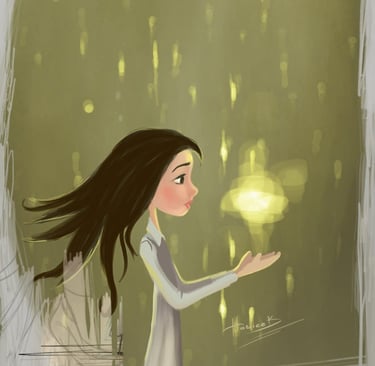
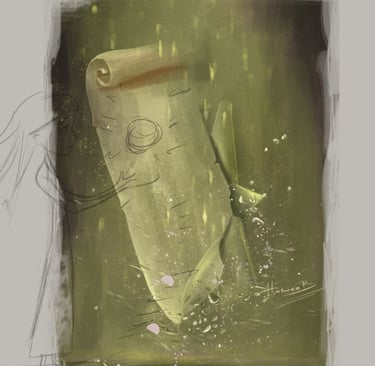
Now it was time to add detail to the sun. For the sun, I painted its shape in deep yellow on a separate layer and set the layer to overlay to get the effect you can see in the picture. And I only used two layers for the sun. One for the main colours and one for the brightness in the background.
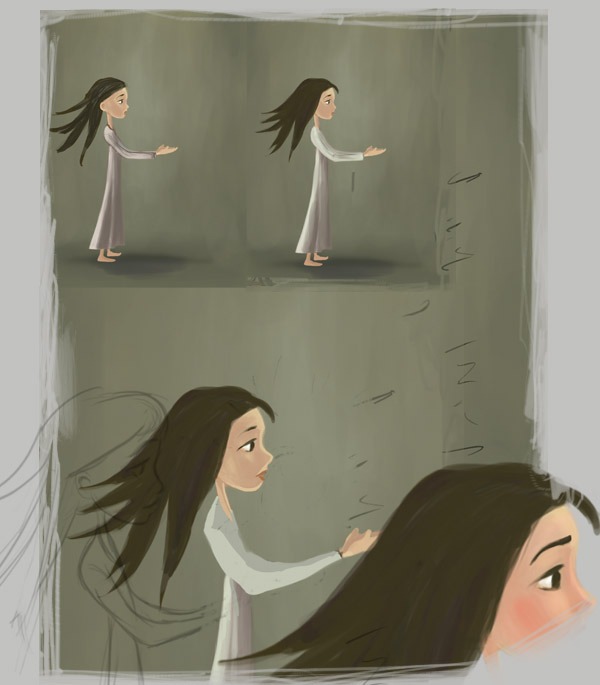
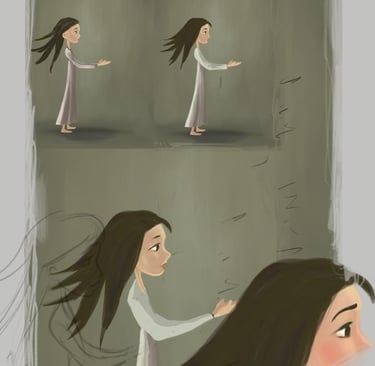
STEP 4
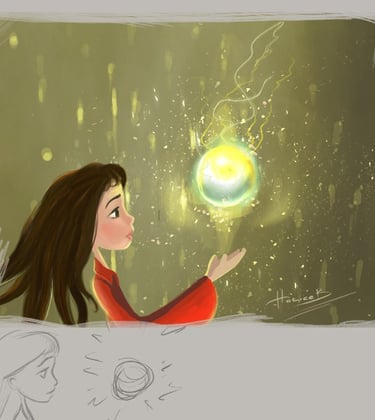
Here I decide to change the colour of the girl's dress. I think the red colour would be very appropriate for my cartoon girl character. I also spent some time smoothing out the skin. The cloth was refined by first blocking in the strands with a medium soft round brush and then filling in the details with a smaller hard round brush with shape dynamics turned on. I decided that the background was too light to create the mood I wanted, so I duplicated the coloured background layer and set the layer mode to Overlay. I also want to change the posture of her head to make her look more animated. She needs to turn her head slightly towards the sky.

STEP 7
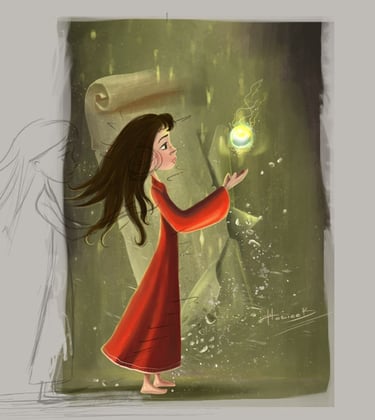
I always like to save my layers in case I need to edit the image later) and then reopen it in Photoshop for post-production (for me, my images are never really complete until I have done a bit of post-production on them). I continued to experiment with the colours. I added some dark green to the background and then realised it was getting too dark, so I changed that in the other step. I also changed the hair colour a bit (to make it look more realistic).
STEP 6
Here I decided to change the background completely. It was easy to change because I have layers for all the objects in my illustration. I used a hard edge brush and started to add as much detail as I could, just using lighter and darker shades of blue for the background. I began to experiment with different colour schemes. Greens are usually my first choice. It all depends on your style.

STEP 9
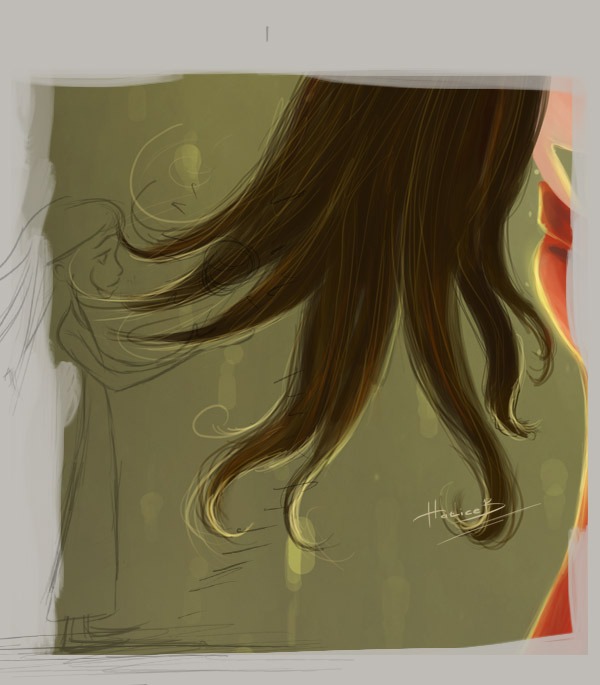
The next step was to add details to her hair and paint some highlights. Then I spent 5 minutes drawing details on her hair.
STEP 8
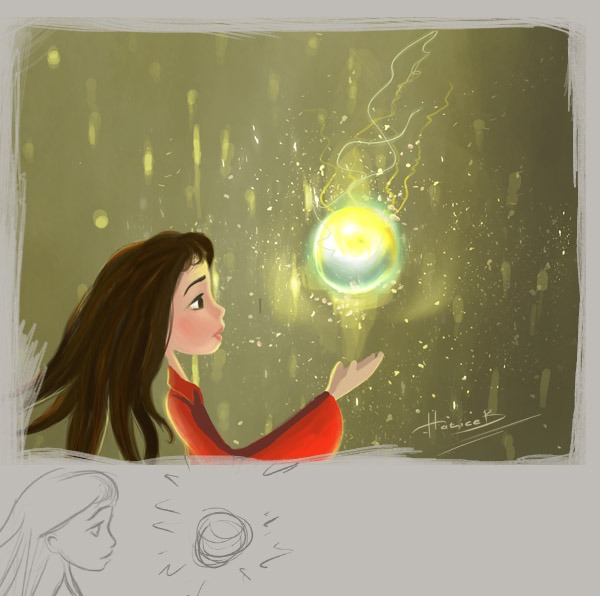
I also want some bright sunlight and some detail like a flash of lightning. After running through a few possibilities, I settled on the one shown here. It was quite rough at this stage, but that would be taken care of later. And I must say that each element went into a separate layer, which allowed me to quickly select its contents and make colour changes easily. Command+click (Mac) or control+click (Windows) on a layer's image in the Layers palette to load its opacity as a selection.


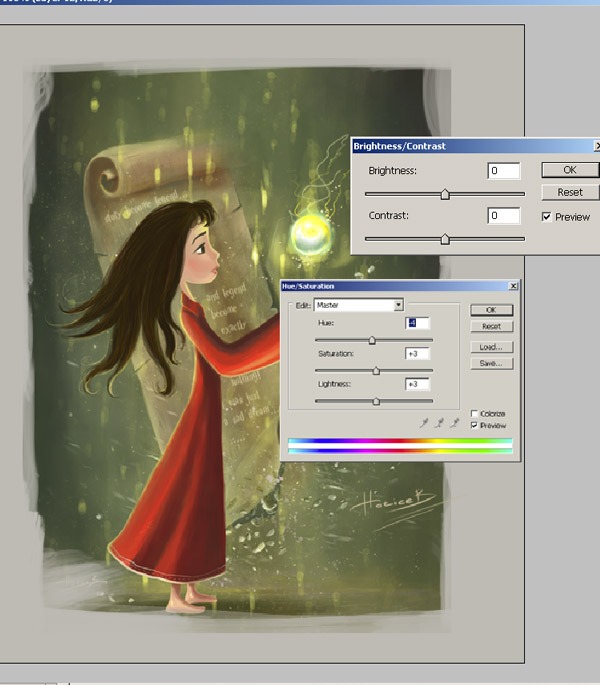
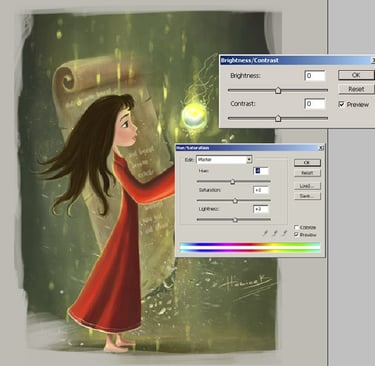
STEP 10
This was where the fun started. Everything was on a separate layer, I could make all sorts of changes to the different colour layers to create different moods. I used Control+U (Windows), (Image>Adjust>Hue/Saturation) on pretty much every layer to tweak it for effect. If I wanted a warmer light, I would change the hue of just the highlights layer. I then duplicated the image. I flattened the layer and used the Brightness/Contrast tool (under Adjustments in the Image toolbar) to adjust the image until I achieved the desired effect.

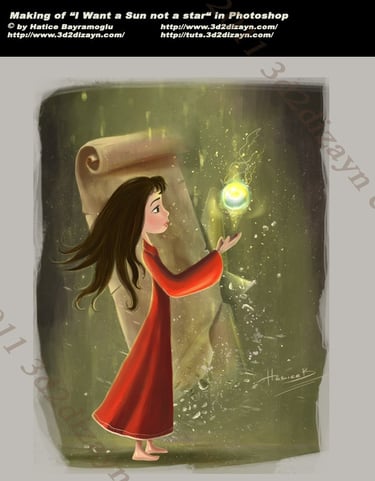
Conclusion
The original illustration was created entirely in Photoshop CS3 and has a resolution of about 4000 by 5800 pixels. As a final touch, I like to apply the Smart Sharpen filter to the flattened result to give it a slightly sharper look. This really helps to bring out small details such as highlights.
I hope you enjoyed reading this tutorial:)