Snow Girl: Cartoon Portrait illustration in Photoshop
1/6/2025

Introduction
In this tutorial, I'm going to explain how I painted a digital image called "Walking on the Snow". The following tutorial will walk you step-by-step through digitally coloring in Adobe Photoshop CS3. I'll just show you how I work and how to paint a cute cartoon character. The great thing is that you can easily apply these techniques to any digital coloring project:)
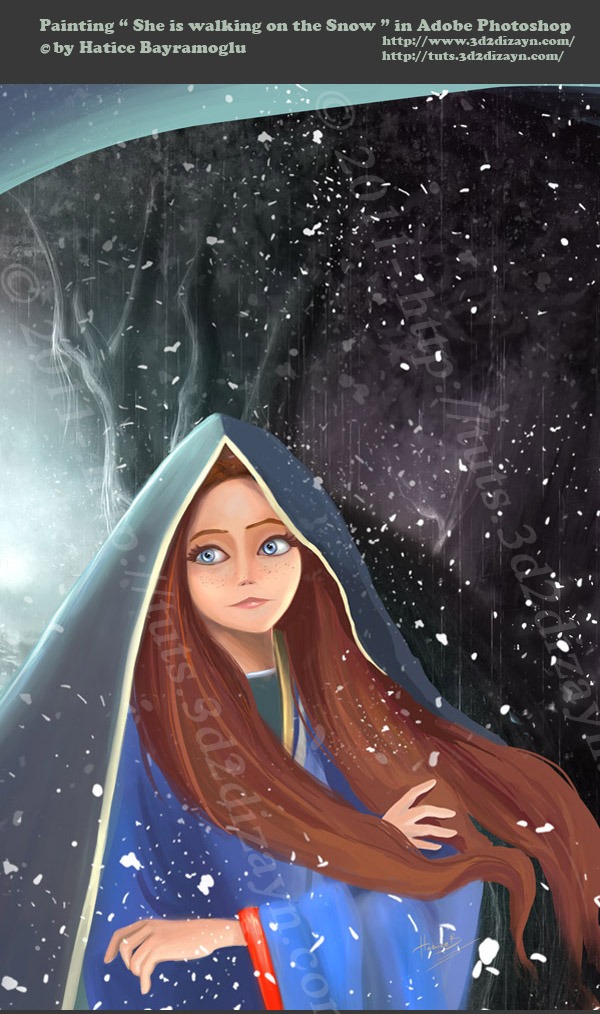
Preview of Final Results
STEP 1 - Setting Up The Canvas
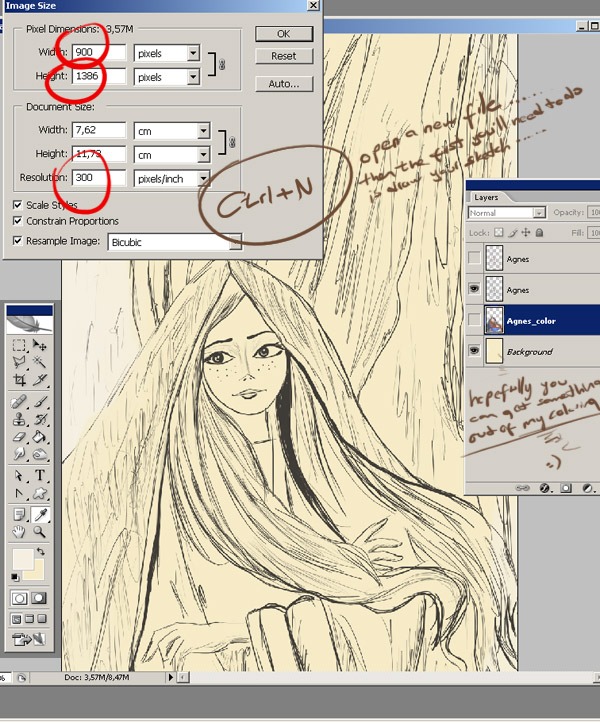
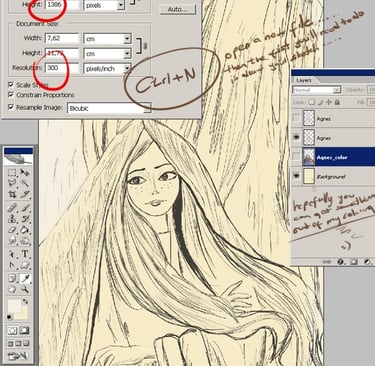
First of all Let‘s open a new document (approximately 900 x 1386, 300 dpi) and make a preliminary sketch. (Ctrl+N or File > New). You can able to print it on A3 format in pretty good quality
Here are the canvas settings
Width: 900px
Height: 1386px
Resolution: 300.
STEP 2
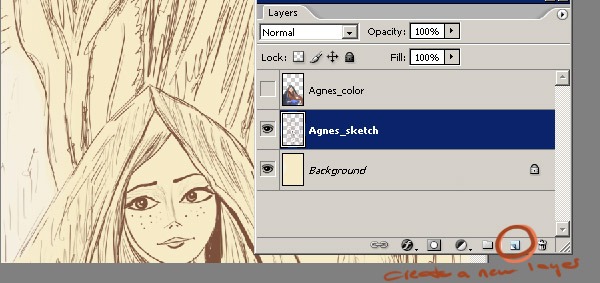
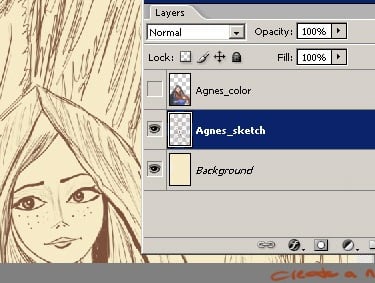
Now, let's make a new layer. To do this, press Ctrl/Cmd+Shift+N or click on the 'Create a new layer' button.
STEP 3
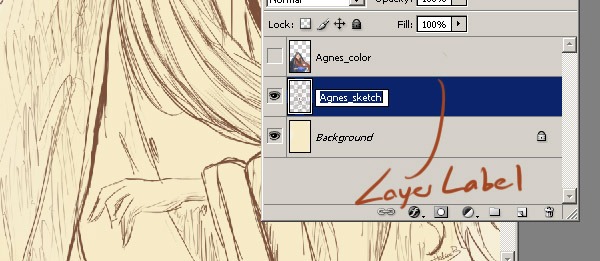
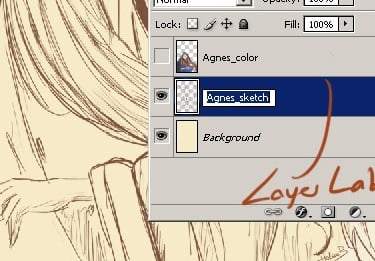
After you've created a layer, the first thing you need to do is give it a name. To do this, double-click on the layer label. This will turn the label into a text box where you can enter a new name. As you can see, my layer is called 'Agnes_sketch'. Now you need to name your layer something different.
STEP 4
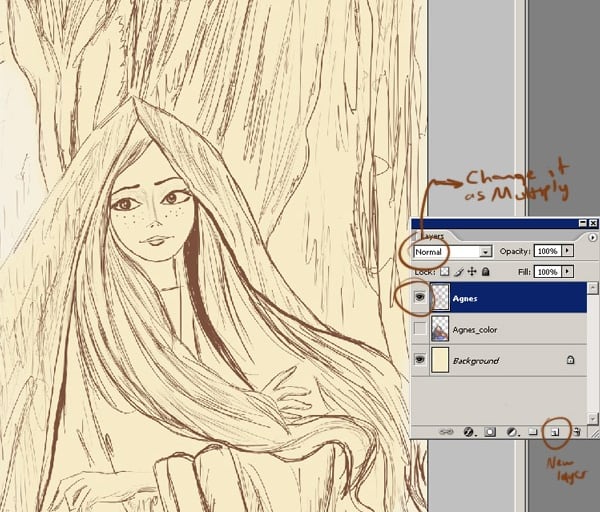
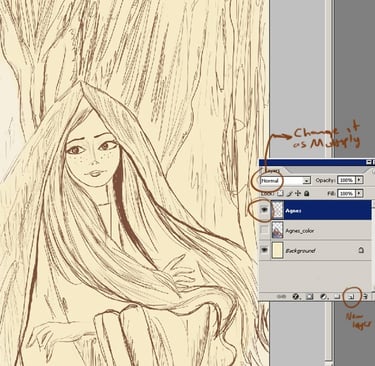
Now, after you have named the new layer, draw your own sketch. I make a character sketch using a dark brown colour because it stands out, but you can use whatever colour you want:) As you can see, these lines don't need to be perfect; this is just a rough sketch. If you're not happy with your sketch, you can use reference sketchwork. Make a new layer and name it after your character. My character name is Agnes as you see on the image below.
STEP 5
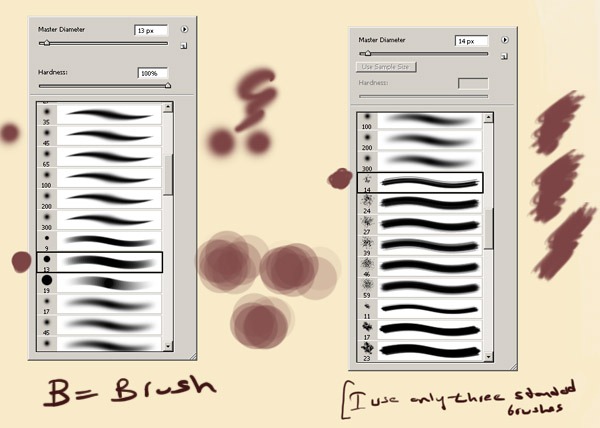
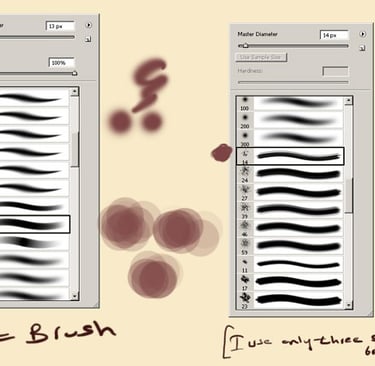
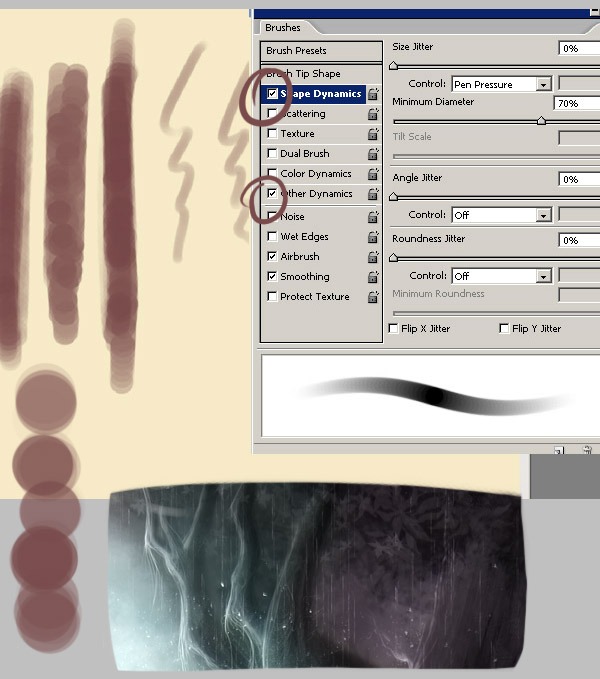
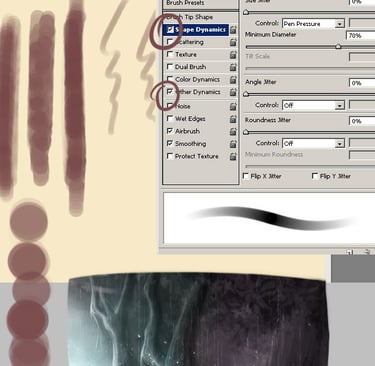
At this point, I only used the standard type of brushes. I don't use many brushes; I just find that this gives me the most control. The only adjustments I make to these settings are to the opacity, flow, and size jitters. I change the flow, opacity, and size jitters to 'pen pressure' only because I'm using a Wacom tablet.
STEP 6
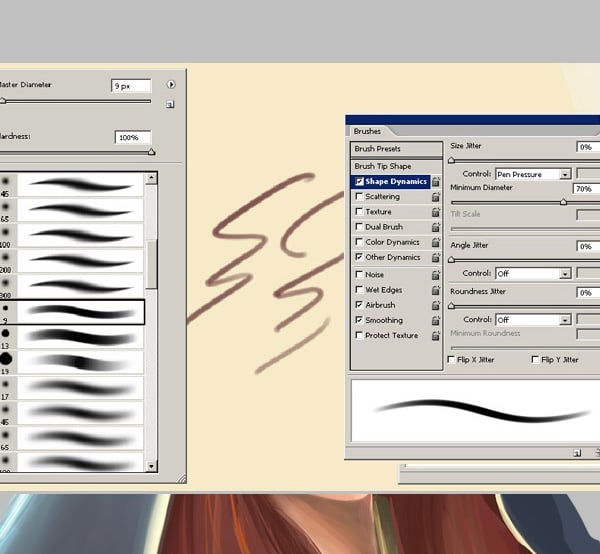
You can adjust the Shape Dynamics and Other Dynamics settings for parts like lashes, hair, lips, strokes and other fine lines.

STEP 7
I used a hard round brush for the background. To make the colours blend smoothly and adjusted Other Dynamics and Pen Pressure settings.
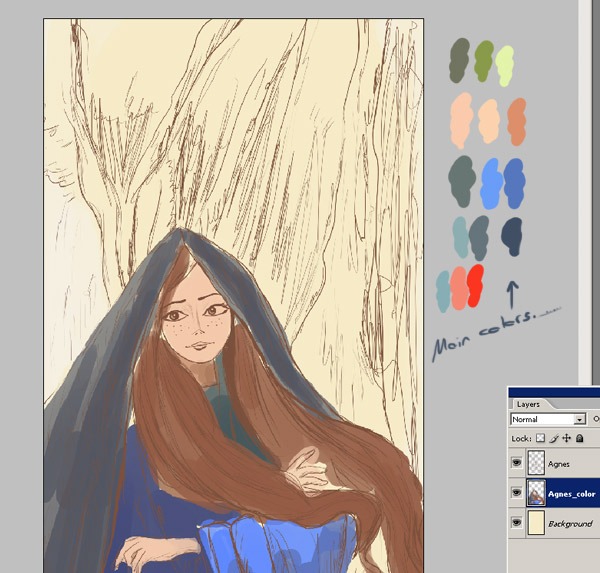
STEP 8
When the sketch looks good, I can start colouring it. Remember: it's important to think about the story before you start drawing the sketches, as this will save you time. Once you've figured out the story and chosen your colours, we can start the main colouring and painting process. You can also see my colour palette. My tutorial won't show you how to draw the sketch, but it will teach you how to paint the SKETCH OF A COOL CARTOON GIRL!
STEP 9
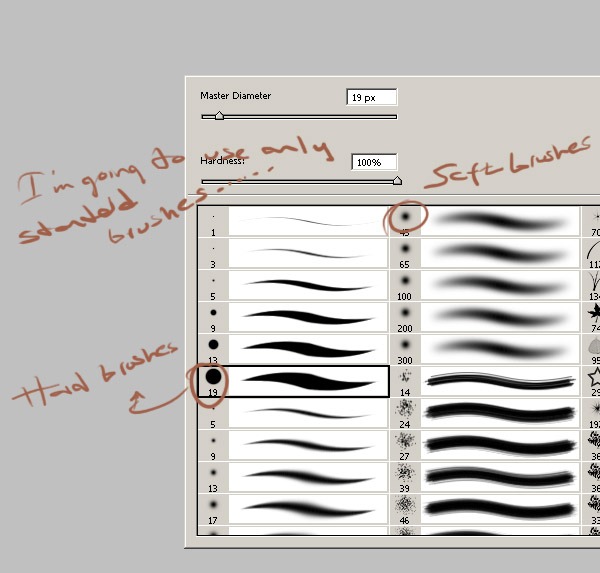
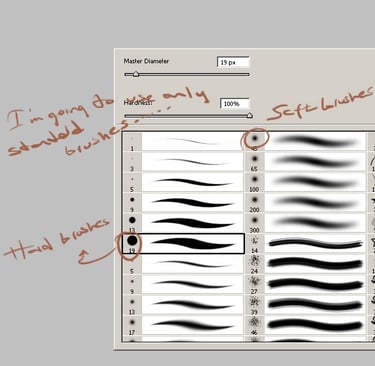
Then I click on the Brush Tool (B) and choose a very thin, hard brush. Soft brushes are blurry and hard brushes are more solid. You can choose any colour for the brush, because we'll be using a layer style that will cover it up. For my painting, I am going to use only standard brushes, but with different pen pressure settings.
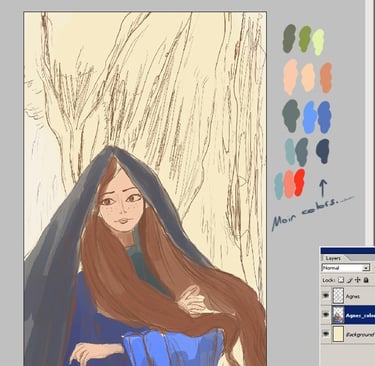
STEP 10
I made a layer behind the sketch layer and filled it with my chosen basic colours. Pick the base colour for your skin and clothing, then paint with a new layer onto the sketch layer. Decide where the shadows and water will be, but don't worry about the details.Try to see the image as a whole in this step.Use the large brush to add some general shading for the overall shape of the head and neck. As you can see, there is nothing detailed at this point. Shading clothing is really easy if you know where the lines go.
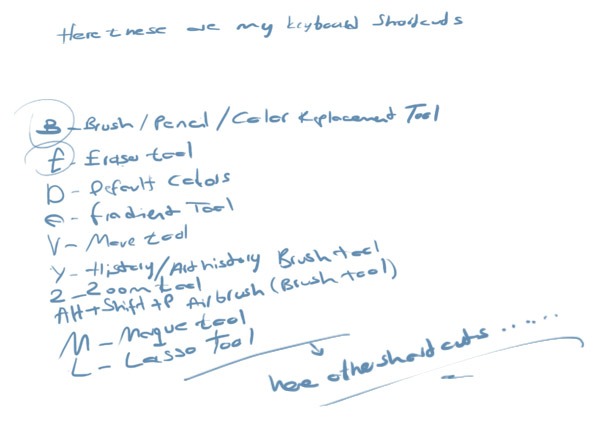
TIPS - PS Shortcuts During Painting
I've put together a list of the most useful hotkeys in Photoshop. There are many more shortcut keys you could use, but these are the essential ones for digital painting.

TIPS - PS Shortcuts During Painting
You can find out what shortcut keys you need by either experimenting with the keys on your keyboard or searching online. As you know, shortcut keys are very important for speed and ease of use. Below is a useful Photoshop shortcut that I frequently use when painting.
B Select brush. You can also use a keyboard shortcut to choose a brush. You can go through the brush list to find the one you want. I usually use the default brushes.
O Burn Tool/Dodge Tool/Sponge Tool
CTRL+ Shortcut for zooming in on the painting. Zooming is useful for adding details. When zoomed you can navigate on the canvas using the hand tool. A shortcut for this when your are painting is to hold down the SPACEBAR.
CTRL- Shortcut for zooming out on the painting. It can be practical to paint in 25%, or 50% on a 5000 pixel big painting. When working in zoomed out mode the painting looks best in 12.5%, 25% and 50%.
CTRL+X Shortcut for Undo on the painting. You just need a little practicle for that, though. "CTRL+Z" will only undo latest change. Pressing undo again directly after undoing will undo the undoing :)
CTRL+T This Shortcut mostly useful when editing. If you have selected a part of a painting this will let you freely transform the selection.


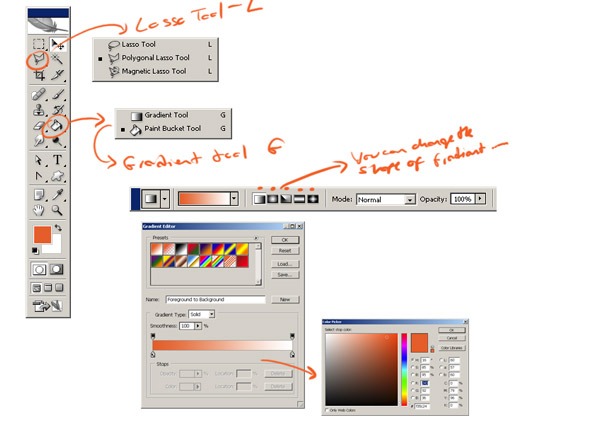
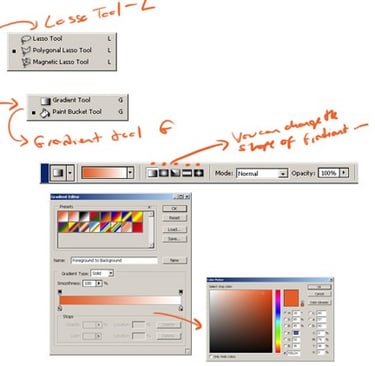
TIPS - PS Shortcuts During Painting
Here are some more Photoshop shortcuts that I've learned over the years. You will find that these shortcuts can make your work faster.
B = Brush tool
D = Default color
E = Eraser tool
H = Hand tool
I = Eyedropper tool
L = Lasso tool
V = Move tool
Ctrl+J = Copy current layer
Ctrl+N = New document
Ctrl+S = Save document
Ctrl+Z = Undo
Ctrl+Alt+Z = Step backward history
Ctrl+Shift+Z = Step forward history
Ctrl+Shift+S = Save as
Ctrl+Shift+N = New layer
Ctrl+shift+Alt+N = New layer without a dialog box.
F5 = Brushes palette
Space = Hand tool (toggle)
Tab = Hide/show toolbar & palette
(Alt+scroll up)/(Ctrl+space) = Zoom in
(Alt+scroll down)/(Ctrl+Alt+space) = Zoom out
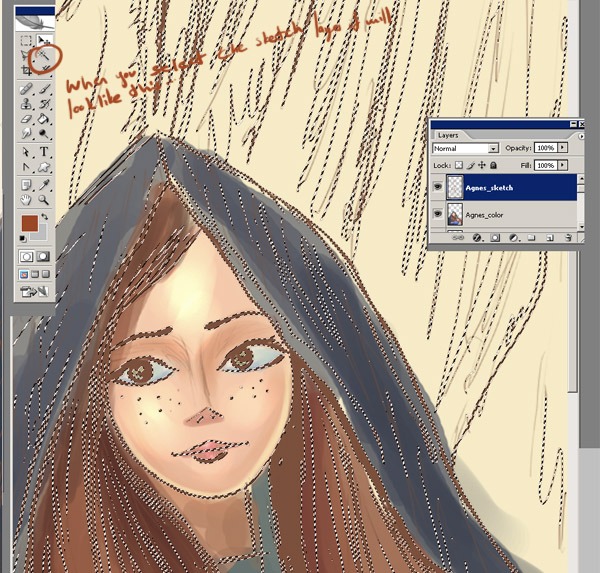
STEP 11
Now, choose the sketch layer. When you select it, it will look like in the screenshot below. To select the sketch layer, press and hold the Ctrl (Win) / Command (Mac) key and click on the Agnes_sketch Layer icon in the Layers palette.

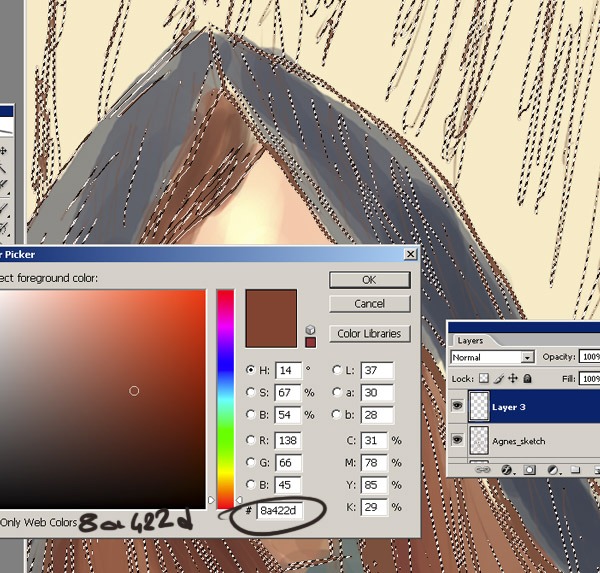
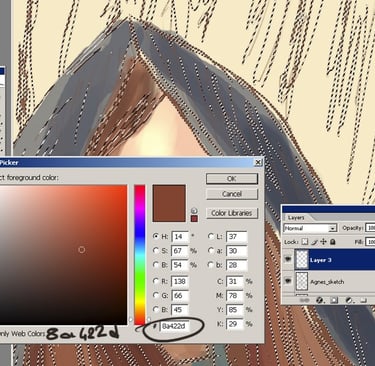
STEP 12
Click on the 'New Layer' icon at the bottom of the 'Layers' palette to open a new layer. Then, choose the colour #8a422d. This is a new colour for the character outline.
STEP 13
Now, select the Paint Bucket Tool (G). Use this to fill the new layer with the new colour.
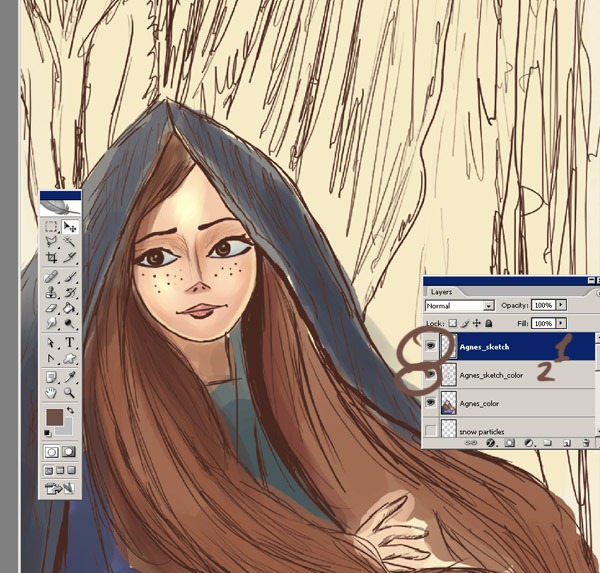
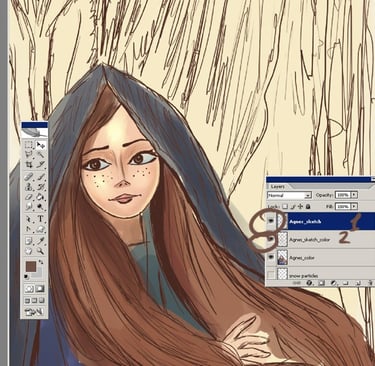
STEP 14
When you start painting, there are two important things: I don't use any tricks when I colour my hair. To make it easier, look at your hair in the mirror and try to remember where the shades and hair should be. The sketch layer is set to 'multiply'. This means that the white parts become transparent and only the black parts are visible. I used four layers for the character.
The character's clothing
The hair of the character
The face of the character
The eyes of the character
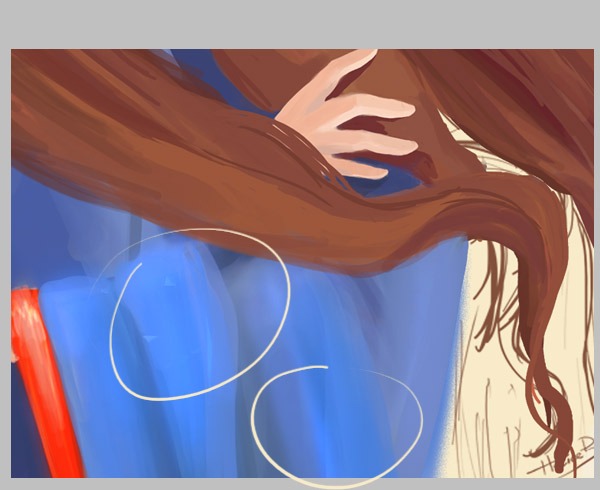
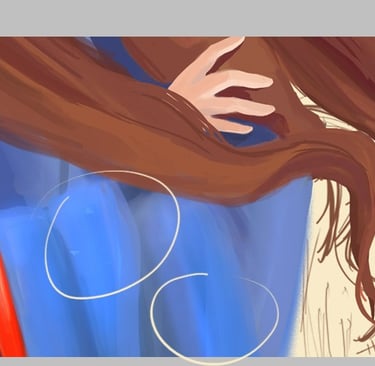
STEP 15
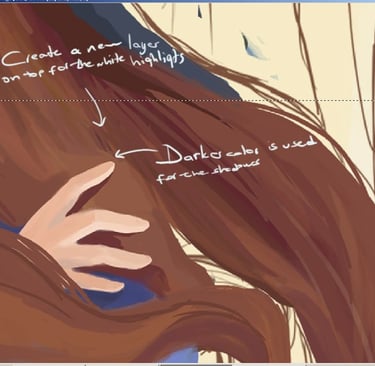
When you have finished adding the base colour for the hand, create a new layer on top for shadows. Then add more light colours as you like, and create a new layer for details like nails. Take your time with the colouring.

STEP 16
Here's a screenshot of my clothing painting to show you how the strokes look. Now it's time to tidy it up! Use the eraser tool to remove all the skin that will be touching the background. Next, use a small, soft brush with a setting of about 40% to 30%. I then go around the areas that are going to be highly shaded with my brush tool. Finally, start adding new layers to add shades and shadows. Remember that shadows don't have to be just darker versions of the base colour; you can use other colours too. Start with the darker colours and gradually add the lighter ones.
STEP 17
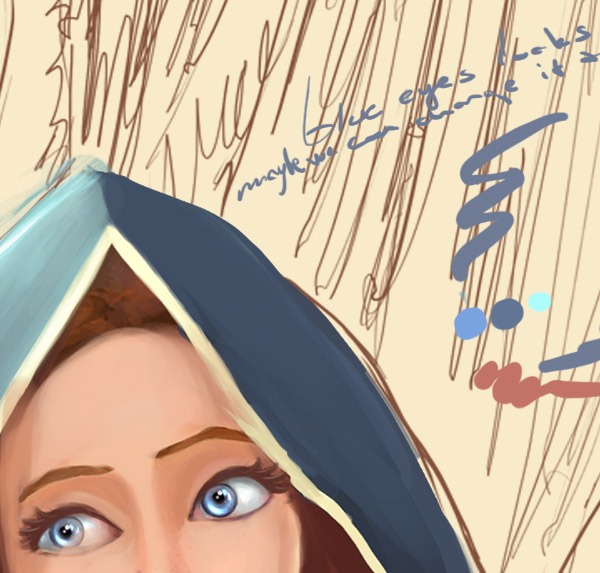
Now, I'm going to add the eyes. First, colour the whole eyeball white, or select a colour using the Eyedropper tool (I). Next, use a base colour for the iris, like green, blue or brown. Then, use a darker colour for the pupil and the same colour but 50% opacity for the shadow. Try not to lift your pen too much. If you lift your pen too much, you'll ruin the smooth gradient effect.

STEP 18
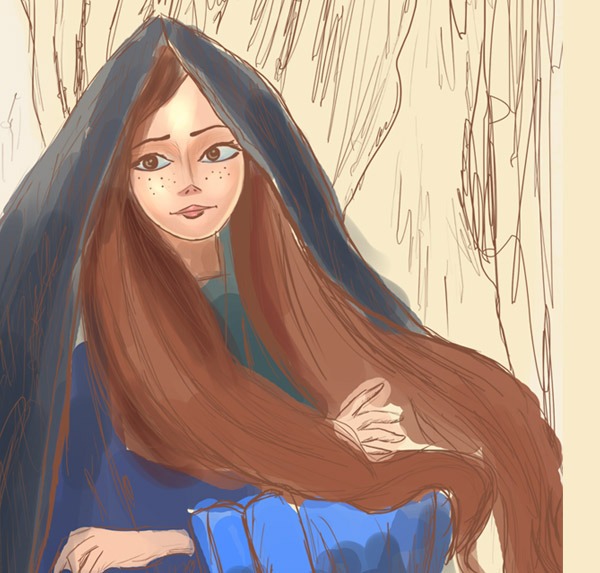
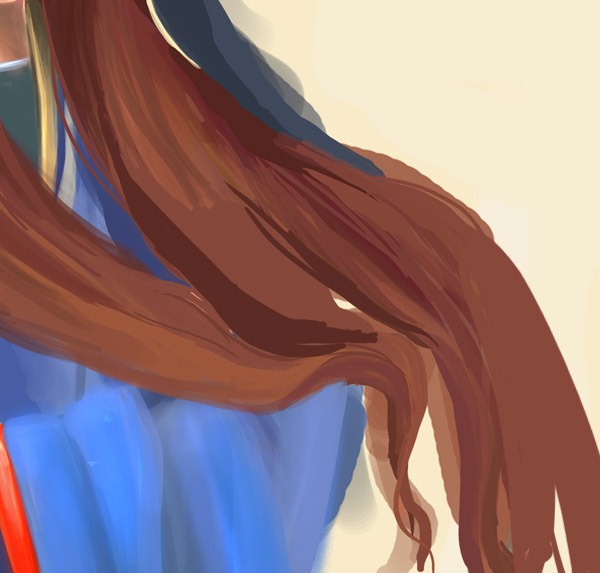
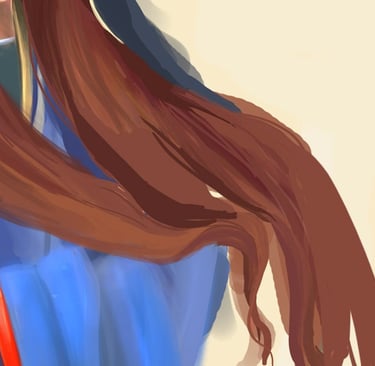
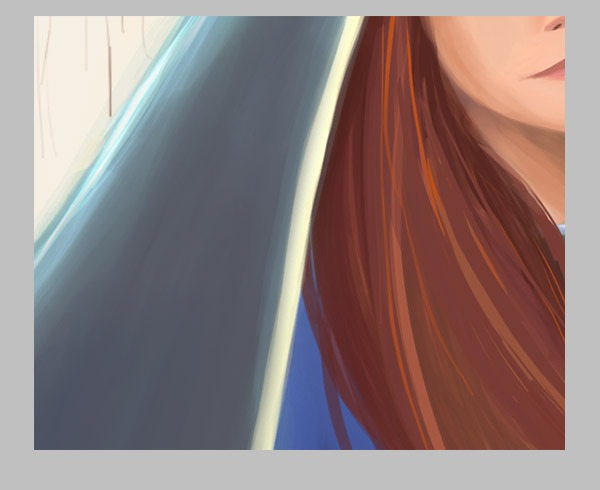
I'm going to add some hair details to my character now. I made the lighter and darker shades of black in her hair using single wisps. I want my character to have some detailed hair, so I painted some new hairs with my brush. As you can see, I started with a midtone and then added shading. I fixed the clothing pose because she had lots of hair and it looked weird. I created another layer for the new part of the clothing and now the hair looks good.

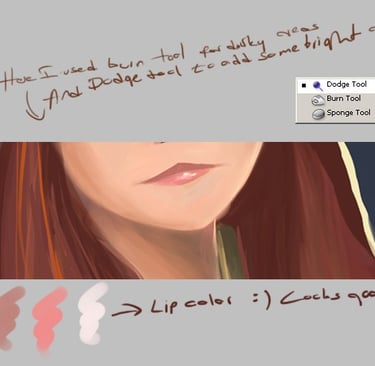
STEP 19
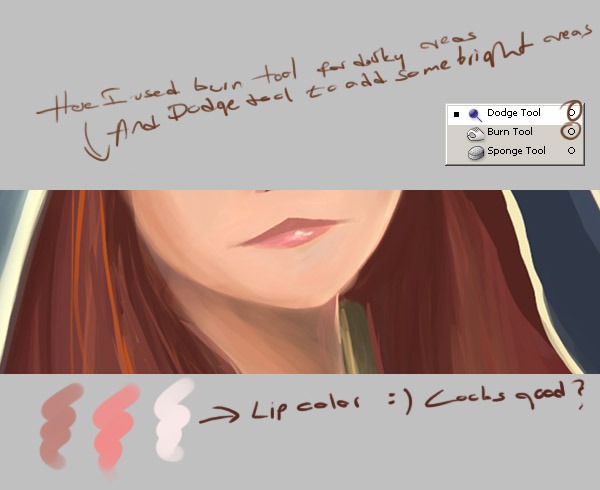
At this point, I chose to focus on the lips. I'll use the Dodge Tool to add some bright spots, which will make a noticeable difference. Here, I've selected the Dodge Tool to add some highlights and new brushstrokes. For the dark areas, I've used the Burn Tool, and I've also used the Dodge Tool for her cheeks.
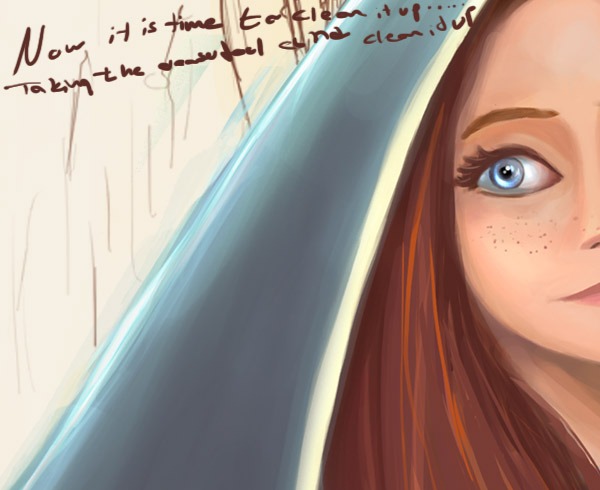
STEP 20
I've also added some little freckles to her face. Now it's time to tidy up! Use the eraser tool to remove all the skin that will be showing on the background.

STEP 21
Shading clothing may look difficult, but it's really quite simple. All you need to do is use the same soft, simple brush strokes. Remember to think about how the clothes are folded and where they are on the body. Clothing is pretty much the same idea as skin. The lightest shade is the first one you use, and it shows the folds and creases. It also covers the most area. Then, use the different shades to make something that looks like this.
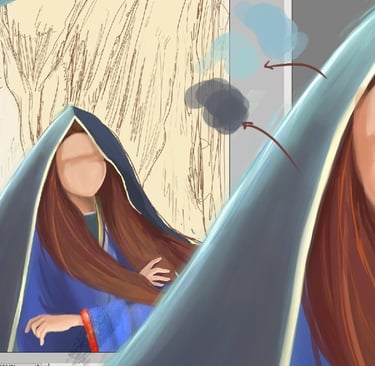
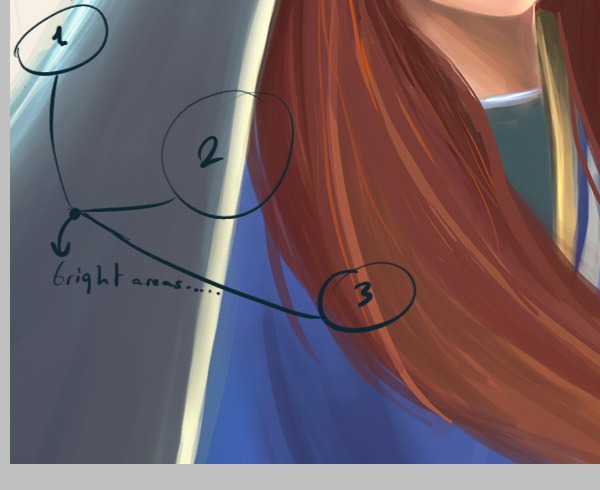
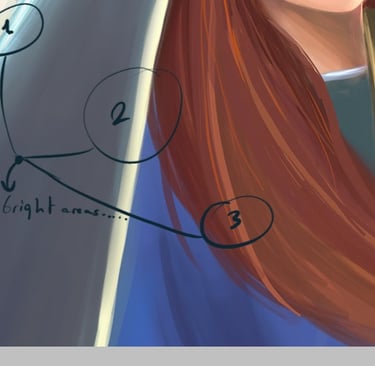
STEP 22
First, you need to decide which parts you want to look softer than the other parts. Then, pick a thin, soft brush and start adding the highlights, as shown in the picture below. Remember to pay attention to the lighting, as otherwise it won't look right. As you can see, my character has great lighting. She is walking in a dark wood, but there is a light on the front and another light from the left, which makes the environment look fantastic. That's where we've got to so far.Does it look complete? I personally don't think so, so let's continue adding details to her face and clothing.
STEP 23
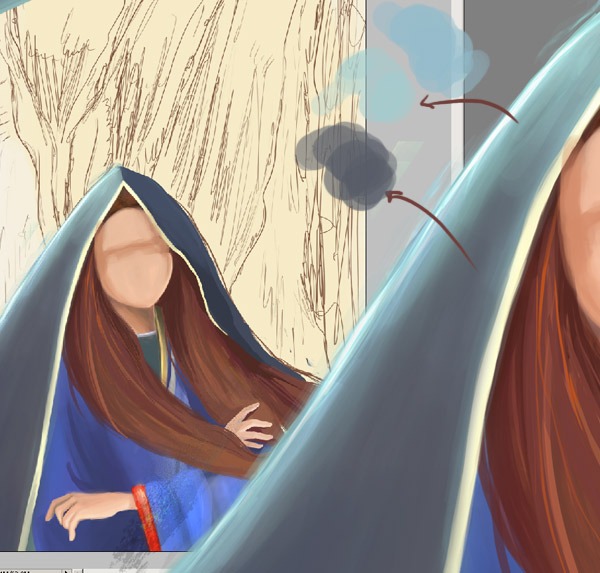
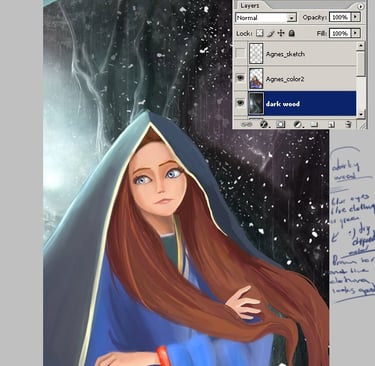
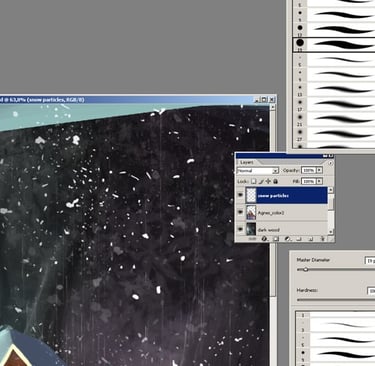
I'm going to paint the background now. I don't know why I decided to paint trees on the background. It could be a dark wood without green trees, but I thought it would look too scary without green trees. In the end, I decided to add some green trees with snow on them as the background. Remember, this is a fantastic painting, so we have snow on the green trees. I opened one of my old fancy trees paintings and copied the flattened image onto my character background.

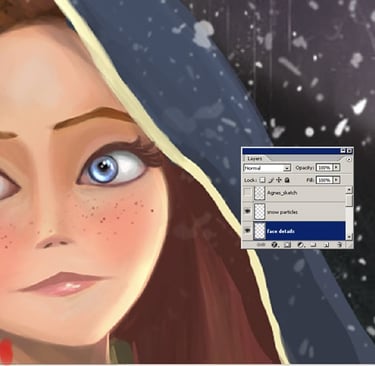
STEP 24
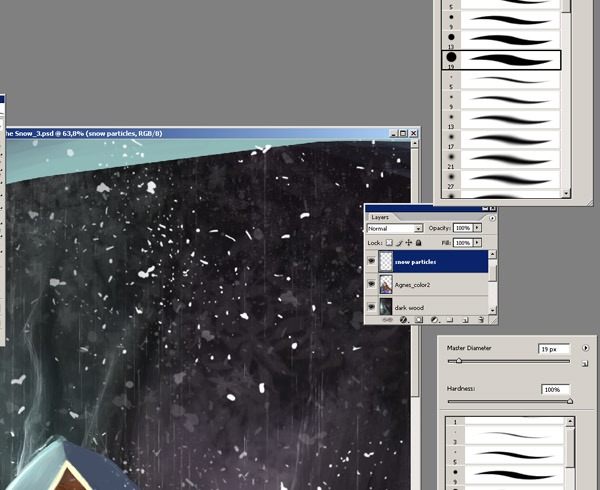
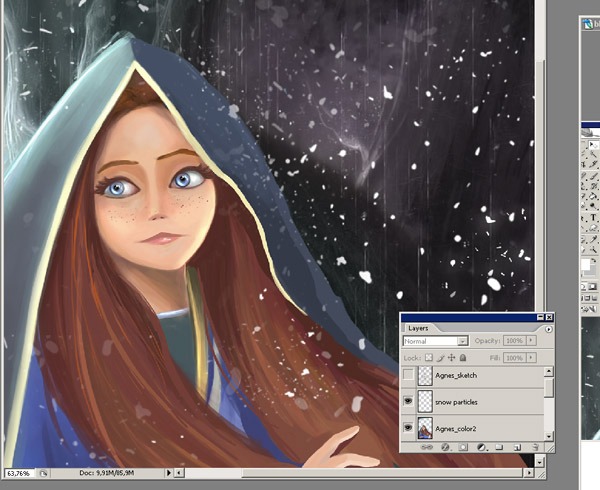
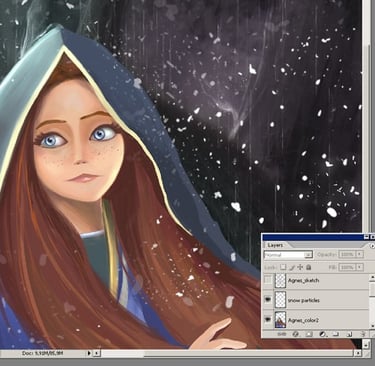
Have a look at the character painting. I've started a new layer for the snow and added some snow particles.
STEP 25
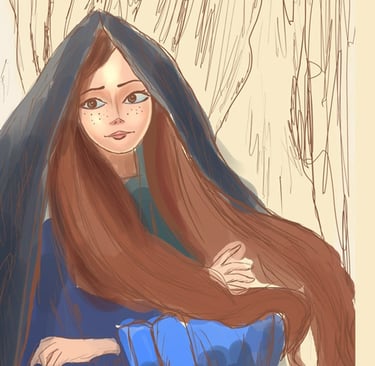
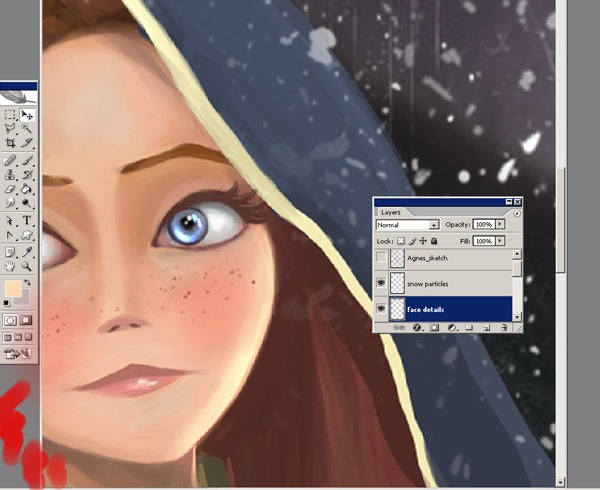
OK, let's forget about the background for now and start adding layers to add a little yellow shadow to the character. The shadow doesn't have to be the darker version of the basic colour. Here you can see my yellow shadow on her face. You can also see where I have added basic shades to match the natural lighting. I'm not happy with her face and eyes yet, so I'll tweak them later. I might also change the eye movement.
STEP 26
I'll start adding more pink to her cheeks and a little bit of contrast to the sides of her face. Pay attention to your layers... Make sure they don't clash with the skin or the hair. You can lock or hide all the layers except the hair layer. I use different layers for each part of the body to make it easier to keep them separate, so you don't have to erase when you go over a line. It took me a long time to work on the details of the girl's face.


Conclusion
I'm nearly done with the painting. I'll just add a few final touches to the backgrounds, like adding another layer to make them look more 3D. This is how I usually work. I hope this has helped. If you have any questions, please ask. It would be great if you could leave a comment about how you got on with this tutorial.