Making of the Cute Cartoon Bunny
1/30/2025
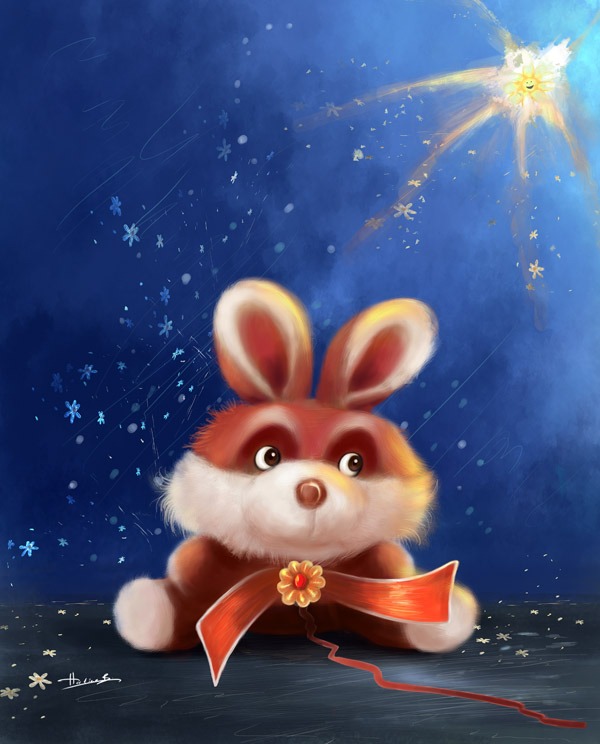
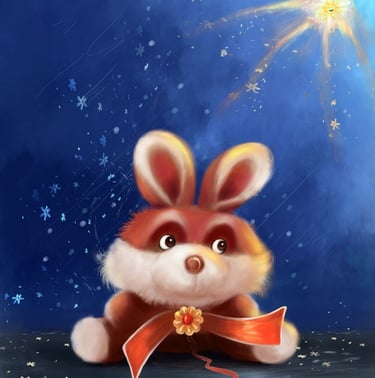
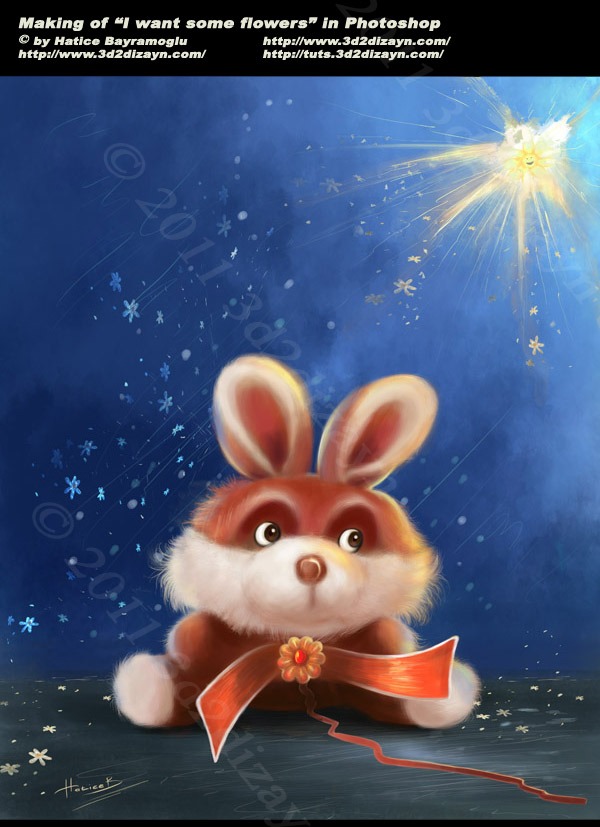
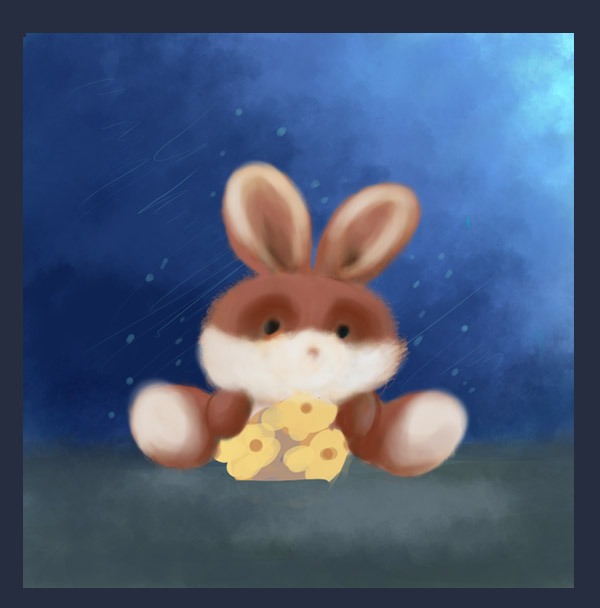
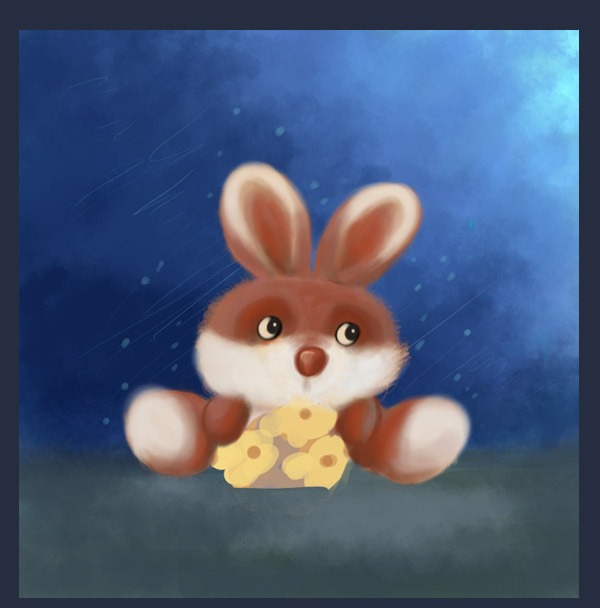
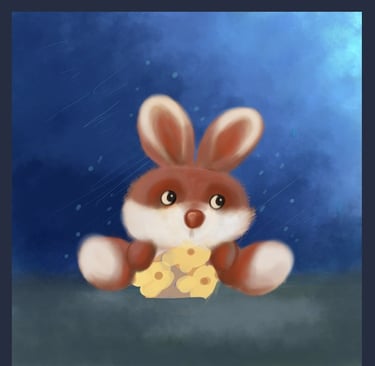
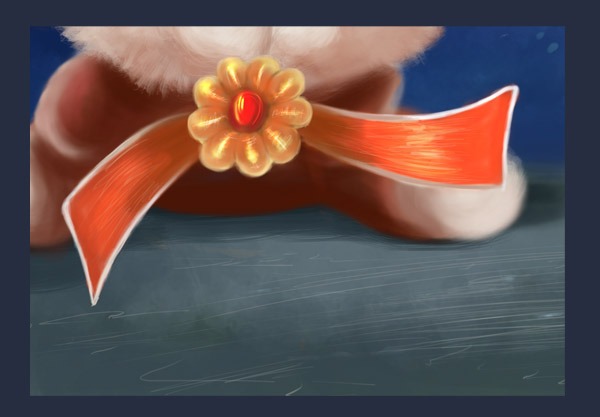
Preview of Final Results
Introduction
In 2021 I decide to draw a cute stuffed cartoon bunny for my portfolio. I use Adobe Photoshop CS2 and a Wacom Graphire4 4×5 USB (blue). This is not a step-by-step guide, but an explanation of my technique.
Here is the Youtube short animation of my illustration, hope you like it:D

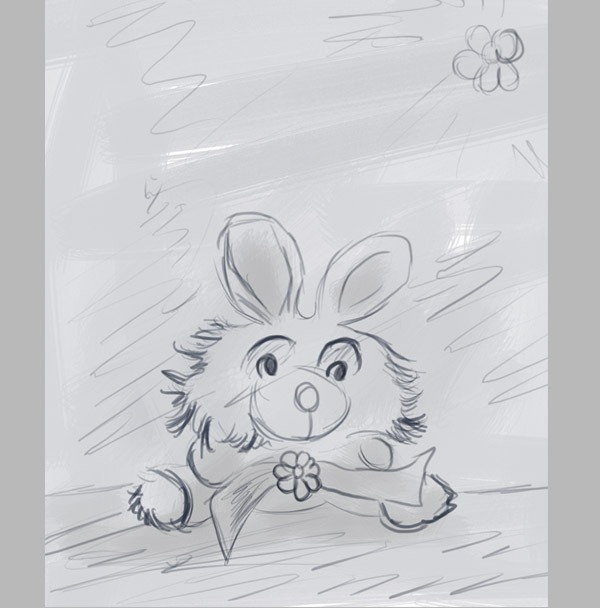
STEP 1
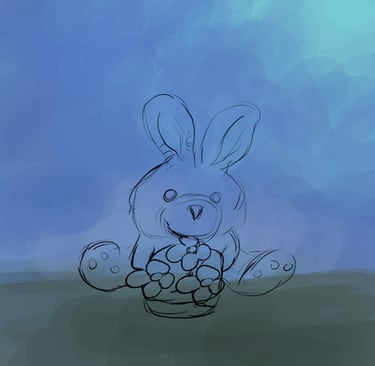
I decided to paint a stuffed rabbit with a flower box using orange as the main colour scheme and maybe some blue and did some quick sketches of the main idea. And here is the sketch of my main environment for the character.
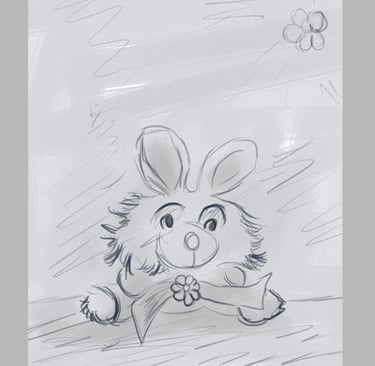
STEP 2
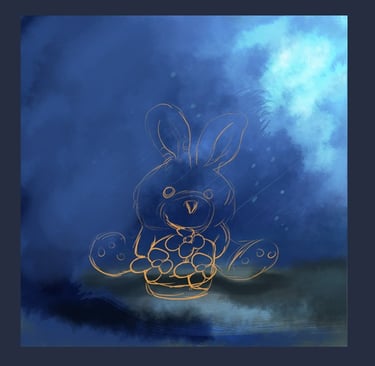
Once I had the shape of the rabbit defined, I spent some time on the colours, things like the main colours and the background colour. To tell you the truth, I started this concept sketch 3 months ago, but unfortunately I couldn't find the time to finish it. Here is the half finished draft..


STEP 3
Then I start by opening a new document of about 997 pixels by 897 pixels with a resolution of 72px/inch. I started this image with a plain background in Photoshop and splashed some colour on it. I blocked in the colours with a large hard round brush and then added some rough detail with a smaller size of the same blocking brush. I also created a new layer for the fur and roughly painted it in. At this point I decided to leave it alone and forget about it for a while.
STEP 4
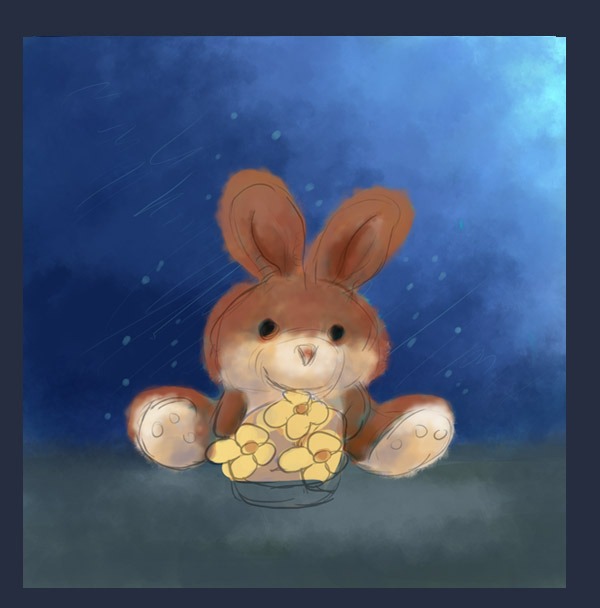
Once I had the shape of the stuffed bunny defined, I spent some time on the colours, things like the main colours and the background colour. Now it was time to start detailing the fur. A little more work was done on the flowers, adding a texture to make them look a bit more interesting.
STEP 6
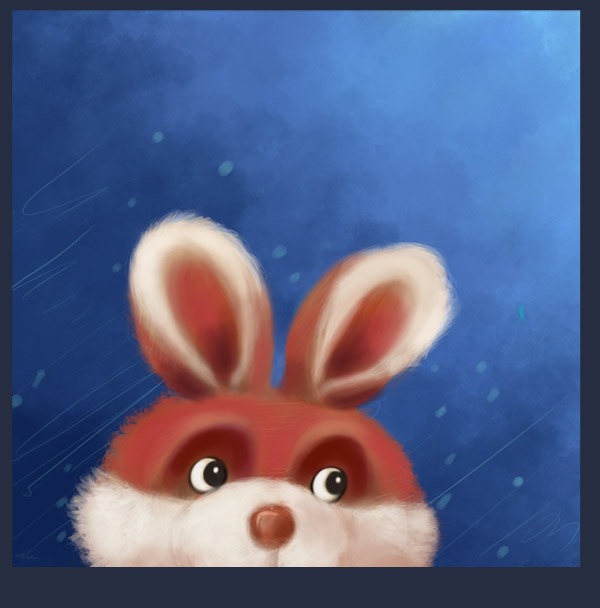
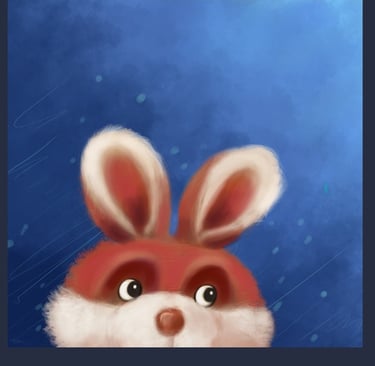
For the eyes, I painted their shape in brown on a separate layer and set the layer to overlay to achieve the effect seen in the image. After a few final touches to the face and fur, I saved a flattened version of the image (I always like to save my layers in case I need to edit the image later). I also wanted to change the shape of the eyes of this cute toy to make it look more alive. I continued to experiment with the colours. I added some dark blues to the background and then I noticed that the picture was getting too dark, so I changed that on the other step.
STEP 5
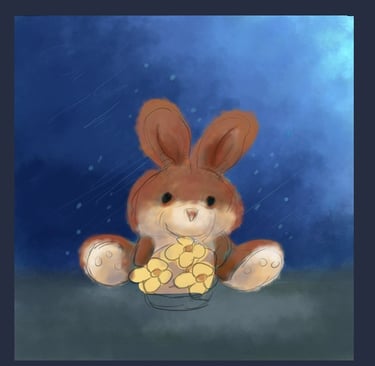
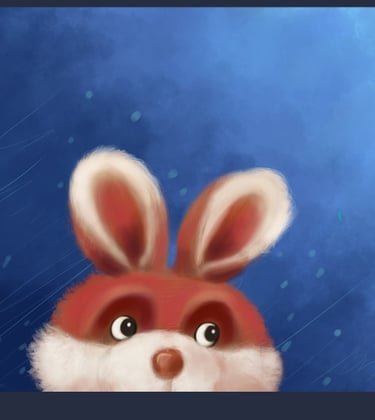
I spent more time smoothing out the skin and features. I decided that the background was too light to create the mood I was going for, so I duplicated the coloured background layer and set the layer mode to overlay.
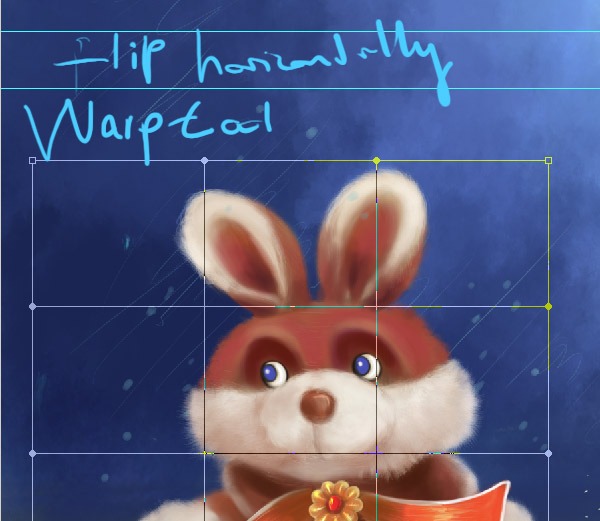
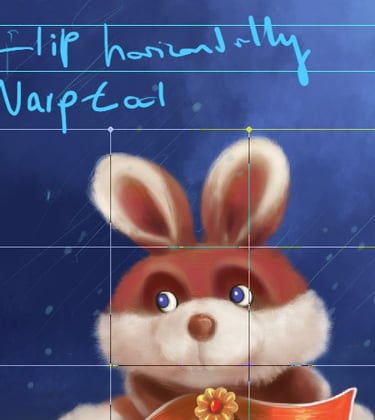
STEP 8
Flipping the image horizontally from time to time is an old trick that reveals errors immediately.
STEP 7
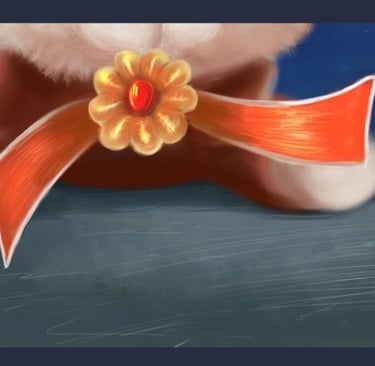
Now it was time to start detailing the flower and the ribbon on the stuffed rabbit. For the ribbon, I painted its shape in deep orange on a separate layer and set it to overlay to get the effect you can see in the picture.
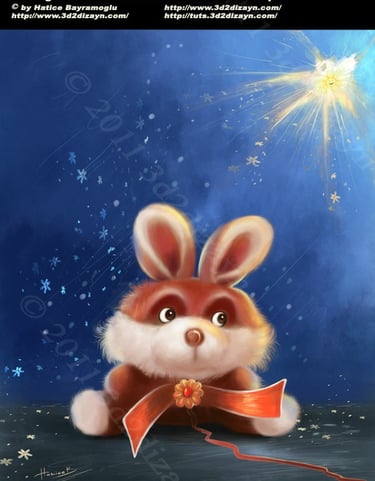
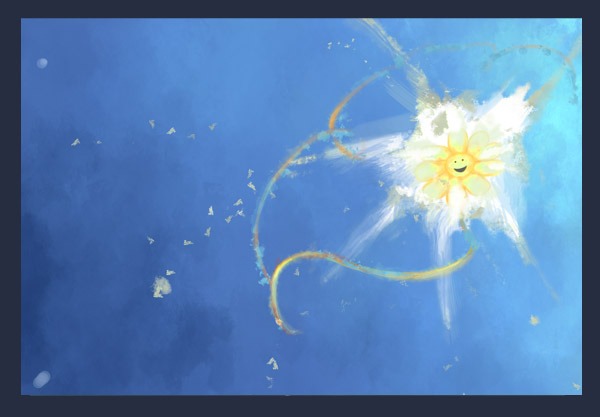
STEP 10
Now it was time to add detail to the background. I want to add a smiling flower to the left of the picture. And the stuffed rabbit is looking at this very happy flower.
STEP 9
Now it was time to add more detail. I used a hard edge brush and started to add as much detail as I could, just using lighter and darker shades of blue for the background.


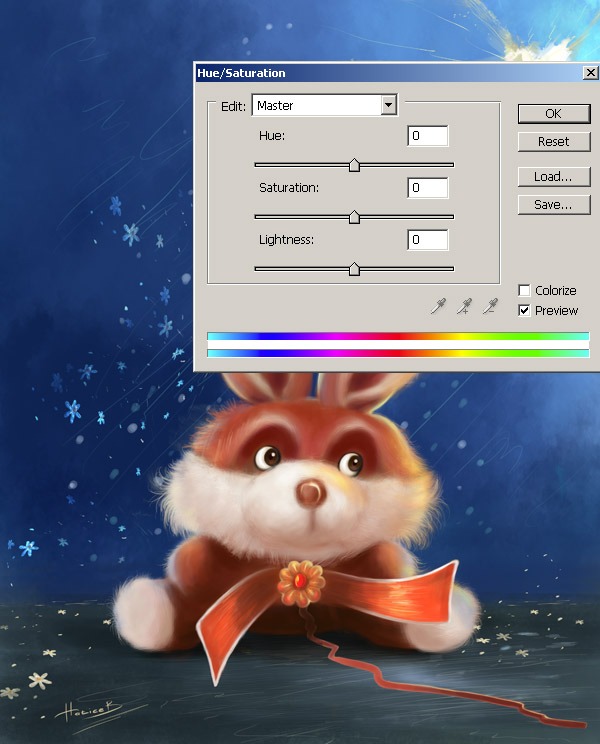
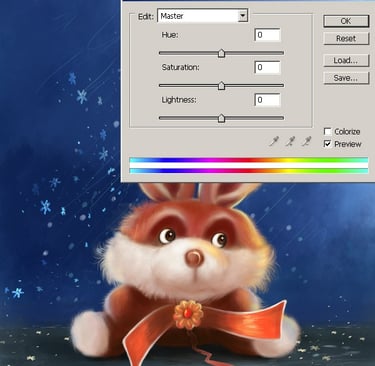
STEP 11
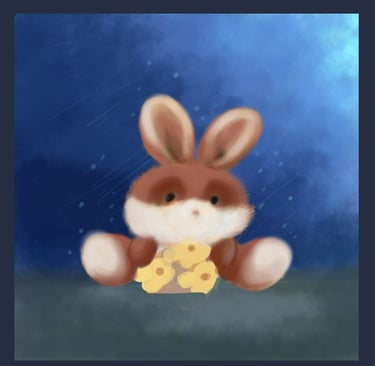
Having added details to the ground and over the background, such as some flower petals, I can now make all sorts of changes to the different colour layers to create different moods. I used Control+U (Windows), (Image>Adjust>Hue/Saturation) on pretty much every layer to tweak it for effect. I then duplicated the image. I flattened the layer and used the Brightness/Contrast tool (under Adjustments in the Image toolbar) to adjust the image until I got the effect I wanted.