Painting a Fictional Cartoon Robot in Photoshop
1/30/2025
Introduction
I illustrated this cartoon robot illustration in 2011, and in this short tutorial I'll show you how to digitally paint a cartoon robot character in Adobe Photoshop CS3.
Tools used:
Photoshop CS3
Wacom Graphire4 4×5 USB (Blue)
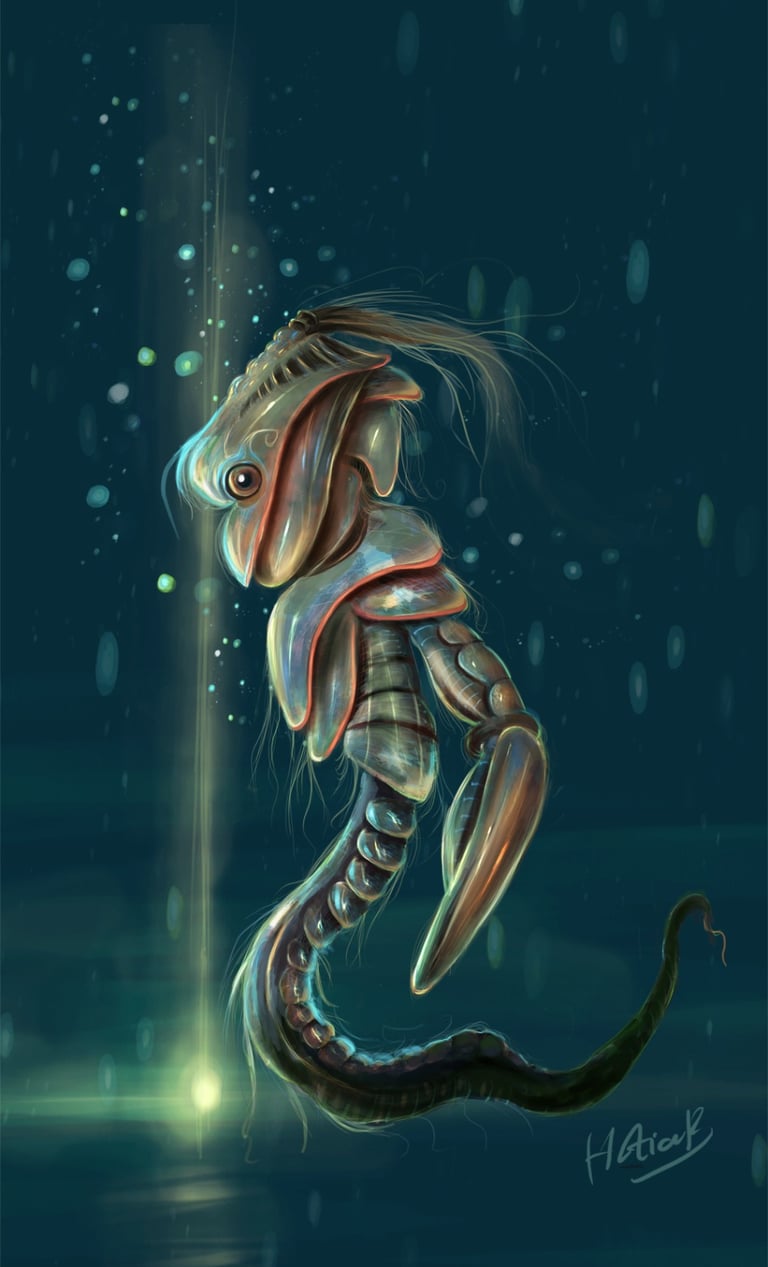
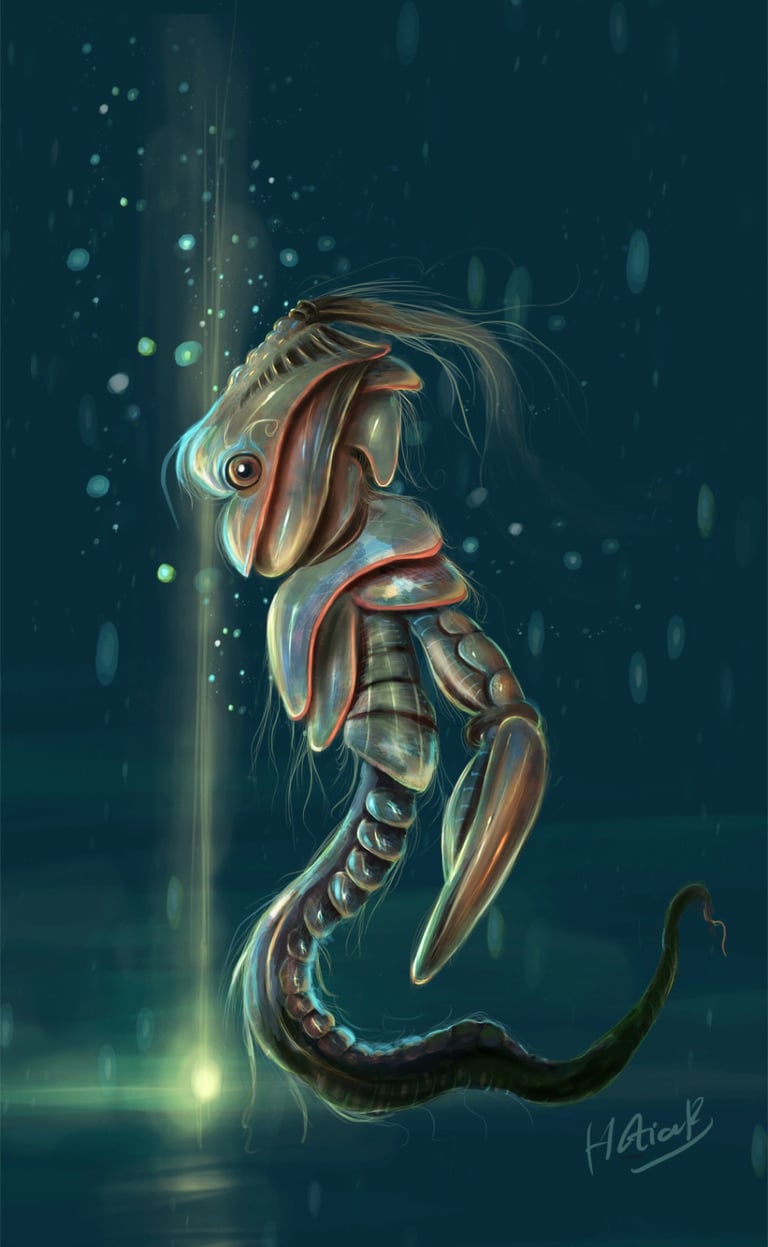
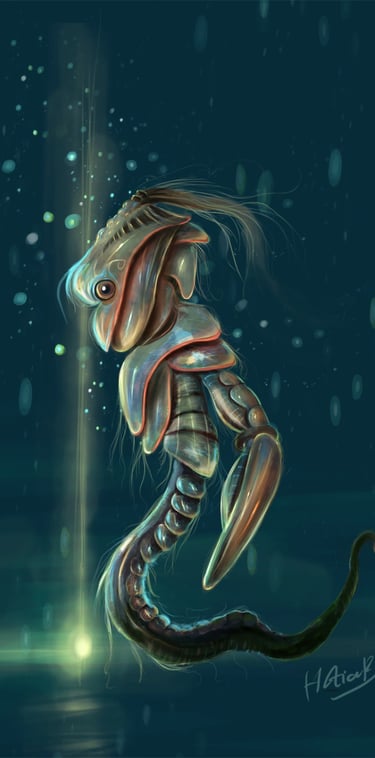
Preview of Final Results
STEP 1 - Rough Sketch
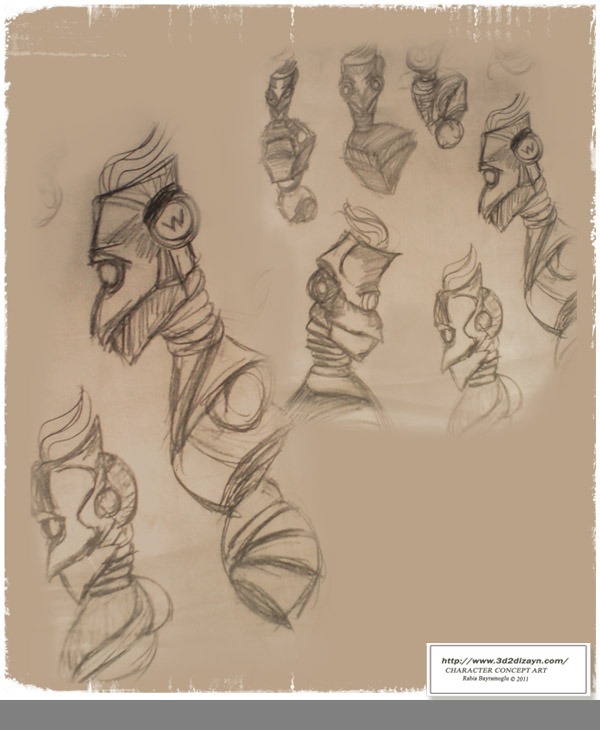
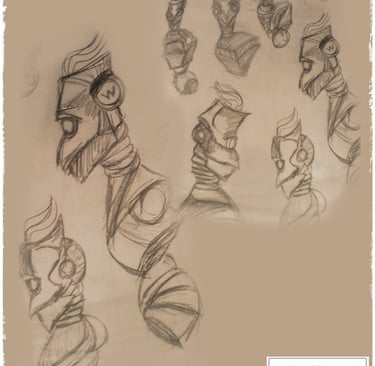
Okay guys...here we go. The very first step in this tutorial is to draw the basic sketches for the main idea. And a few days ago my sister had asked me if I could colour one of her hand drawings. I liked sketches and told her that I'll use it for one of my tutorials.
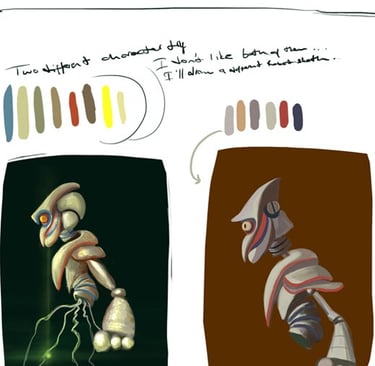
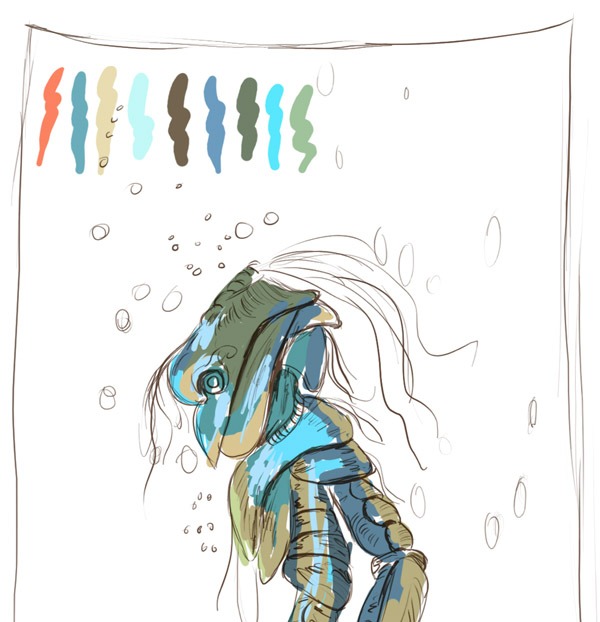
STEP 2 - The colour palette
A quick and important reminder: What does your story say about your robots? Find out the story before you draw the sketches. Once you have the story and the colours, you can start the main process of colouring and painting.

STEP 4
Now draw your outline. It does not have to be perfect, you will go over it later. Select the Brush tool with a small size and medium opacity. Just draw enough to get the general shape. Then click on the Brush tool (B) and choose a very thin but hard brush. As you know, soft brushes are very blurry and hard brushes look more solid.
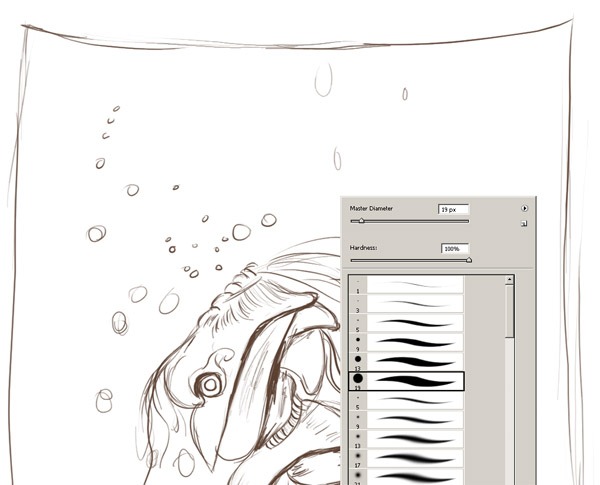

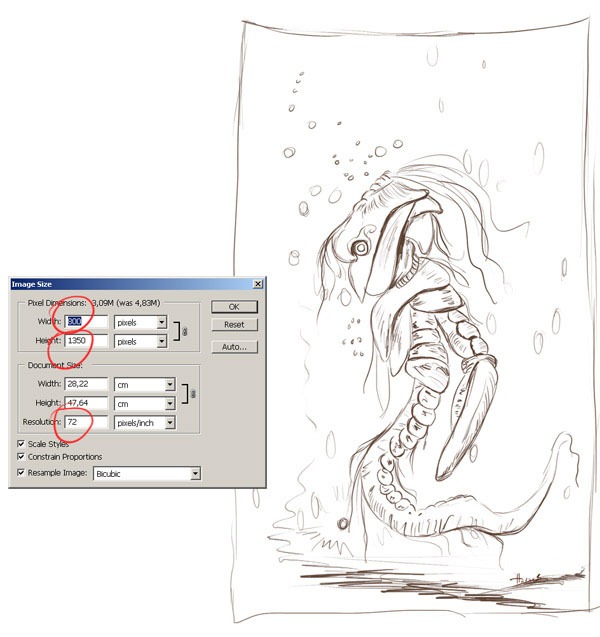
STEP 3 - Setting Up The Canvas
First of all, open a new document (800x1350, 72 dpi). I decided to draw a different character for my tutorial, while using my sister's sketch as a reference.


STEP 5
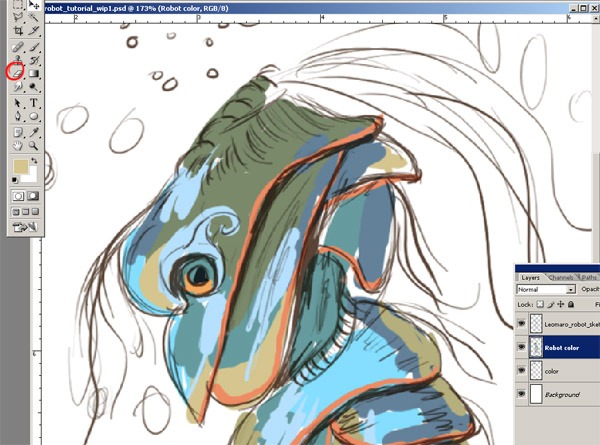
Create a new layer... Set the Sketch layer properties to 'Multiply' so that you can see the layer above you as you paint. Rename the new layer to Robot Colour. I'll choose blue as the main colour and paint with the new layer on top of the Sketch layer. Now we're ready to paint. There is no need to go into detail. Try to see the picture as a whole in this step. Make sure the Paint layer is selected, not the Sketch layer. We are going to use a large brush to add some general shading to the overall shape of the head and neck. As you can see in the screenshot, nothing is detailed at this stage.
STEP 6
Now it is time to clean up! Use the Eraser tool to erase all the access skin that touches the background. Choose a small soft brush and set it to 40% or 30%. I use the brush tool to go around the areas that will be heavily shaded. Start adding a new layer to add shadows and shadows.

STEP 7
We will now start to add some basic details. You don't need to be overly detailed at this stage. I am just adding some basic detail with a smaller brush, I am starting to use smaller strokes to add detail and blend the colours together, then I used a smaller brush and a darker opacity. I traced around the edges, but also defined some of the pencil shading around the robot. It looks pretty good now, but it needs more work.


STEP 8
While I was working on the colours, I was trying to work out the main light. Where is the light coming from? What colour will it be? There is a green light in the background and a different colour on the front. Now those general details are almost done. We're going to start a very detailed painting process and we're going to use a standard brush, but we're going to change some settings when we use the brush.


STEP 9
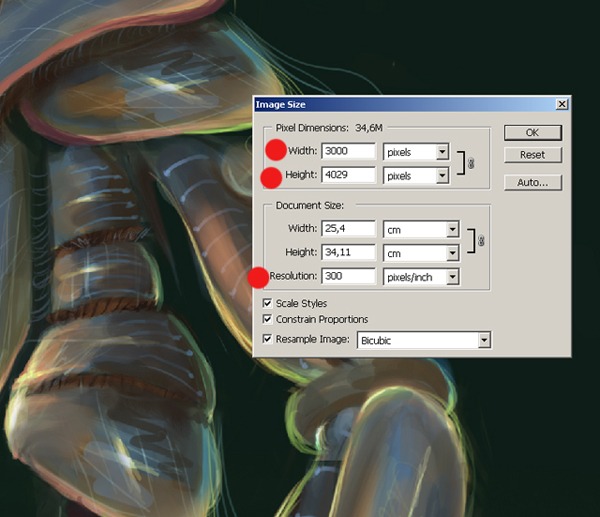
And in this step I'd like to change the size of my file because I'm going to add more details. so I'll need a bigger file size. So now I'm going to open the image size and set it to 3000x4029.

STEP 10
Now use the burn tool a few times to darken the top of the arm. Brush settings should be 50%, soft round brush. Use the Dodge tool to add some shine along the bottom of the eyes. Finally, add some light green and create a new layer for the shadows.


STEP 11
By following these steps, paint as much detail as possible. Do not forget to paint lights and shadows as well. If you want to use a different colour you can add another layer and do more shading. And when I want to add more darkness on the painting, I chose multiply from here.
STEP 12
Now it's time for the details. We are going to detail the character's hair. Remember to start with a new layer for the details. Always pay attention to the lighting. Remember the direction in which the hair falls... After going through a few alternatives, I decided on the one shown. And for the shadow, use the same colour, but 50% is enough. Try not to lift the pen too much. Too many strokes will destroy the smooth gradient effect we are trying to achieve.


STEP 13
We will now start to detail the hair. A reminder, pay attention to your layers and make sure they do not clash with the body. You can lock or hide all layers except the hair layer. I use different layers for each part of the body, it's easier to keep them separate and you don't have to erase when you go over a line. Here I've added some stronger highlights to his hair and now I'm painting some small details.


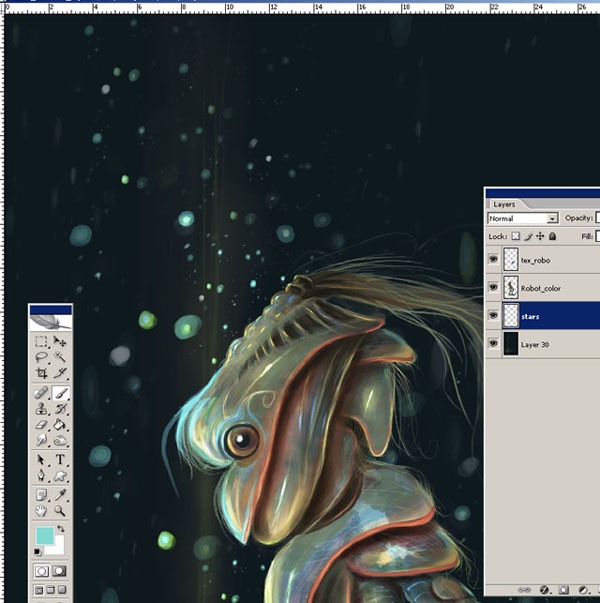
STEP 15
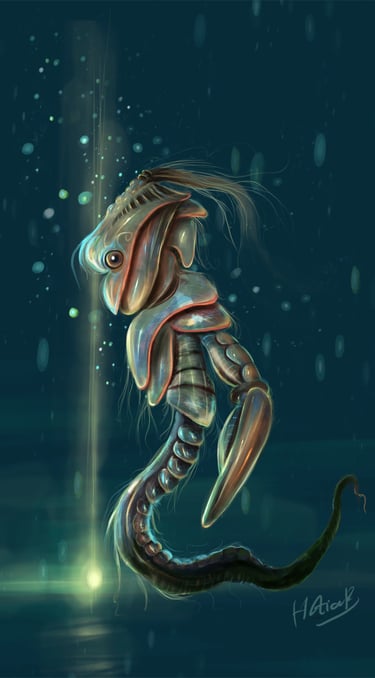
Now the textures look good. The shadow layer is on top of all the other layers. The final steps in finishing my character illustration were detailing and further texturing. I created new layers and added more details to my character. For the background I started to add smaller details like glowing dots and fancy shadows. I decided I wanted some more glowing parts. Now I think I am basically done with the robot at this point. And once you have the colour and shading done, you should get something like this:

STEP 14
Now I am going to work on textures. You can use photographs to apply textures to your painting. Textures are what this piece is going to look like in the end, and I will be adding several different types of textures so that they are only applied to certain areas. Create a new layer on top of the colour layer called "tex_robo" and open a new texture image. Then copy and paste it onto my tex_robo layer. Set the layer mode to Overlay as you can see in the screenshot. Now change the opacity of the layer to 20% or less.
Conclusion
And here...this is the result! Of course there are many other ways to get a similar result, but this is the way I usually work on the colouring of a 2d project :)
I hope this tutorial will be very useful for you. Okay, that's it for today. Keep practising. Always use your imagination and your own style.
Happy drawing!
Good luck to you all! Salut à bientôt :D