Illustrating the Cute Snow Bird
1/5/2025


Introduction
This making of is about a Cute Snow Bird sitting on a snowy branch on a snowy day. I will be hsaring my tips and I hope you find it useful.
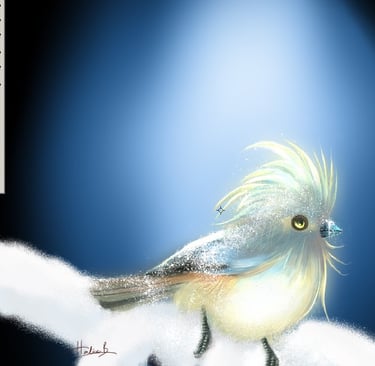
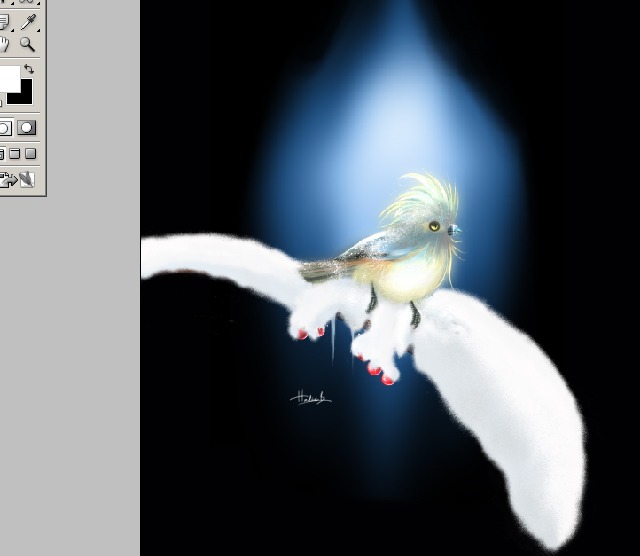
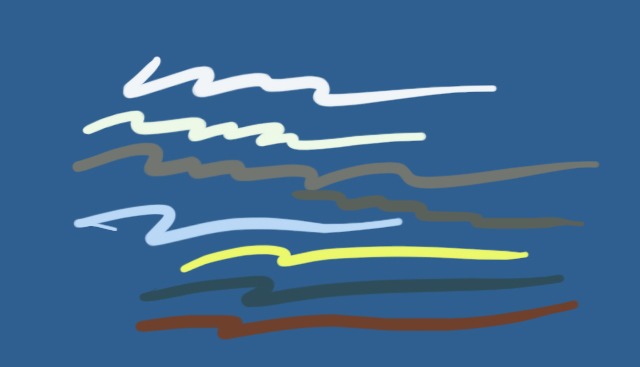
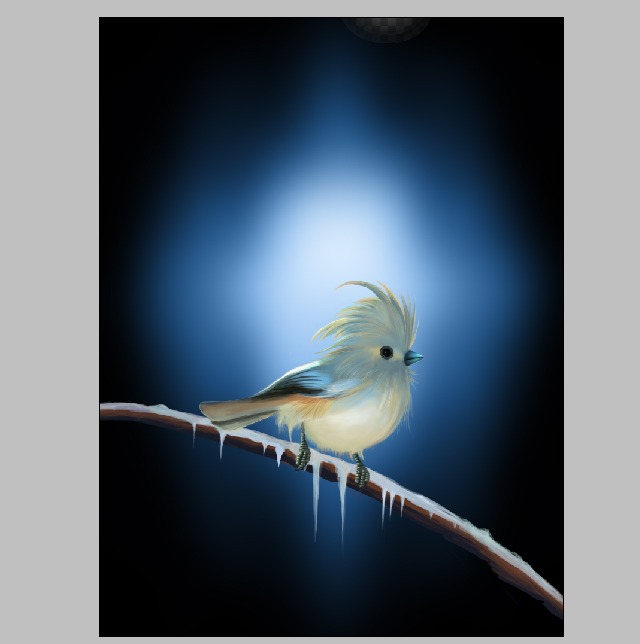
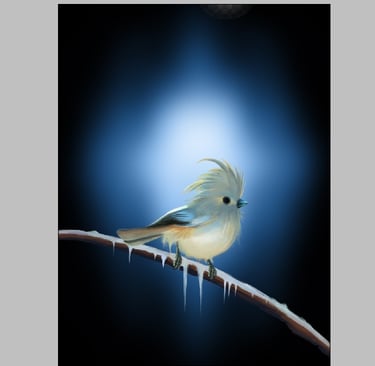
Preview of Final Results
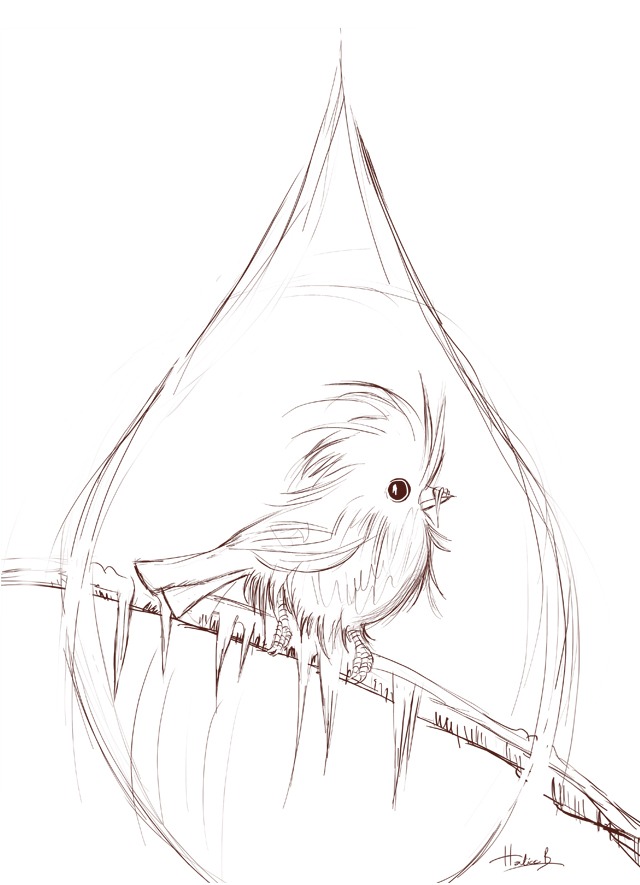
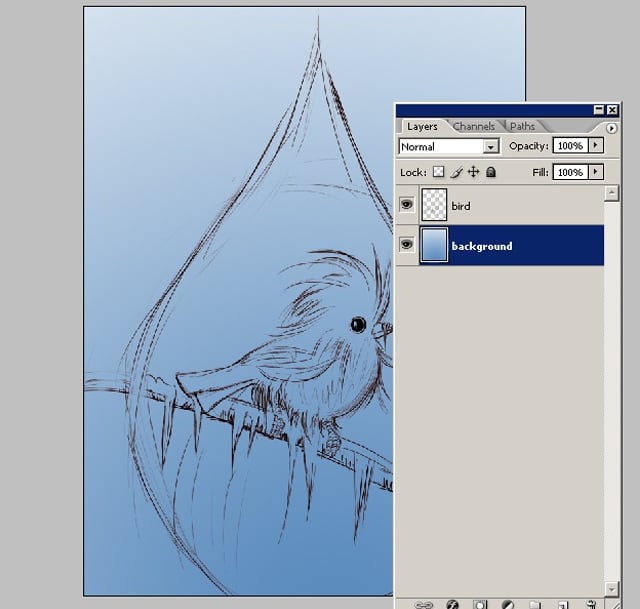
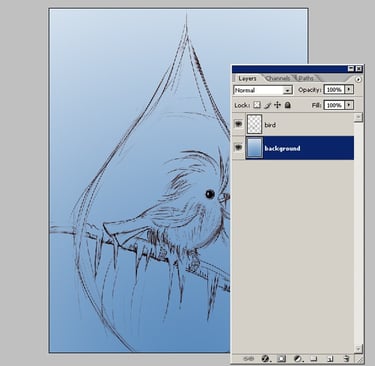
STEP 1 - Sketch
For the sketch work, the Photoshop file size is 640x855. The resolution can be 72 for now. I always start my concept work with a sketch. So I started with the figure of the "bird".
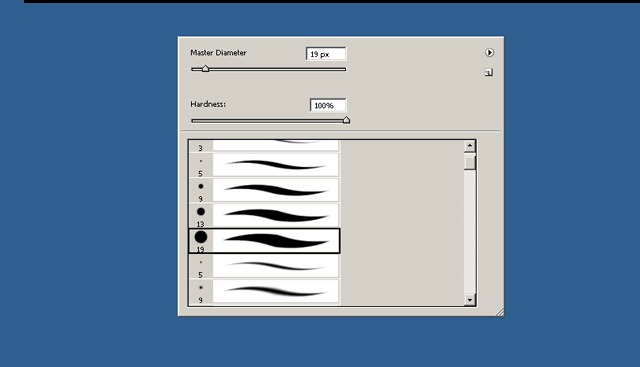
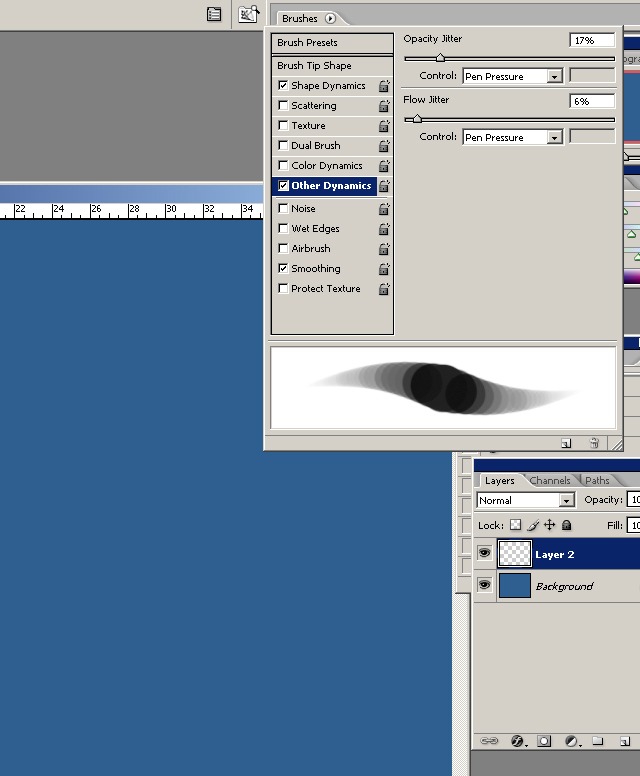
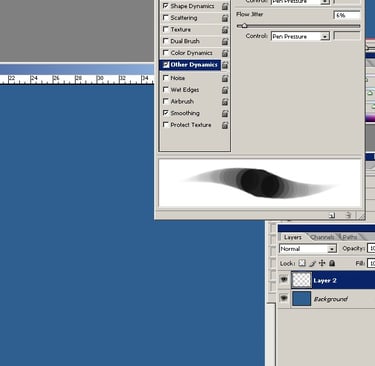
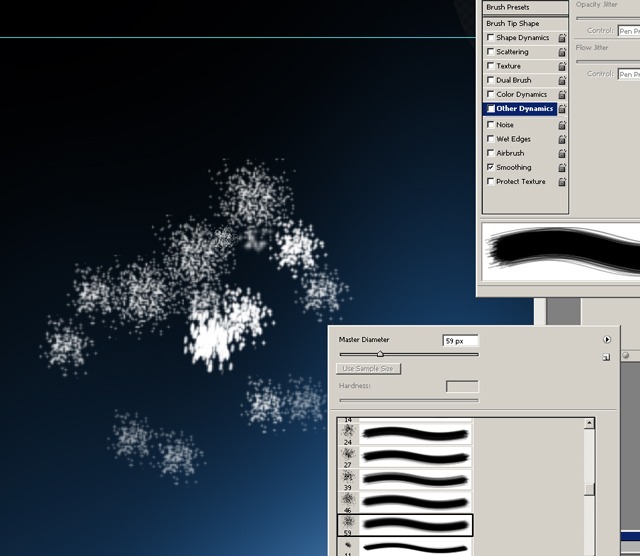
STEP 2 - Brush
Select a simple default brush: Then, in the brush panel, adjust the "Other Dynmaics" with the numbers as shown in the picture.
STEP 3 - Colors
Here are my colour choices. The background will be a cold blue. And others for the colour of the bird.
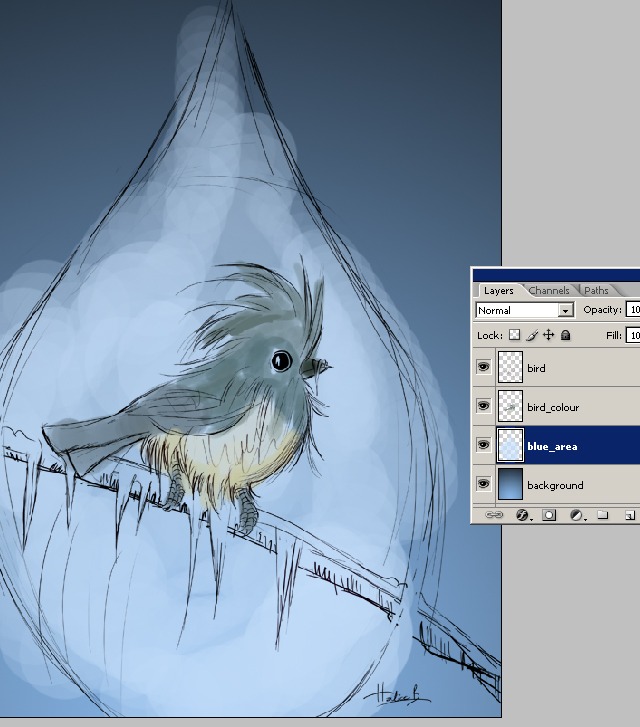
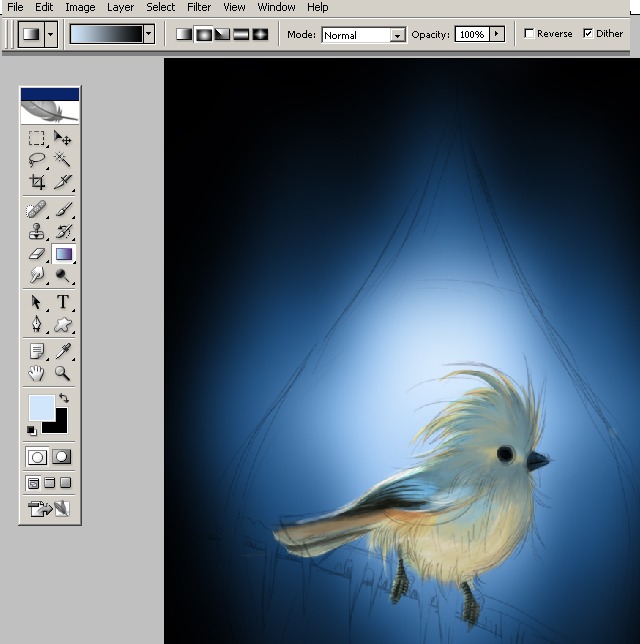
STEP 4
And now we will start to add colours and some details. Now change the file size to 3000x4000 with 300dp. I have two layers: A blue colour has been added to the background area on the new layer.
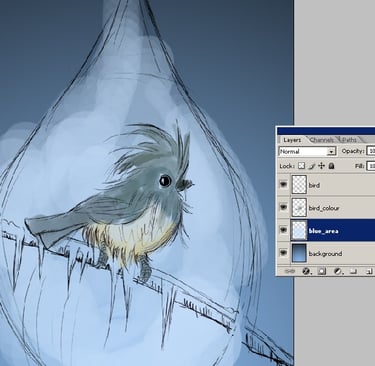
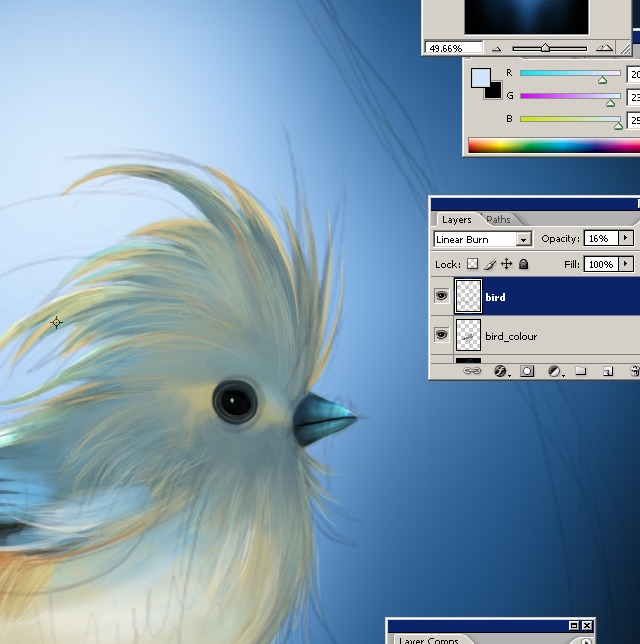
STEP 5
Create another new layer and start adding the colours. I also created another layer for the blue background area. Then I work out the general look I'm going for. Now I'm adding colour to the bird with my brush.
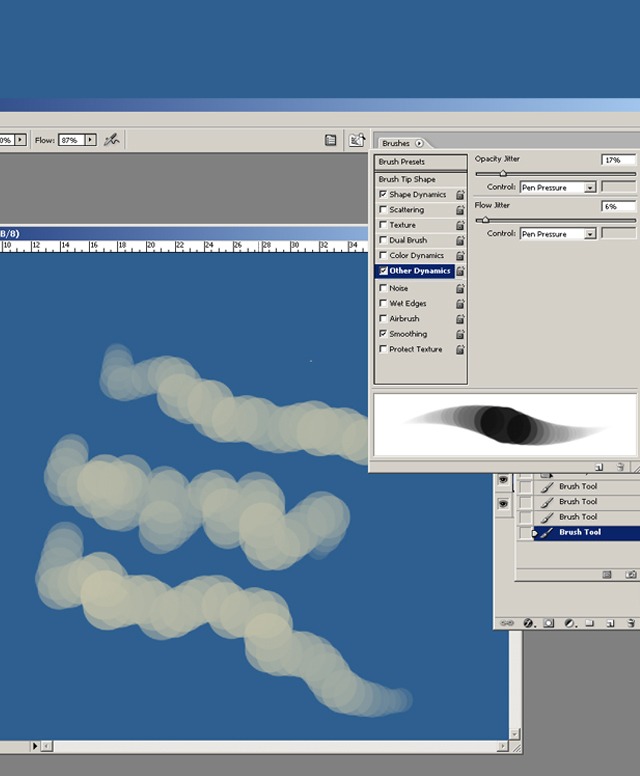
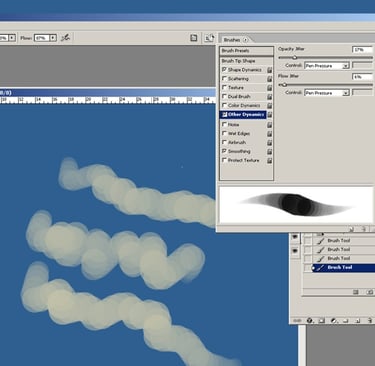
STEP 6
I also add a few strokes with the smudge tool. Using the same brush and a smudge tool, continue to paint the rest of the body, also adding some light colours. As you can see in the picture below.
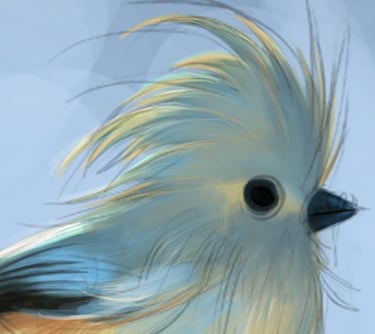

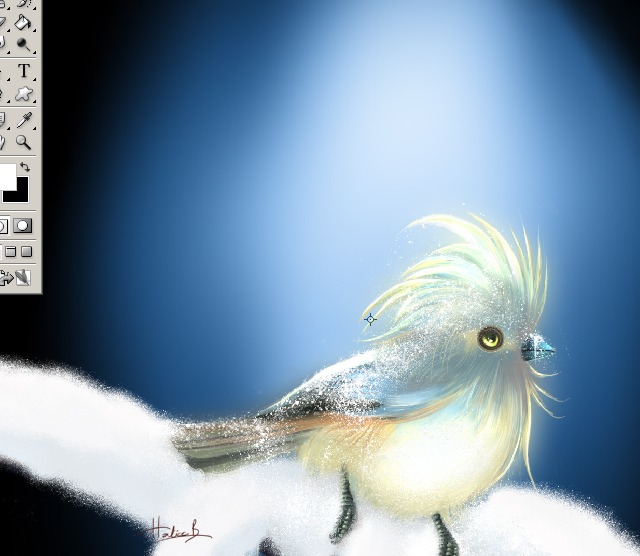
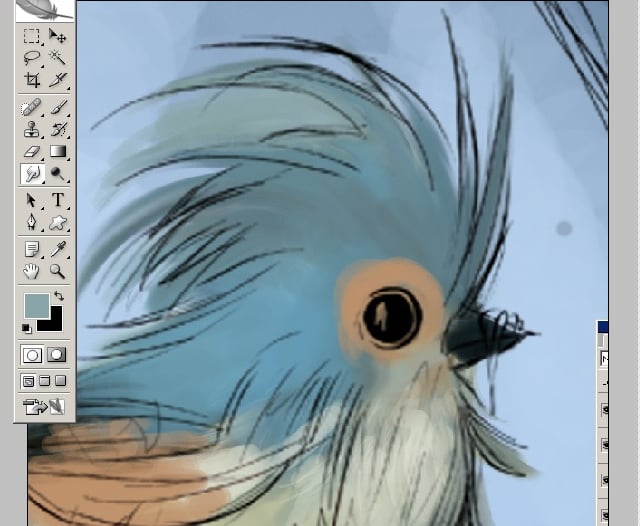
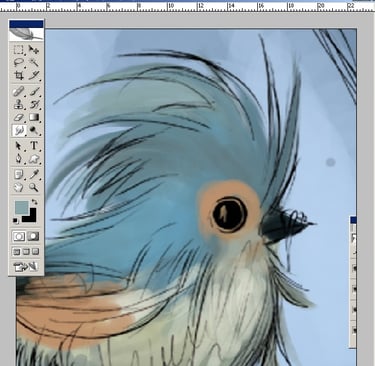
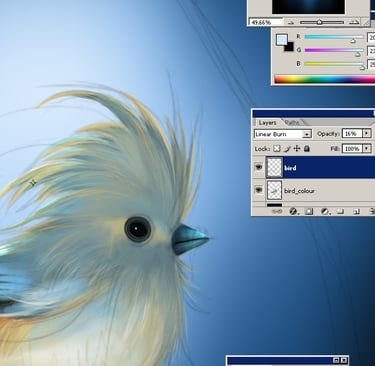
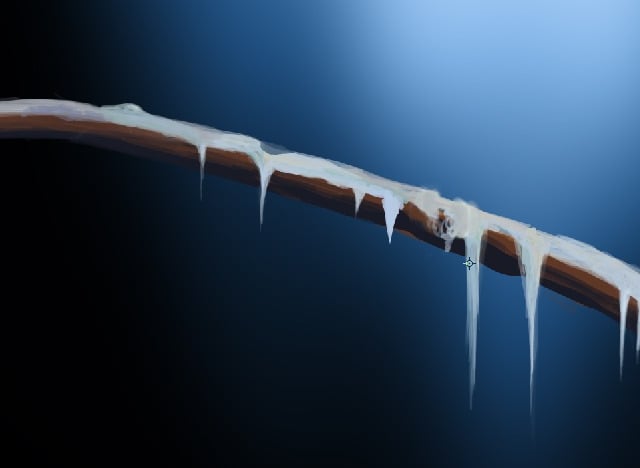
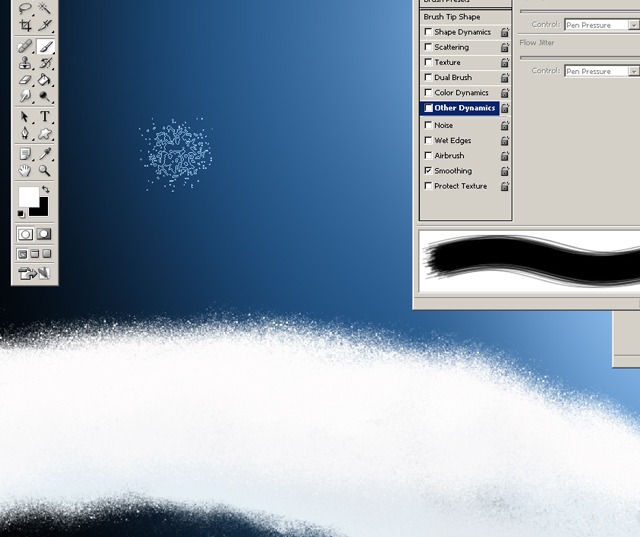
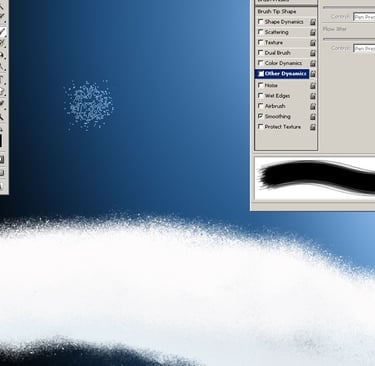
STEP 7
Having decided on the colours, I can now start to add detail. I continue to smooth and add highlights where appropriate. And here is a close screenshot for the tree branch with some snow accumulation. Maybe I can change the view later. The snow was painted with the same brush. Now I'm going to choose another brush for the more detailed view of the snow.

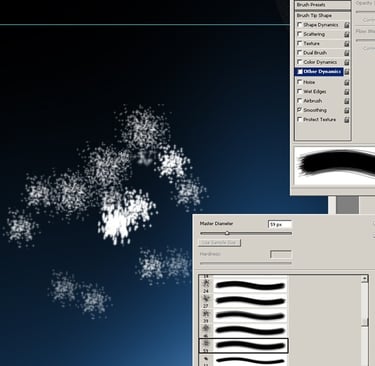
STEP 8
This is my setting for the snow bushes. I don't make any changes to this brush. Same default setting. Here is my painting for the snow. You have to experiment a lot to get the result you want.
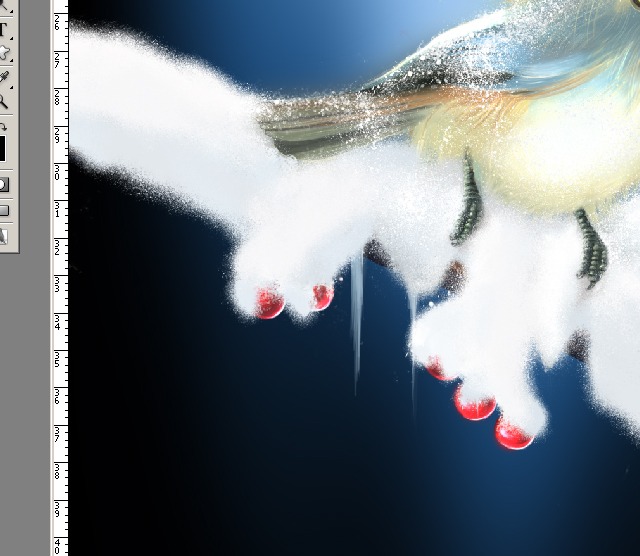
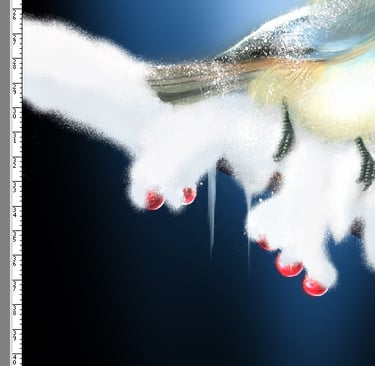
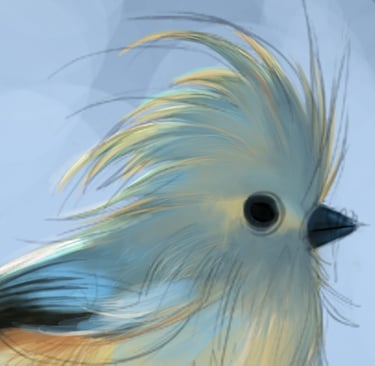
STEP 9
I continue to work on the eyes and feathers with a smaller brush; I also put some snow on the bird's beak and added some red berries to the branch.