Jacky: Illustrating a Comic Book Character
1/8/2025


Introduction
In this short making of, I'll show you the digital colouring process in Photoshop of a cute comic character I illustrated in 2014.
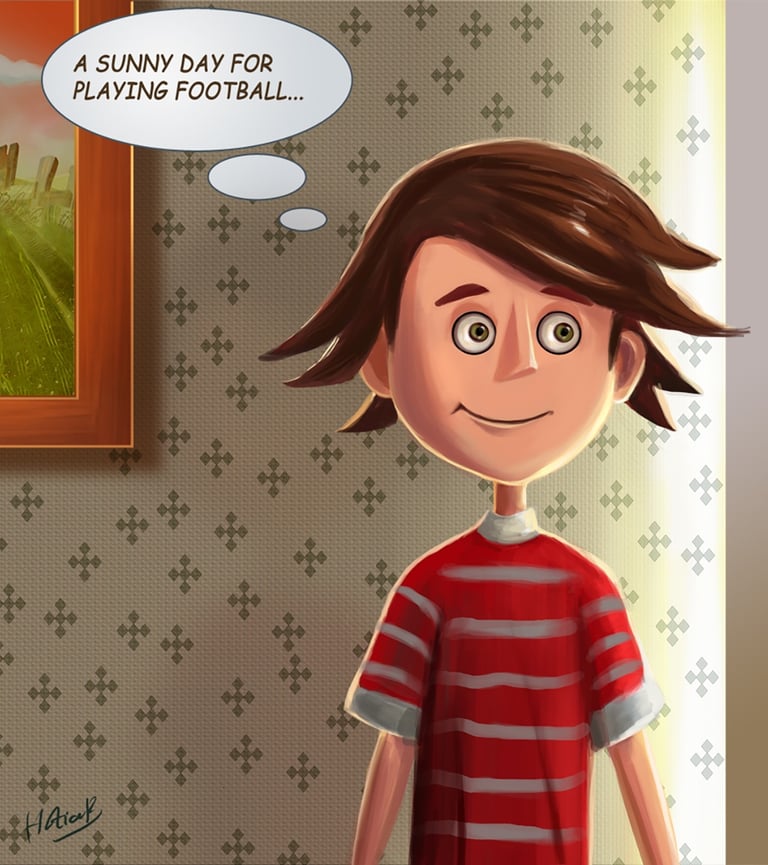
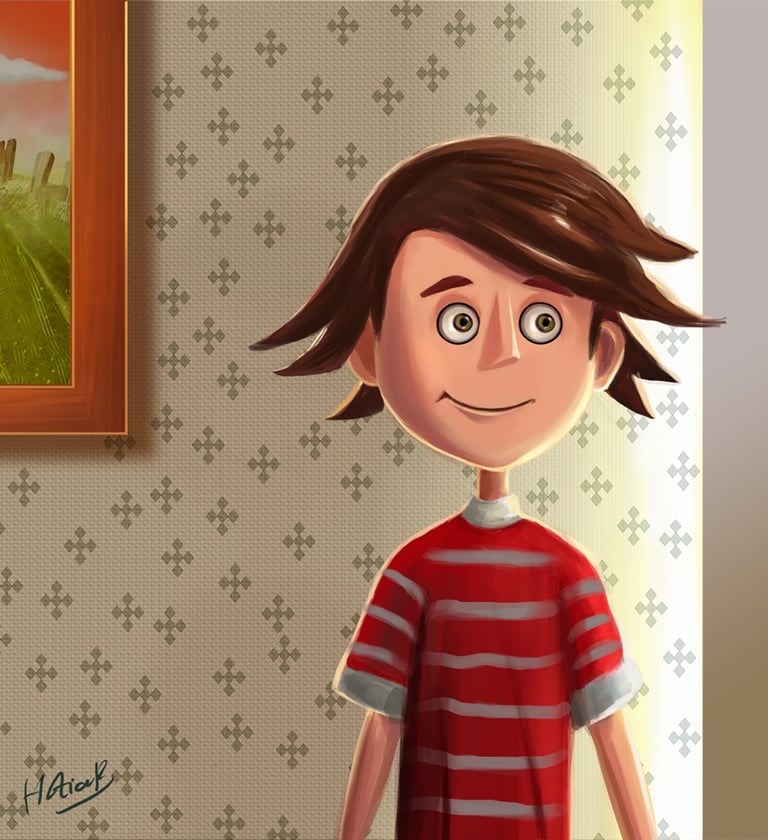
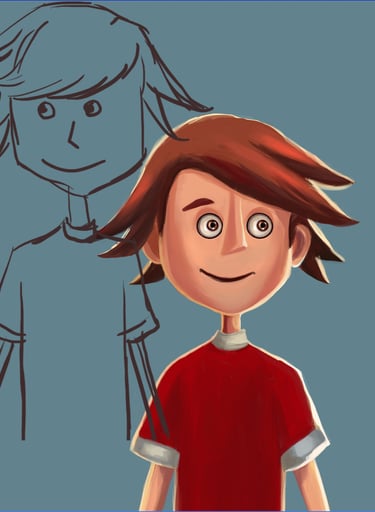
Preview of Final Results
The Sketch
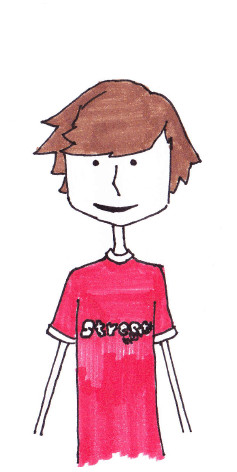
IA few days ago, while browsing deviantART I saw a cute cartoon character sketch. I decided to make a digital painting of that character: I sent the artist a private message asking for permission to use his sketch, and... We came to an agreement!
Credits to TheMV on deviantART.
Thinking Process
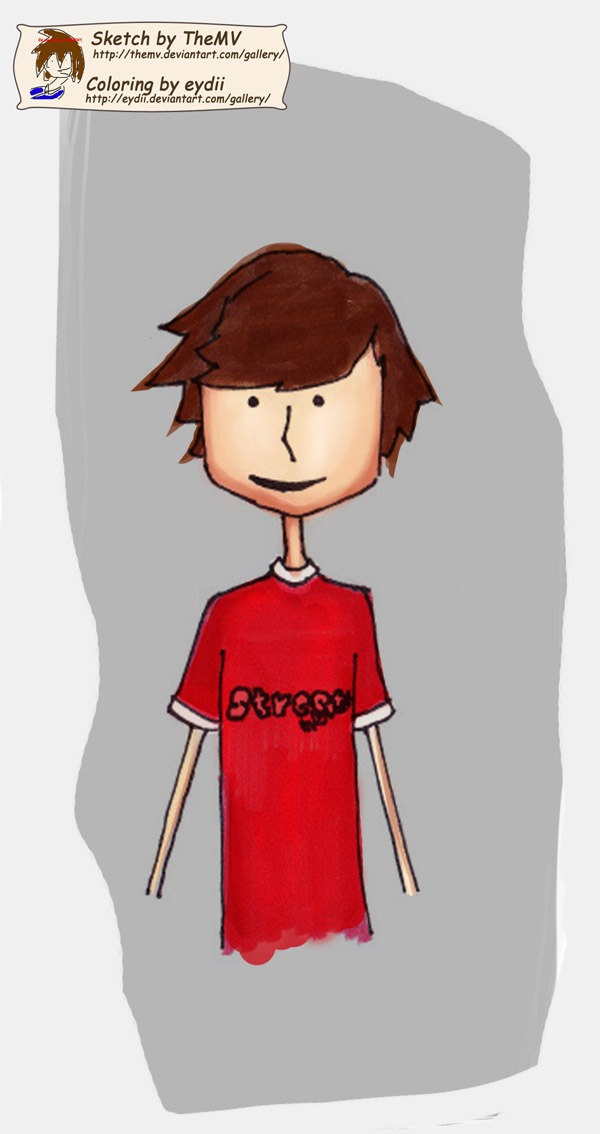
The painting below is completely based on the original sketch by TheMV and it looks nice. I just try to see what comes out of it. I often draw or paint a lot of sketches to represent a concept, but then I realise that I only need to use one sketch (anyway, you always have to draw a few sketches to decide which one is the best. The MV sketchwork is the main idea, but I will not stick to the original sketch.
Re-drawing
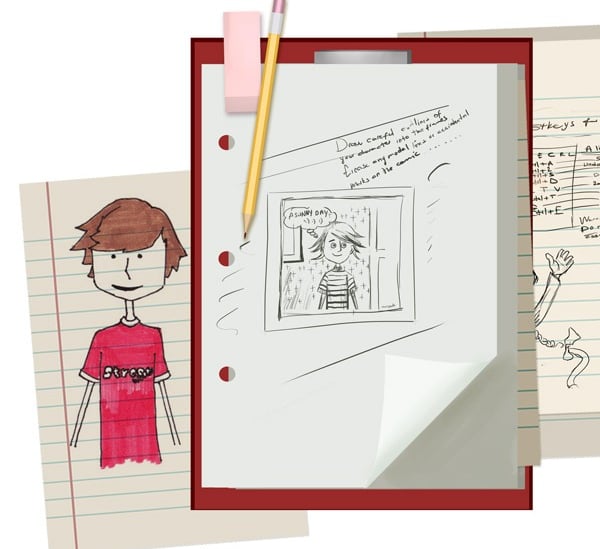
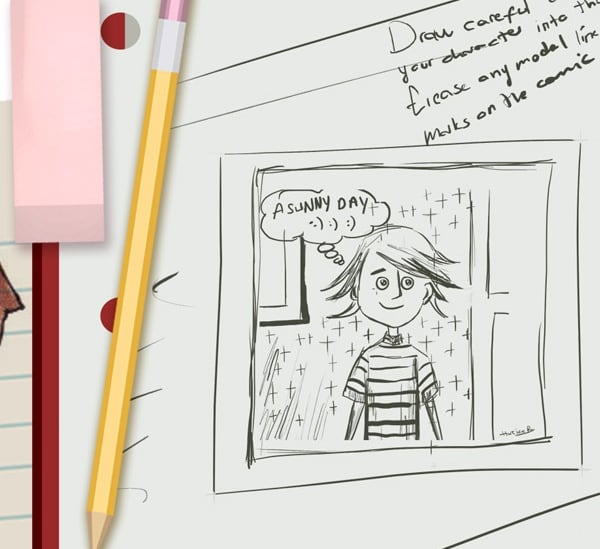
Here are the sketches I made based on the ThMV drawing, trying to give him a name, a story and a character: This story is about Benjamin, he is in his room in front of the window and he is thinking about going out and playing football with his friends. Benjamin likes to play football. Now that you have the short story and the sketch, you can start to colour your comic strip.

The Outline
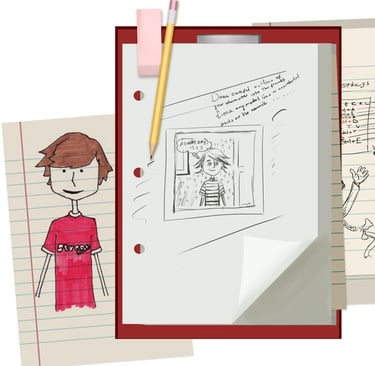
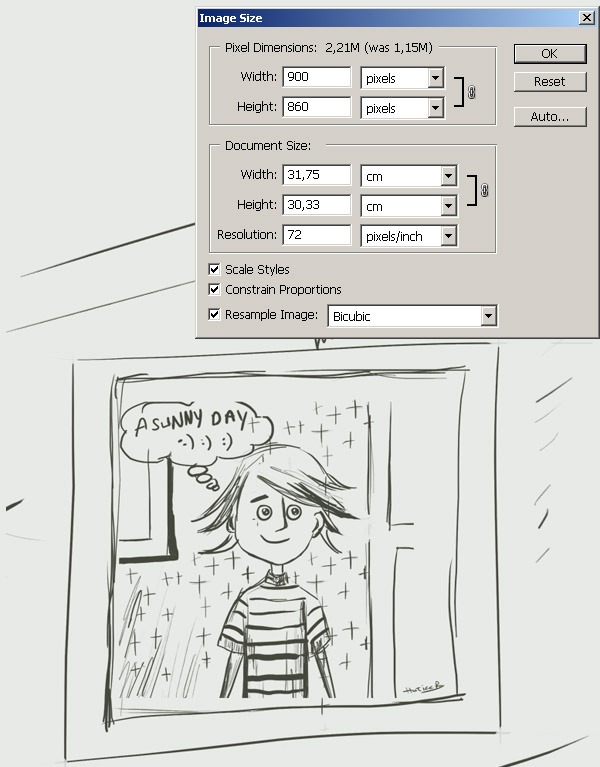
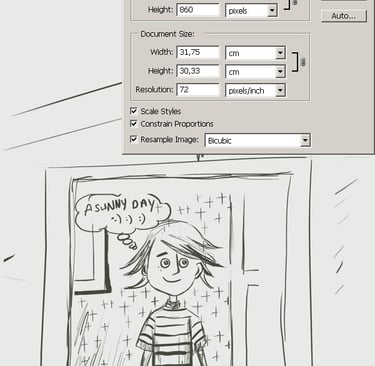
I open a new document (900x860 at 72 dpi) and draw a preliminary sketch (Ctrl+N or File > New). Create a new layer. Name the new layer "Benjamin Sketch" and draw an outline with a hard round brush. There is no need to make it look very detailed. Just draw enough to create the general shape.
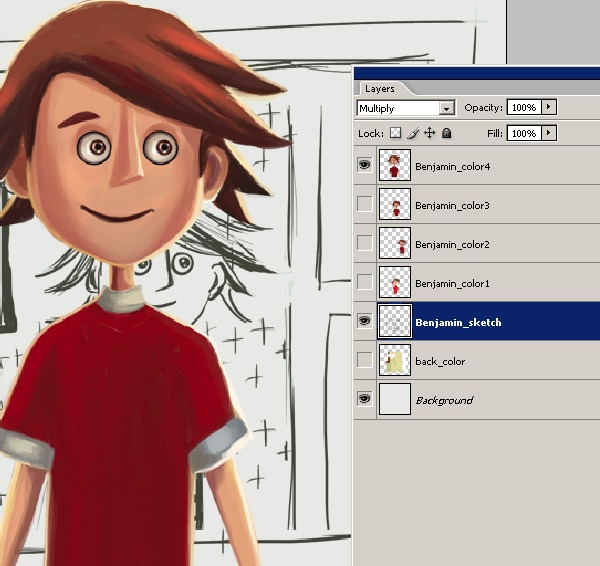
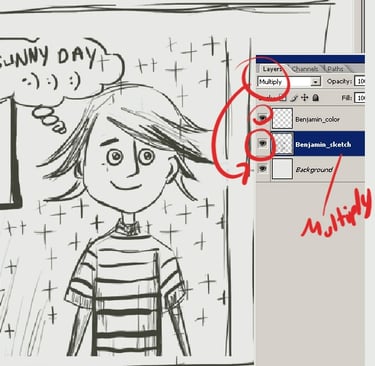
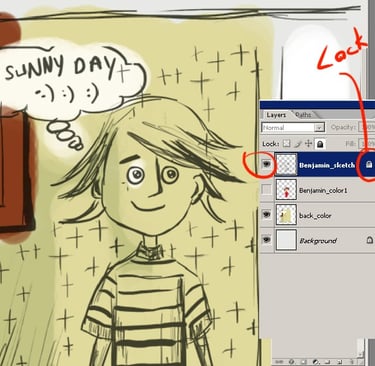
Layers
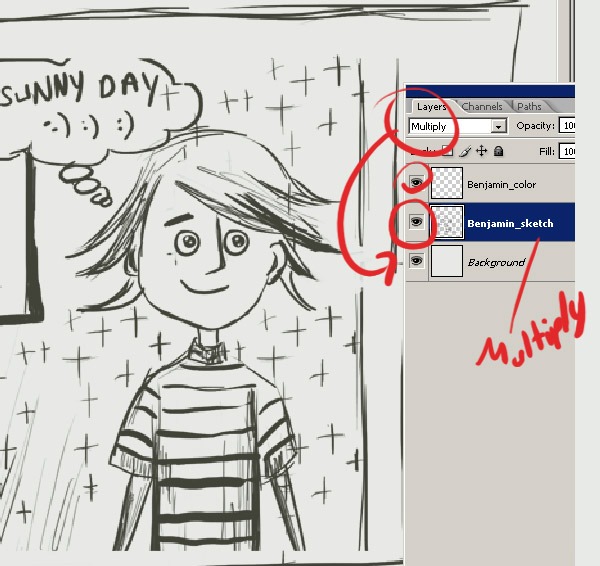
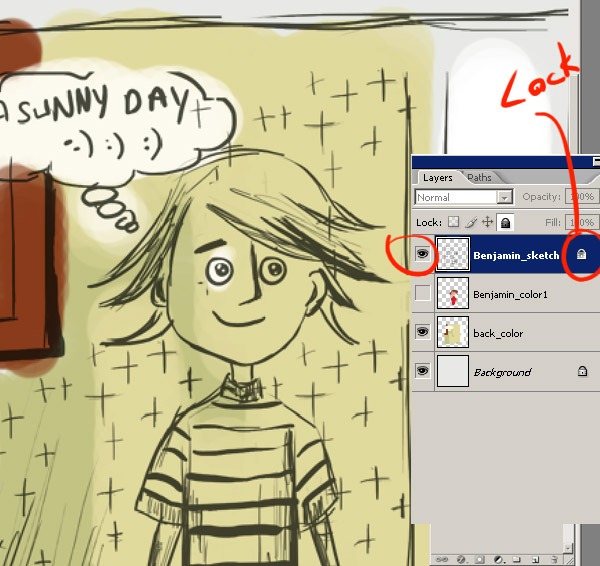
And here, let me show you my layer order. And my background colour. I want my background to be yellow. Set the Sketch layer properties to "Multiply" so you can see the previous layer as you paint... Create a new layer and name it "Benjamin Colour".
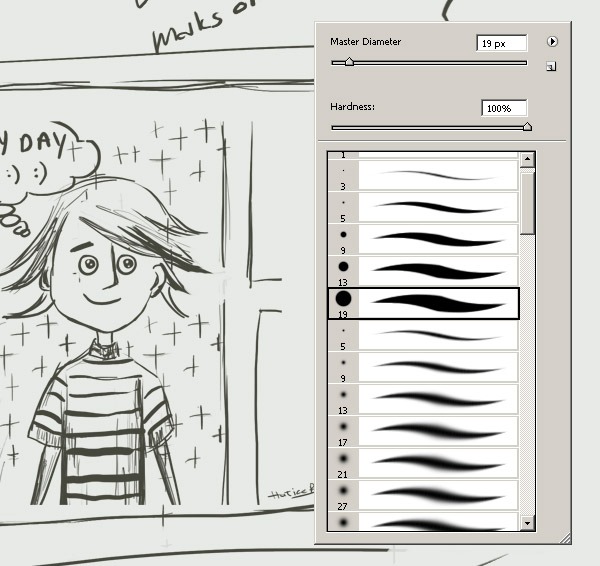
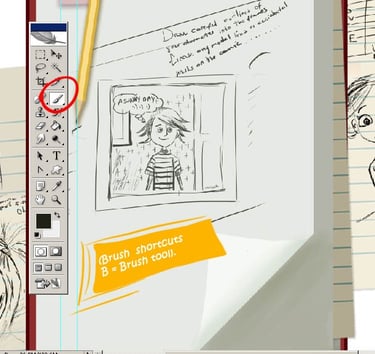
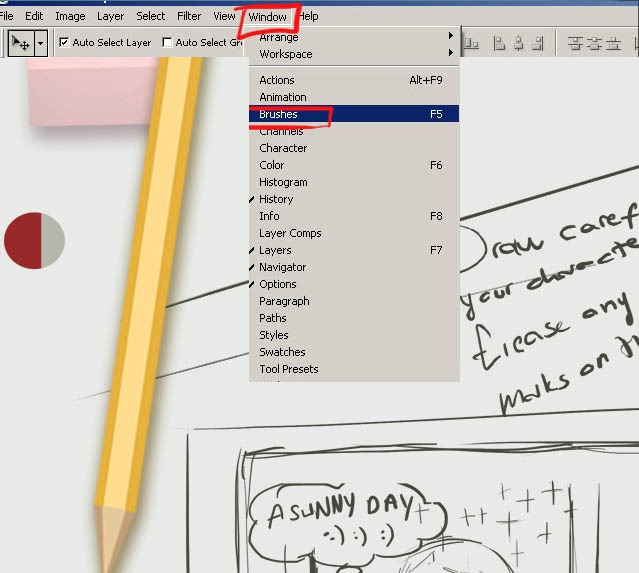
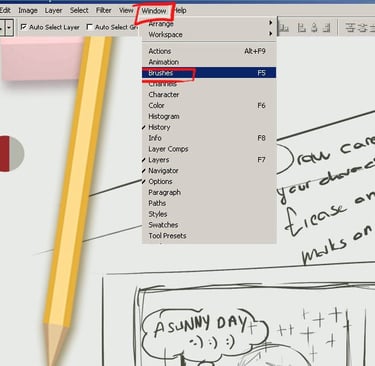
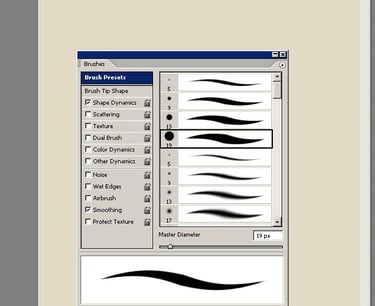
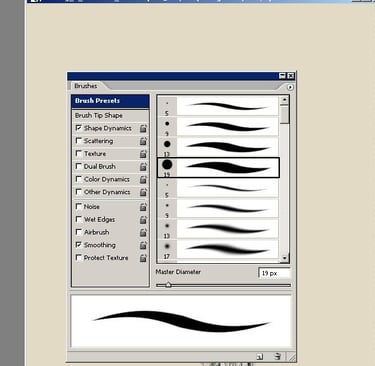
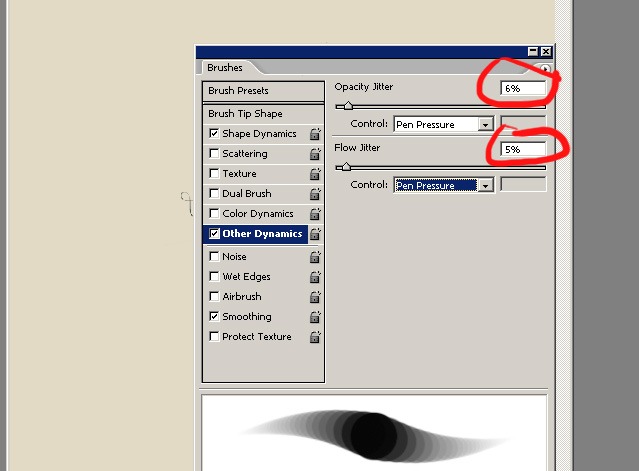
Brushes
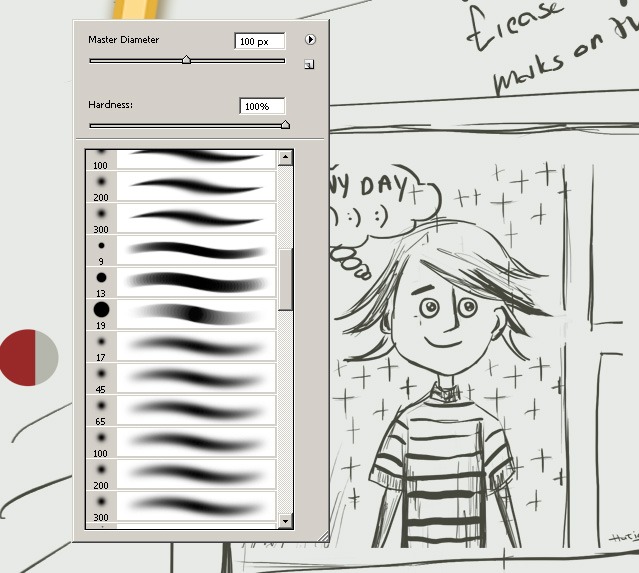
Okay, now we are going to set up the soft brush. First select the Brush tool (keyboard shortcut B = Brush tool). Keyboard shortcuts are simply a way of avoiding mouse clicks, so you can easily make a quick brush selection with useful shortcuts: right-click on the canvas, a small window will appear, and select the Brush tool --> Brush Options panel -> “Other Dynamics” and set the Opacitiy and Flow control to "Pen Pressure”.


Colour Palette
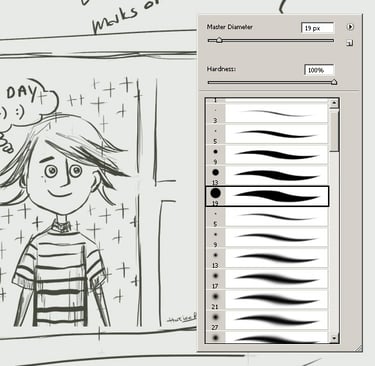
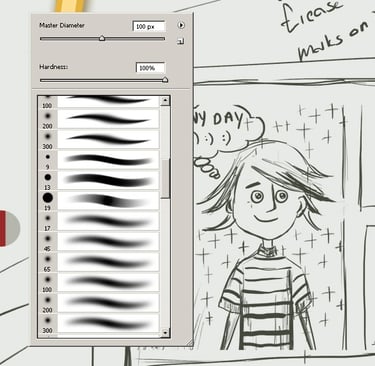
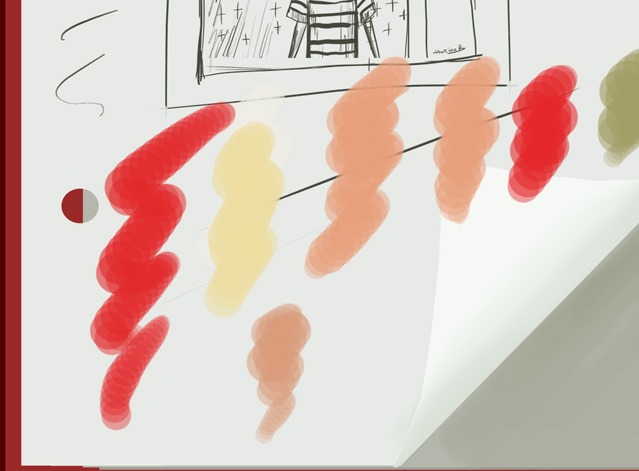
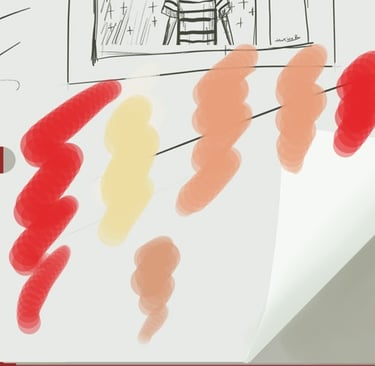
Now try your brush. See how soft it is. You can see the soft strokes Now I am going to make a colour palette.
Colouring
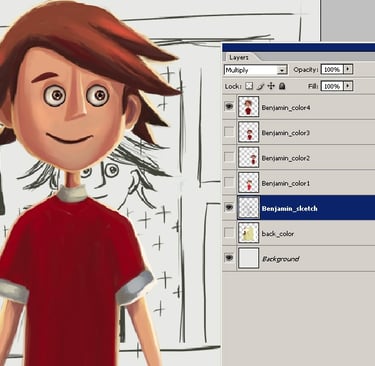
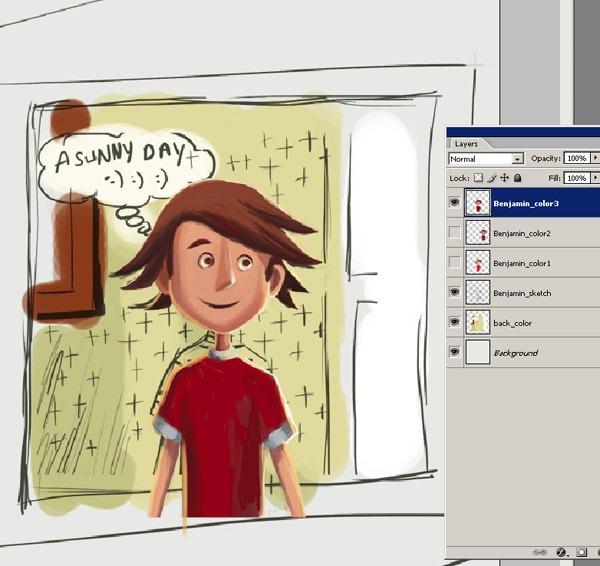
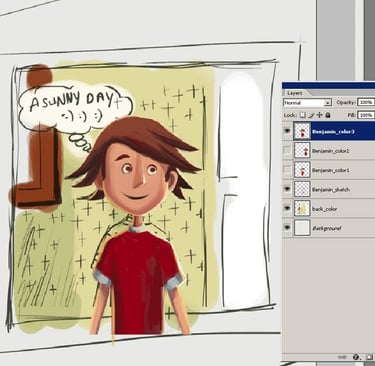
And I start to colour the character, you can see my layer order below. I lock the skect layer to prevent painting on it by mistake.
More Colouring
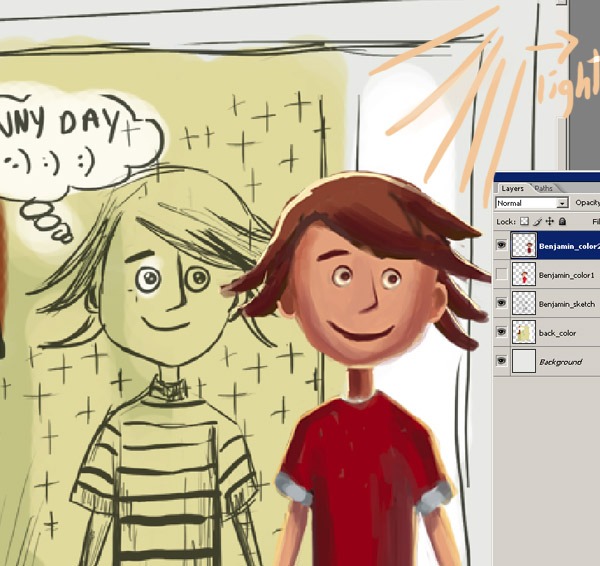
I started with smaller strokes to add detail and blend the colours together, then I used a smaller brush and a darker opacity. I traced around the edges, but also defined some of the pencil shading around the character.

Details
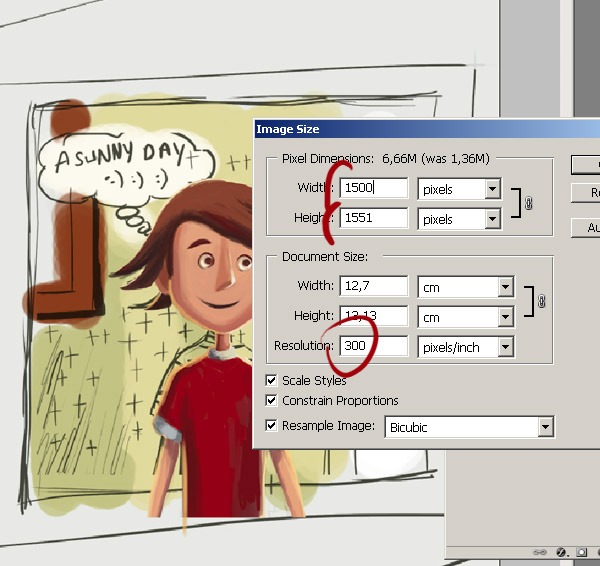
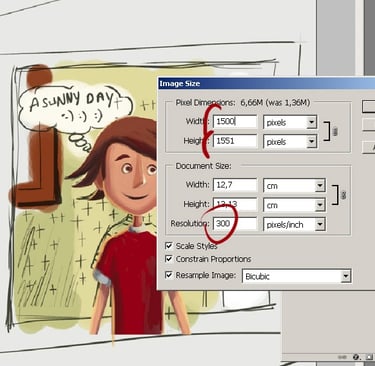
Now we start to add some details: change the file size to 1000x1242. The resolution should be 300.And for the shadow, use the same colour, but 50% is good. Now you can play with more softness and it gives a feeling of realism. Try not to lift the pen too much. Too much stroke will destroy the smooth gradient effect we are trying to achieve. I will now duplicate the Benjamin layer 3 times.
More Details
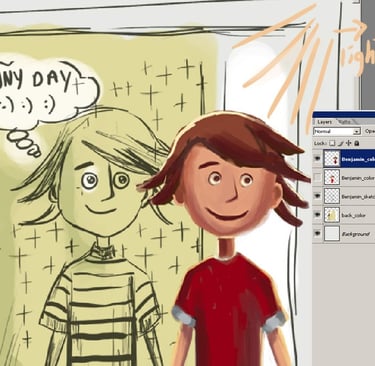
We will now start to detail the hair. Here I've added some stronger highlights to his hair and now I'm painting some small details. And I finish colouring our character, after some final touches to his face and hair, I created a new layer for the background, I'm going to draw some shapes on this layer with a suitable colour for the atmosphere.