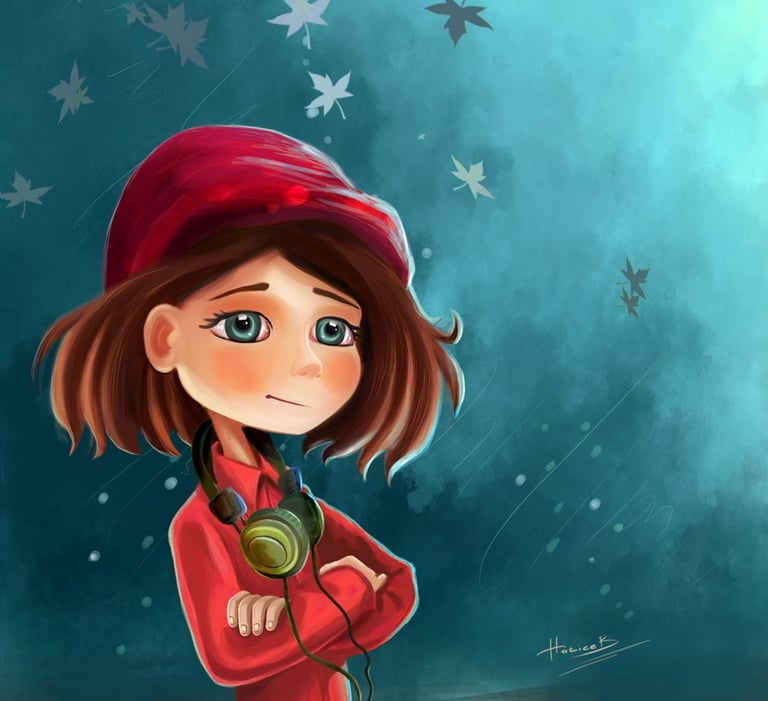
Making of Cute Cartoon Girl Portrait
1/30/2025
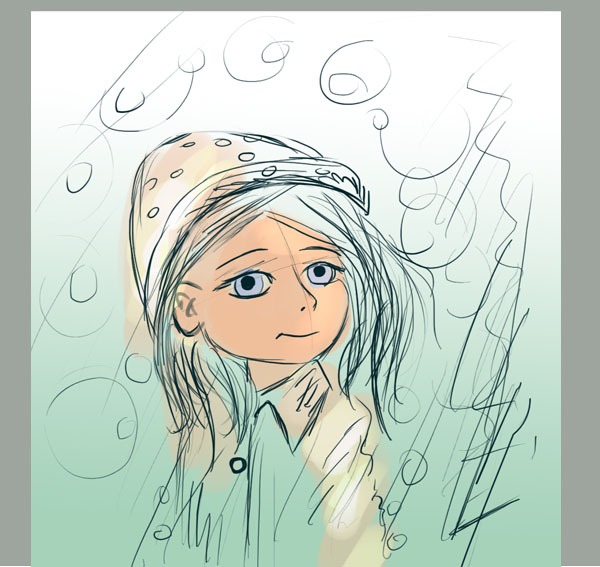
STEP 1
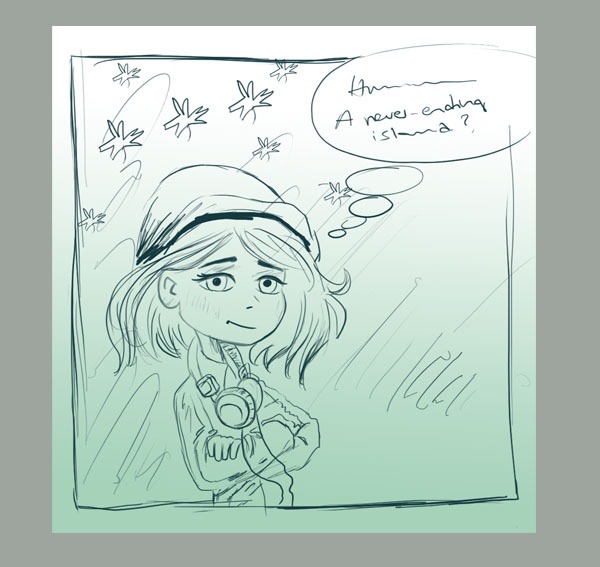
Here are variations of my initial sketches to capture the idea of what she would look like.
STEP 2
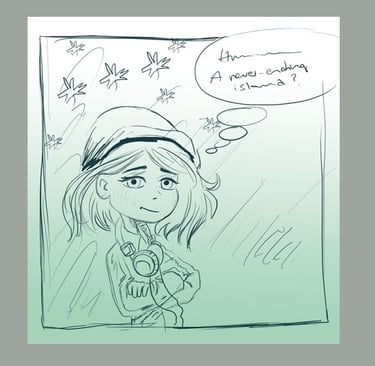
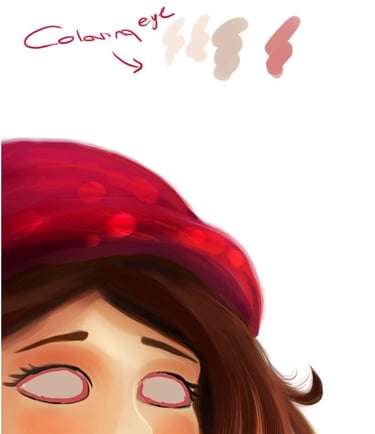
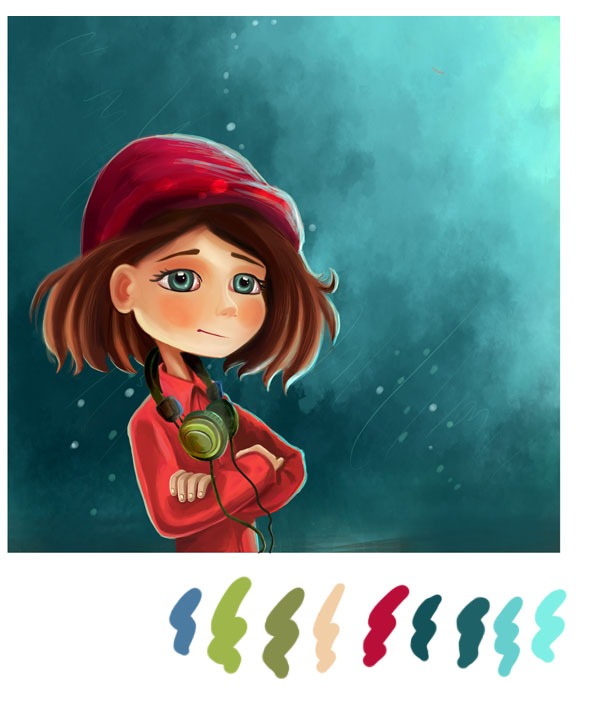
An important stage in creating your artwork is deciding which colours will work best for your painting.


STEP 3
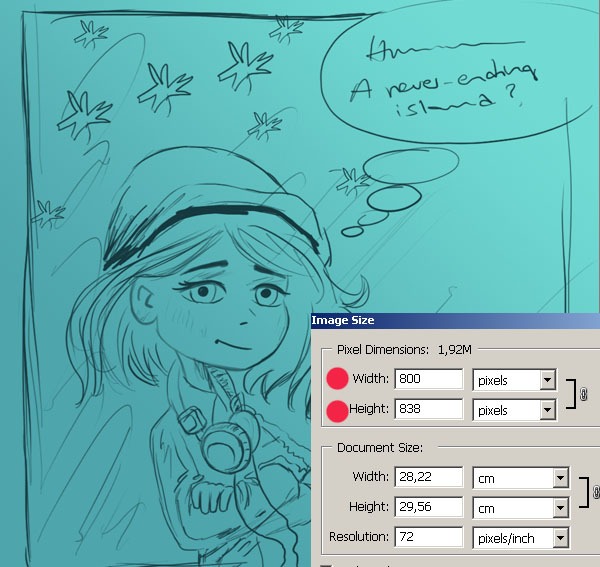
First of all, open a new document (800x1350, 72 dpi) and draw a preliminary sketch. I started by painting the background. In this step, I knew I wanted my background to look greenish blue #52abb1
STEP 4
I started to experiment with some colours for the background. Here I have separated 3 layers, if I am not happy with the colour and want to change, I can make some changes using these layers.
STEP 6
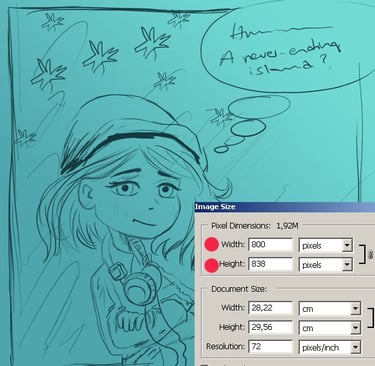
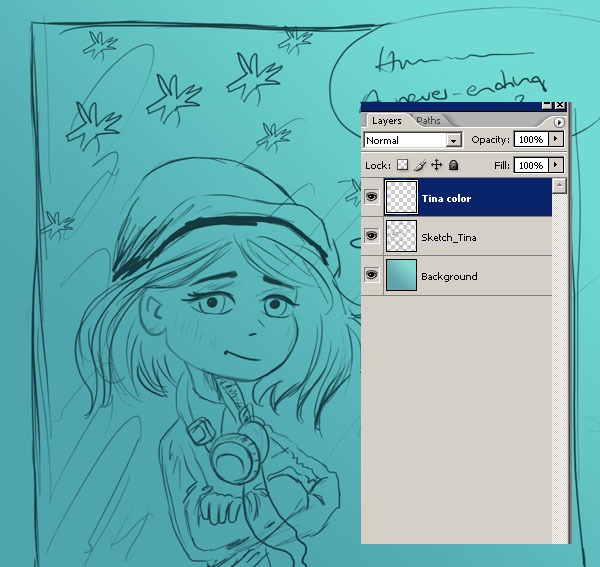
And in this step, I'm going to change the size of my file because I'm going to add more detail. Set the size to 3000x4029 and the resolution to 300.
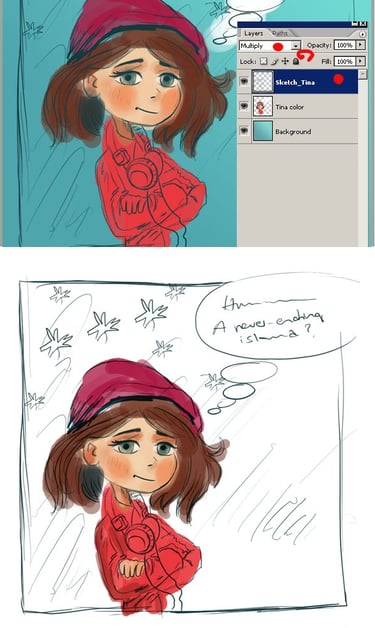
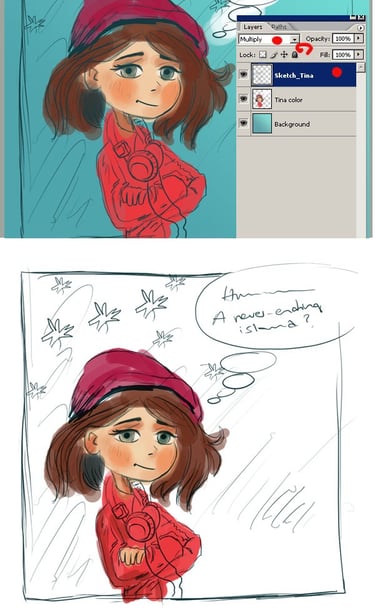
STEP 5
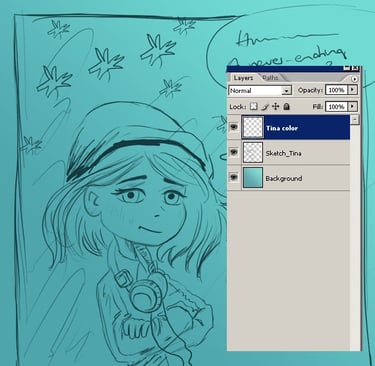
I set the Sketch layer properties to Multiply so you can see the previous layer as you paint. I'm going to choose the colour for her face first and then the red colour for her dress. Now we're ready to paint. There is no need to go into detail. Try to see the picture as a whole at this stage. Start by filling in the general lines and giving them dimension. The light is coming from a cloudy sky and a little daylight, so there wouldn't be a clear shining light, but some vivid colours. Here is the result. Now that I have decided on the colours, I can start filling in the details.
STEP 8
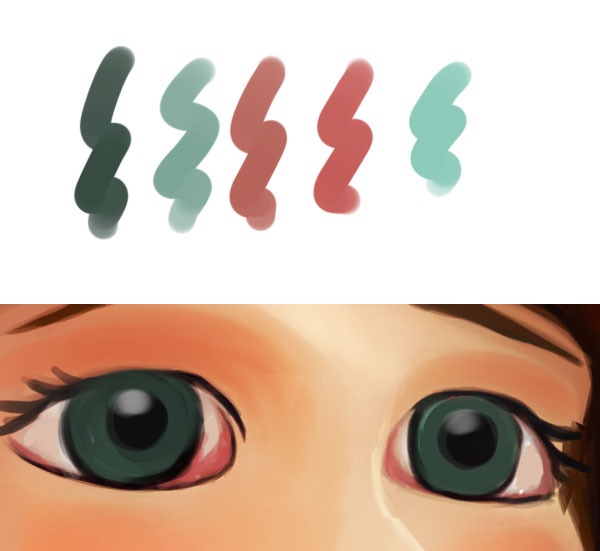
Use a base colour for the iris. Use a darker colour for the pupil. And use the same colour but 50% for a shadow.
STEP 7
At this stage, I'll be working more on the eyes to bring them to life. Having trouble colouring your character's eyes? Well, the next steps will teach you how to paint cartoon eyes. First, colour the whole eyeball white, or choose my colour with the Eyedropper tool (I).

STEP 10
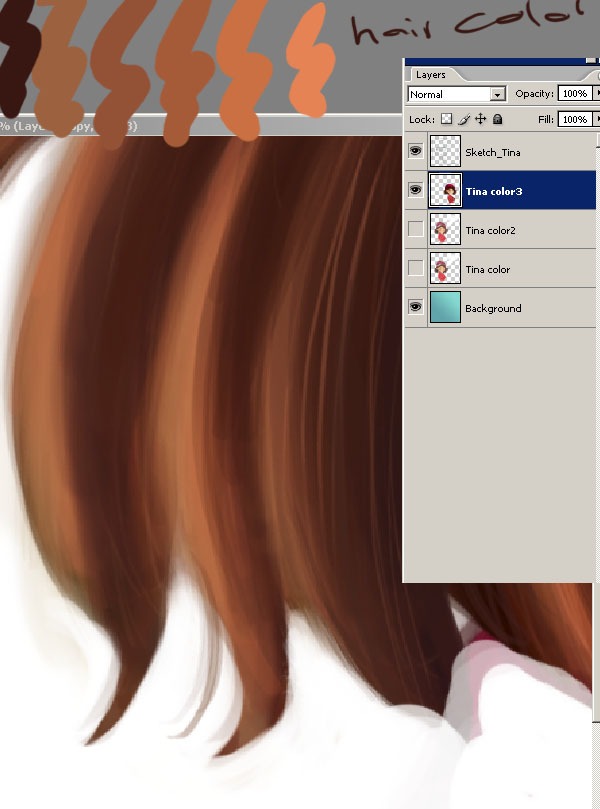
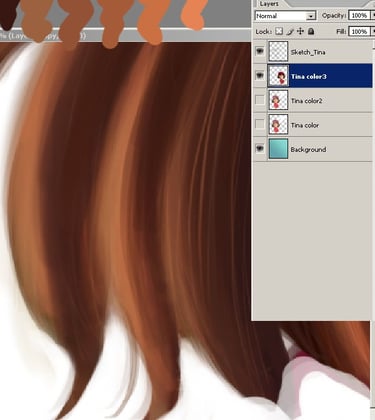
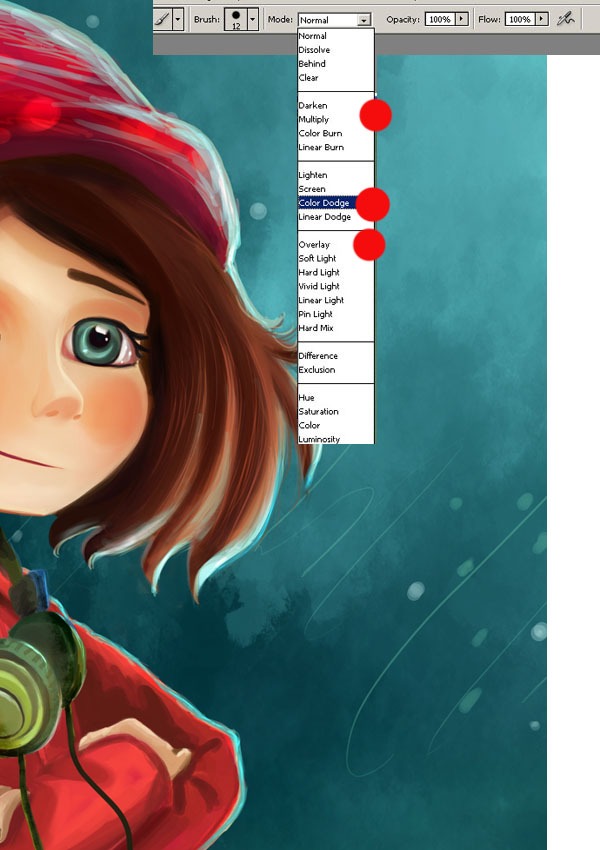
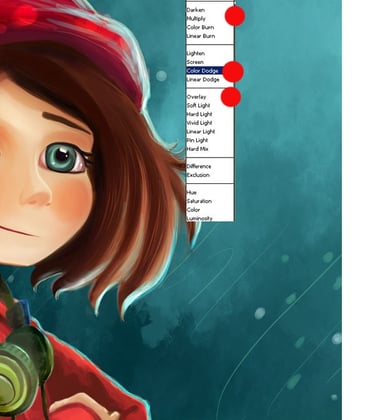
It's just details now. We are going to detail the character's hair. Remember to start a new layer for details. Always pay attention to the lighting. Remember the direction in which the hair falls. I add some more colour to her face and hair and try to make some shadowy areas on her face. If I want to add some more light to the image, I will select the colour dodge from here. After going through a few possibilities, I decided on the one shown. A little more work was done on the cloth, adding a texture to make it look a little more interesting.
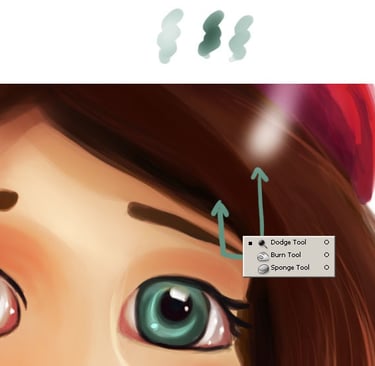
STEP 9
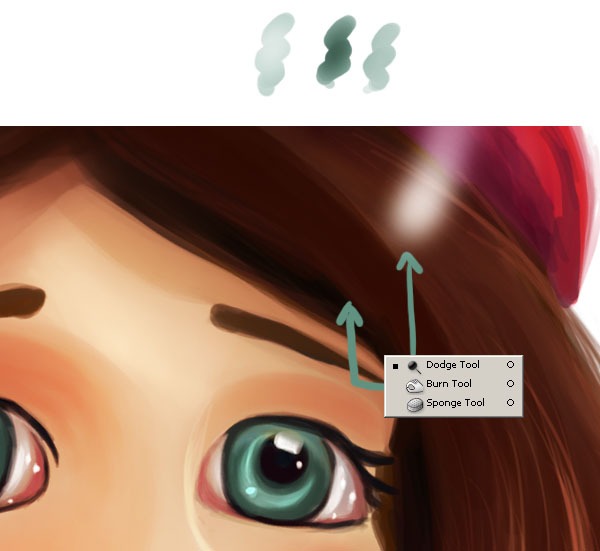
Now use the burn tool a few times to darken the top of the eyes. Set the brush settings to 50%, soft round brush. Use the Dodge tool to add some shine along the bottom of the eyes. Finish by adding light green as desired and create a new layer for the shadows.
STEP 11
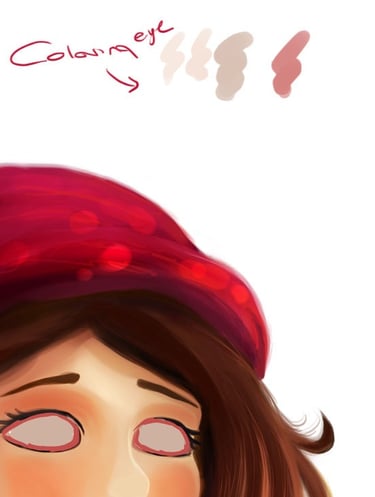
I'm going to start detailing the face, adding more pink to her cheeks and a little contrast to the sides of her face. Now select all layers except the background layer and merge them into one layer. Now you can change the colour of the background. For the background it is really important to find the good colour, the best atmosphere.
STEP 12
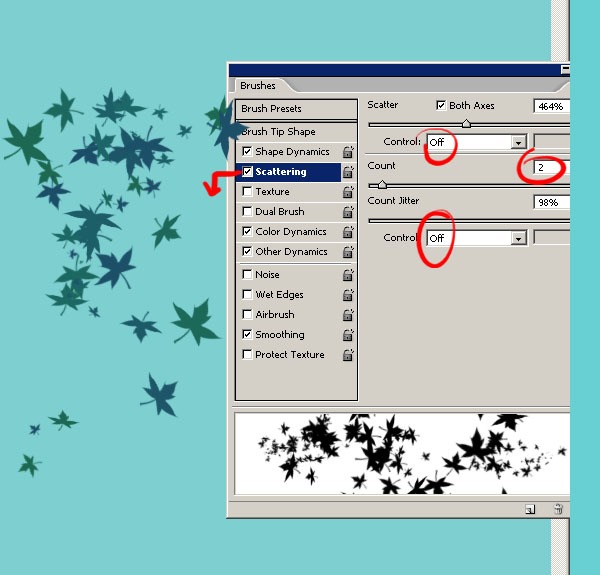
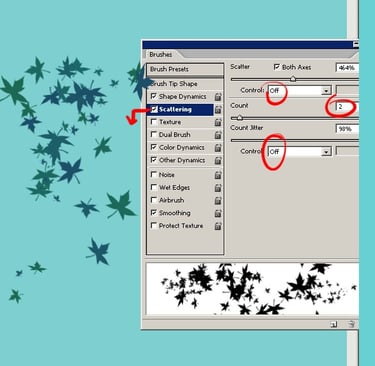
The last step is to create a new final layer over everything and paint colour details. Let me show you how I painted the tree leaves. As you can see, Photoshop comes with a number of brush presets. To access them, click on the little black arrow at the top of the palette near the Brushes tab. A navigation list should appear, and at the bottom of this list are about a dozen brush sets. Browse through them, familiarise yourself with this palette and eventually choose a brush to paint with and start painting on a new layer.
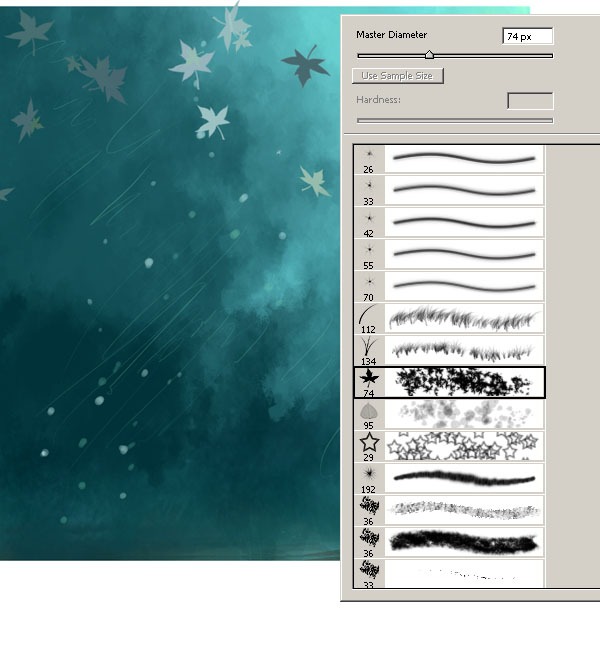
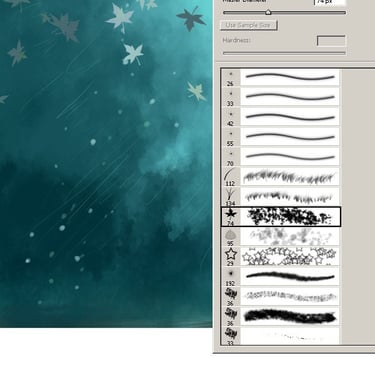
STEP 13
This is where you customise your brushes. These options are a way of fine-tuning brushes and can produce some really impressive results. Here are the brush options. Select the window in the palette, then go to Brushes or press F5 to access the Brush Options. If the Scatter option isn't already on your brush, click the check box to enable it, then click the text to highlight the option and put the palette into fine-tuning mode. You can change anything you like
STEP 14
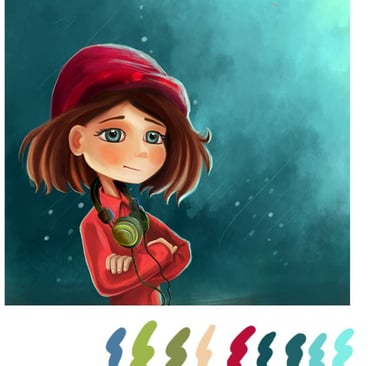
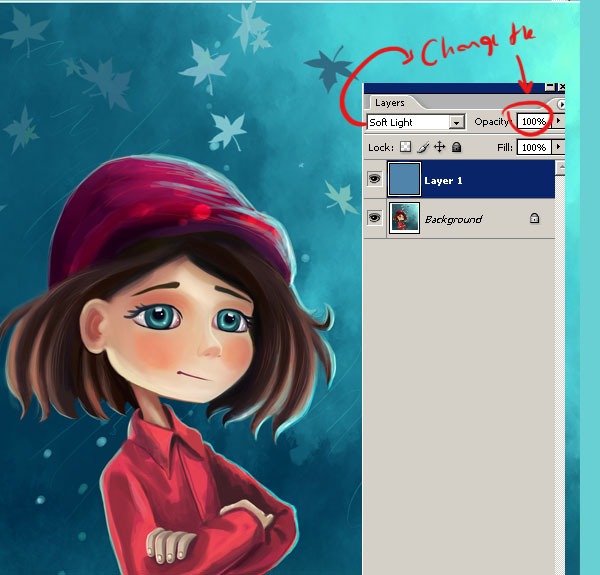
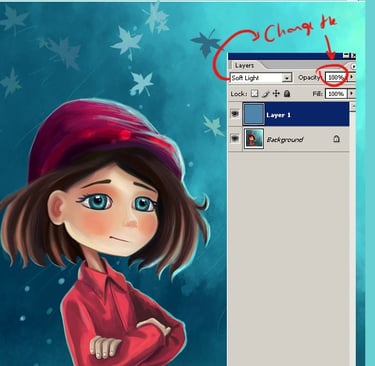
After a few final touches to her face and hair, and changing the background colour, I flattened the image and created a new layer, which I filled with an appropriate atmospheric colour. I opened a new layer on top of the finished image and changed the layer settings to Soft Light. Then change the opacity to your liking. I set it to 20%.
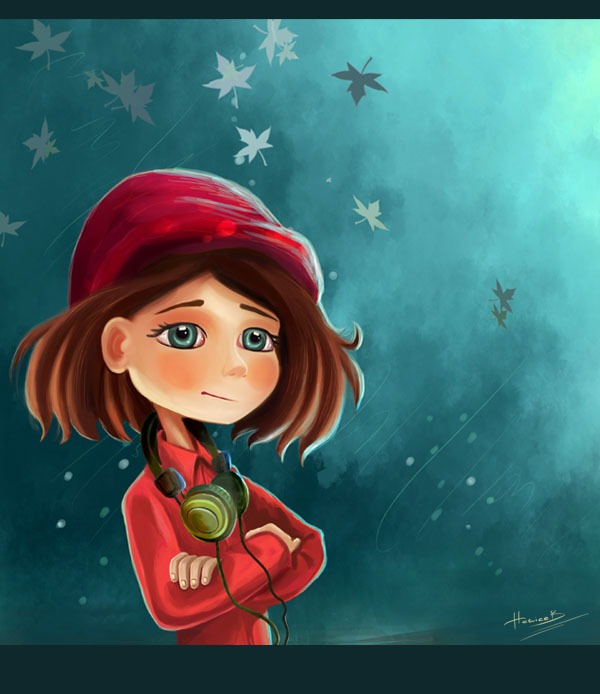
STEP 15
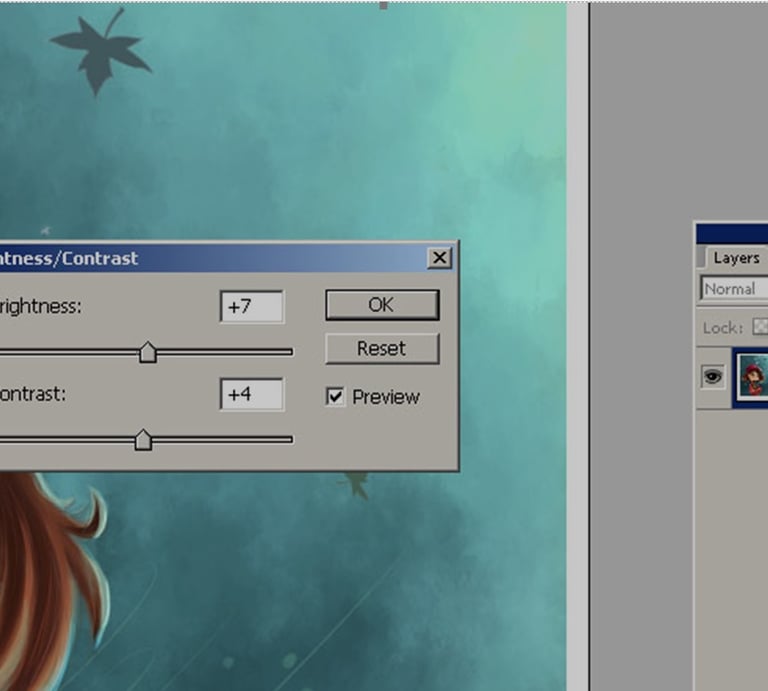
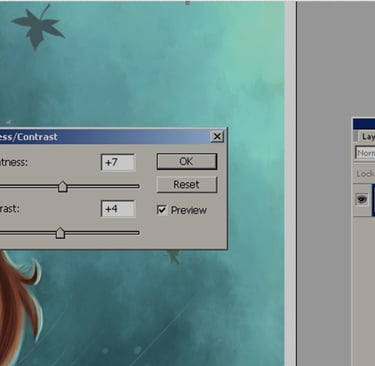
I flattened the layer again and used the Brightness/Contrast tool (under Adjustments in the Image toolbar) to adjust the image until I achieved the desired effect. I finished by adding some detail, blurring some edges and painting over the highlights to make them stand out more.
STEP 16
I flattened the layer again and adjusted the image using Adjustments/Auto levels and then Auto contrast. And then Edit Fade Levels until I got the effect I wanted. I finished by adding some detail, blurring some edges and painting more on the highlights to make them stand out more.